Greetings! Already using Elementor 2.0? Well, you should be. Elementor 2.0 Theme Builder was a great update and a much needed one. It set a new bar for Page Builders. With the new version, you can literally edit each corner of your website without writing a single line of code.
Overwhelmed?
Elementor 2.0 Theme Builder
Elementor 2.0 was not just a bunch of new feature tweaks and several new elements. It changed the way you build pages with Page Builders. It is natural to feel overwhelmed due to fundamental changes to the process of Page Building. But now worries. This blog will show you how to create Header Templates with Elementor 2.0. But what about the other Features? We will also cover them. But not all at the same time. We will publish new blogs each week covering different features.
But for this blog, we have selected Header Templates. So enough of the foreplay! Lets learn how to create Header Templates Step-by-Step.
Header Template
Step 01:Opening the Interface
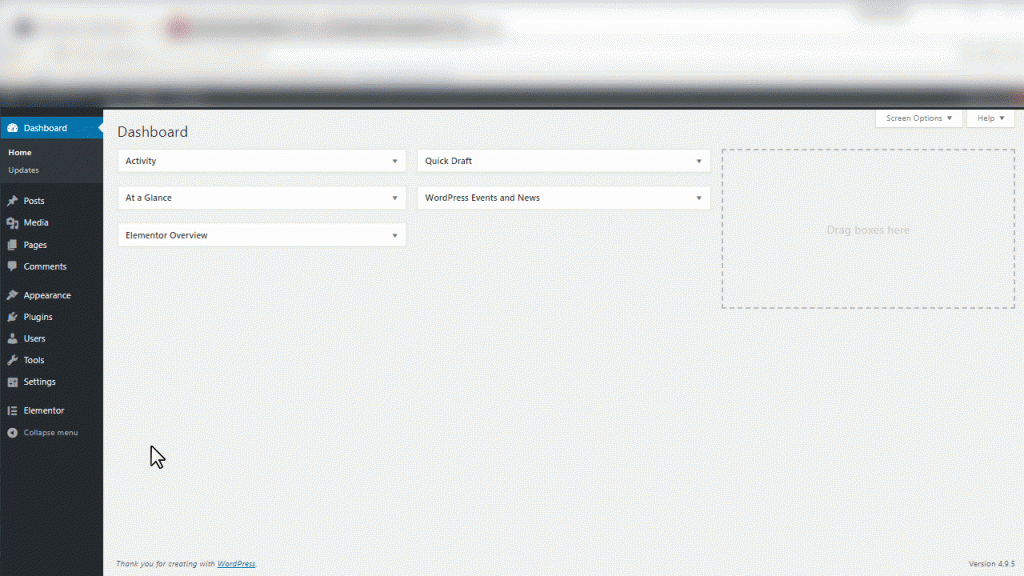
To create a Header Template head over to your WordPress Dashboard>Elementor>Add New. This will open the New Template Pop-up. Once the pop-up opens, first select Header from the drop down menu, secondly, give a template name. Finally, click on Create Template. This will take you directly inside the Elementor Interface.
Step 02: Different Parts of the Template- Add styling
Once you are inside the Interface, you will be presented with the Library Pop-up. From here pick a built in Header Template and the interface will load it for you. Hopefully, there are no confusions up until now.
You will see that Elementor has loaded the Header Template in the exact same place as the Header Area. Now take a moment and observe the layout. Do you notice anything shady? You shouldn’t. Because every new template, with Elementor 2.0, is made of the same building blocks as the older templates- Sections, Columns and Elements. You can select every element separately and add styling to them. If you have already used Elementor at some point before, you should not face any difficulty.
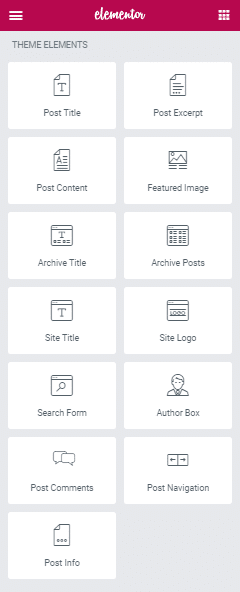
You can remove any element from the Header Template and add new ones. Head over to the left panel and scroll down until you see the Theme Builder Elements. This elements bundle lists all the elements that you will need to create Dynamic Content. For this example, you can actually build a completely new Header Template from scratch.
Step 03: Finishing it off- Conditions
The last step of building Header Template is setting some conditions for that particular template. Where will you find these settings? Just click on Publish from the Footer Panel of the Elementor Left Panel and the Conditions Pop-up will open.
After the pop-up opens the first thing you want to do is set the first clause of the condition- Include or Exclude. Depending on this criteria the next condition will be applied. Have you set the first condition clause? Great!
Now lets set the second clause. For the Header Template you will have 3 criteria for the second clause- Entire Site, Archive or Singular. Done? Perfect.
But wait, while working you might want two conditions to apply to the same template, right? For example you might want both an Include clause and an Exclude Clause for a single identical second clause. Well, you can definitely do it. You will see a Add Condition button at the bottom of the Conditions Pop-up. Click on it and add that extra condition to your template.

Wrapping Up!
Follow the whole process by yourself once. If you still have any confusions, leave a comment below and we will get back to you as soon as possible. But do make sure you come back next week. In our next blog you will see how you can create dynamic content with Elementor 2.0. In the meantime, why not get a recap of what is new with Elementor? What’s New in Elementor Pro 2.0.





1 thought on “Elementor Theme Builder”
Thanks for the tutorial! I have successfully created a new header template in Elementor per your tutorial. Problem is , how do I assign the new header template to the page I’m working on in elementor? I’m using the Astra theme and the default header is still attached to my Elementor designed homepage.
Thanks again!