Once your prospective buyers land on your product or service pricing page, you are only a few steps away from getting that conversion. This is why the pricing page must be effective and also consistent with the prior layers of your marketing funnel.
Creating a Pricing Page
You can pick from two widely used structures for your Pricing Page. First, you can include all the relevant information in one single page. In that case the buyer would have to scroll down and up to navigate the pricing page. Not many people like doing that.
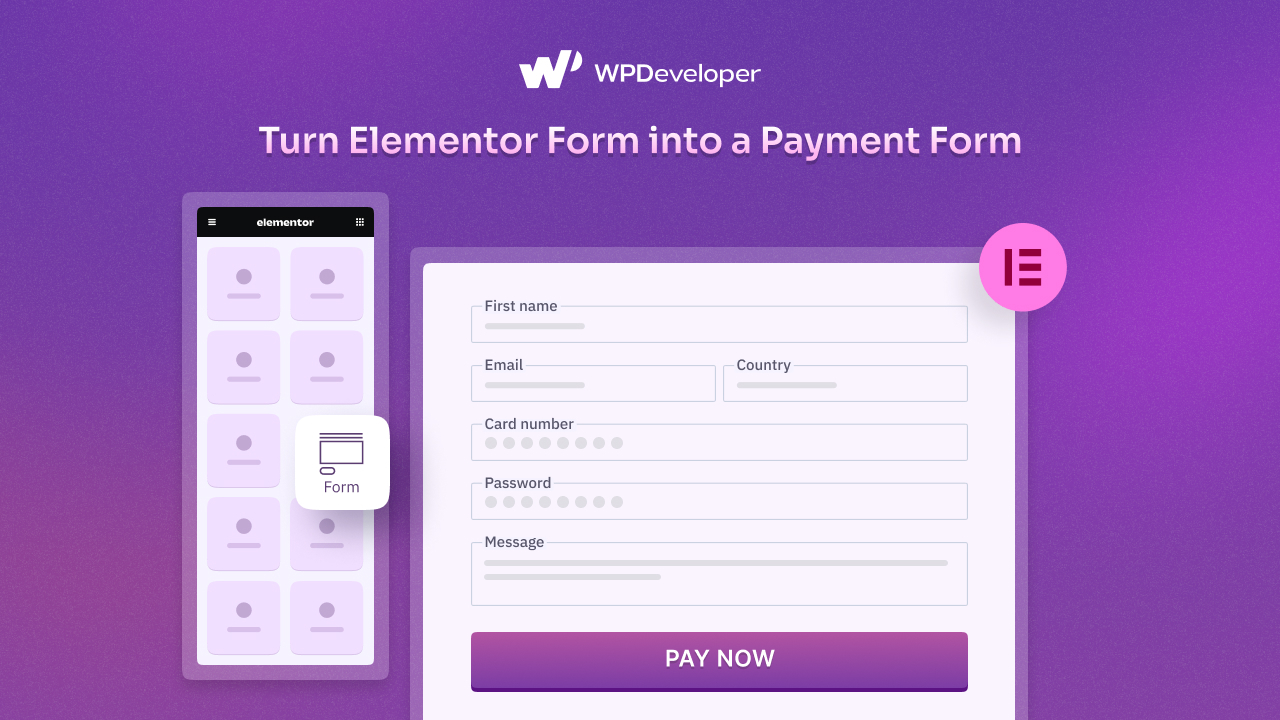
Building an Interactive Pricing Page
Secondly, you can make a sequence of distinct parts of the pricing page. Money Back Guarantee, Refund Policy,Secure Online Payment,Different Plans/Packages, Payment Options-these are the most common parts of a pricing page. Instead of putting all of them in a single page, you can create a sequence, where a buyer would need to perform a certain task or click a certain button to proceed to the next step in the sequence. For example you can start your pricing page by putting the pricing table first. Include small description of the key features, followed by the payment options. To switch between these two sequences a buyer would need to click Buy Now in the first sequence.
How Can You Link The Various Parts?
It might sound really difficult but it is actually very easy. You can create a beautiful sequential pricing table with Elementor-Page Builder for WordPress. With their Menu Anchor Widget you can build a super interactive pricing page.
With this widget you can build a smooth internal scrolling navigation as the Elementor team likes to put it. click the button below to get an idea of an one page Website.
Checklist For an Effective Pricing Page
Before learning to use the Menu Anchor Widget lets focus on the essentials of a Pricing Page. You might want to note down the parts you want to include in your Pricing Page while you do so.
Disclaimer: Know the merit and effectiveness of your Pricing Page depends on the elements you have included in it. The next and secondary factor is the presentation of these elements.
Multiple Pricing Plans
MoneyBack Guarantee
Detailed REfund Policy
Secure Online Payment
Online Payment Options
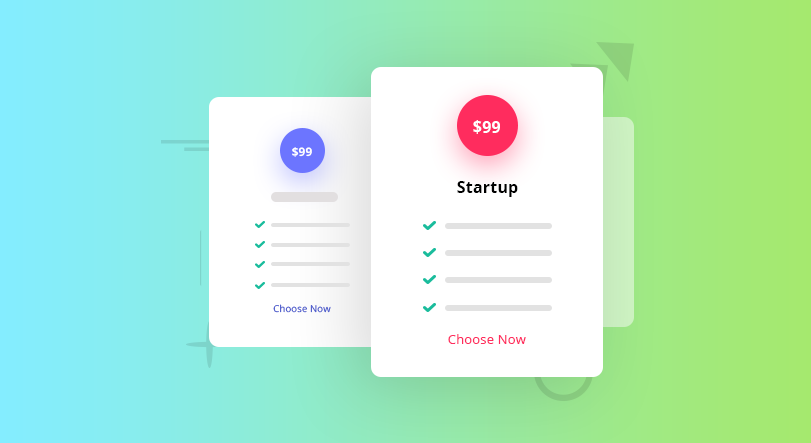
What elements do you need?
You can see 5 elements illustrated above. these 5 elements can be seen as a must for an effective pricing page.
Pricing Plan
The first one is different pricing plans. You have to acknowledge that not every buyer would like the same additional features with the product. You also have to acknowledge the different purchasing power of your target market segment. By providing different plans you are making your product more attractive to your buyers of all levels. Keep some of the core features of your product in all the plans but keep adding additional features in proportion to the increasing price.
Money Back Gurantee
Secondly, guarantee money back to unsatisfied users. This is a great financial strategy. someone may buy your product and then realize it is not serving their purpose. In those cases they may want their money back.
Refund Policy
The third element is the refund policy. Keep it simple. But do not include too much law jargon though.
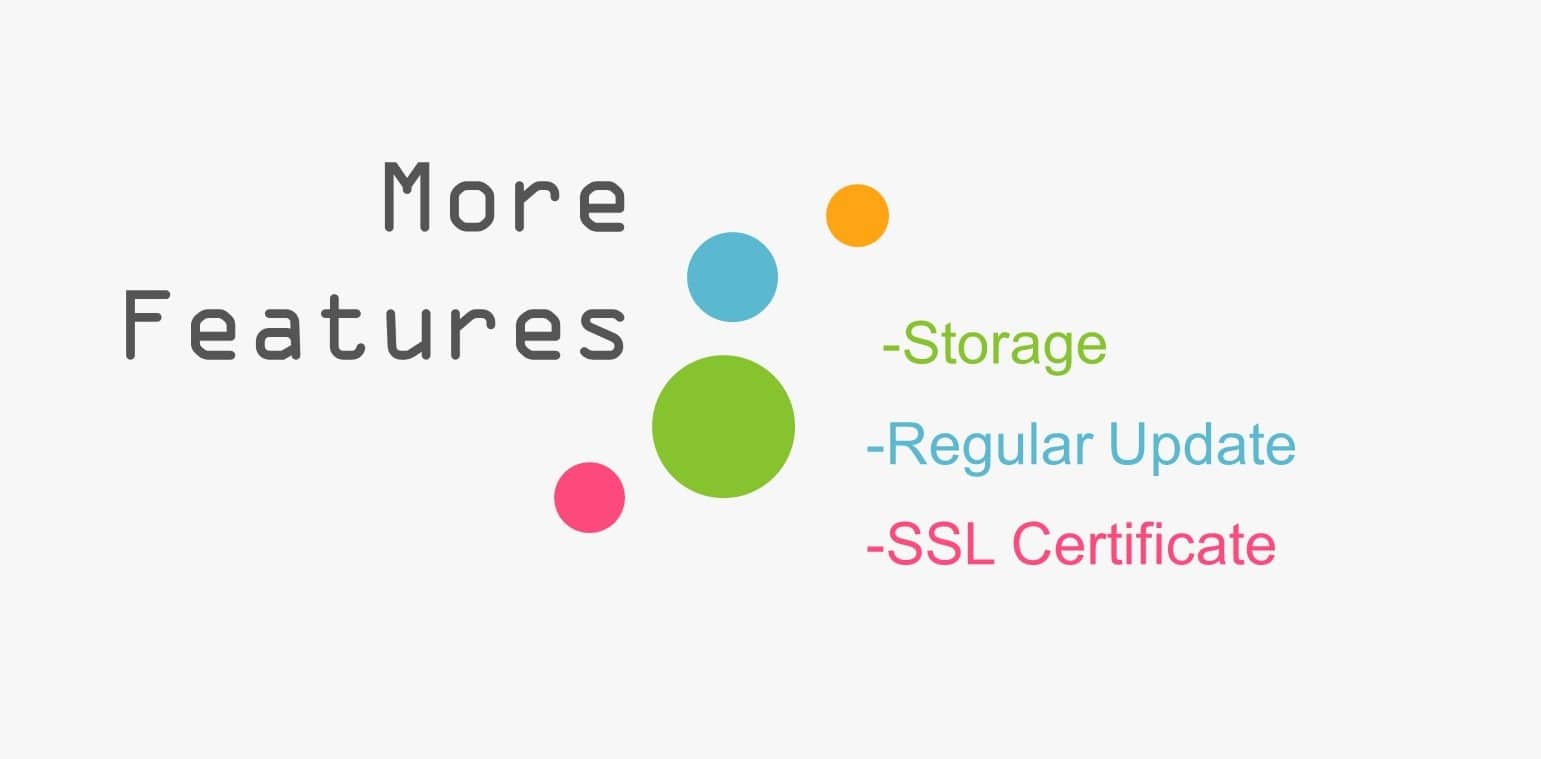
Payment Gateways
Include certifications. This way your buyers know the payment methods are secure. This also helps in adding credibility to your website. Lastly show which payment gateways are available.
What Else?
Its recommended to keep as few outbound link as possible on your Pricing Page. You don’t want to distract your visitors. However, if you want to use a sequential pricing page, you can exploit it to include other elements.
- Testimonials(Helps to earn credibility)
- Features(Help your potential buyers in making the right decision)
- Subscription Form(Keep in touch with your customers)
- Social sharing options(Let them spread the word)
WordPress Enthusiasts
Comes with all the basic features- Unlimited calls
- Free hosting
Advanced
All the advanced features for scaling your business- Unlimited calls
- 24/7 support
- Free Storage
Professional
Suited for a growing business- Unlimited calls
- Free hosting
- 24/7 support
Know The Difference
A Product Landing Page and a Pricing Page is not the same. It is recommended to use not more than one CTA in a landing page. As the sole purpose of a landing page is to generate leads and increase conversion rates. On the other hand a pricing page is basically the very next thing your buyers would want to see after visiting your Product Landing Page. Once a buyer is convinced with your product they will want to know about the pricing. And remember, pricing does not mean only a combination of random digits. your buyers would want to see the additional facilities you will provide to your customer. For example 24/7 support, regular updates. These should also be placed on your Pricing Page. Furthermore create separate plans for different buyer segments.
Buyers Like to Compare
Buyers like to compare before making the purchasing decision. You may create one least and most expensive plan and also include a recommend plan, then place them side by side. this way your buyers can compare and pick the one that best suits their needs.
Placement
The placement of the different elements in a pricing page is very important. Most important is the placement of the CTA button. The CTA button must be easily visible. Buyers should not have to search for it.
Using the Creative Button and Menu Anchor Widget
To build smooth internal scrolling, you need the Menu Anchor Widget. The easiest would be to link the Menu anchor Widget with the EA Creative Button. You can actually link the Menu Anchor Widget with any other widget with a link field. But for this illustration lets focus on the very basic ones.
Step by Step
- Drop the Menu Anchor widget at the top of your Pricing Table.
- Go to Menu Anchor Widget>Edit Widget> The ID of Menu Anchor.
- Type in the keyword “pricing”.
- Go to Button Element>Edit Widget>Content>Button>Link.
- In the link field paste the keyword “pricing”.
- Done!
Take extra effort while building your pricing page. And please let us know if the blog was helpful. Also inform us about any point that we missed in this blog.