If you list out the major issues that lead to an unwanted increase in bounce rate, scroll time will sit at the top, period! Nobody likes to make meaningless scrolls, and it kills the interest to finish a blog. If you fail to present your message before your readers lose their interest, you have failed as a blogger.

A Visual Driven blog makes more sense than its text-heavy counterpart. In fact, if you create two versions of a blog, the first being rich in image and the second being text-heavy, chances are the former one will get more traffic. Not only that, your readers will be able to make sense out of it more easily and in less time.
However, the problem arises when you have to find a trade-off between scroll-time and keeping it enrich with images. It’s a very annoying job, as there is no absolute formula for solving it. What would you do, if you have used the shortest possible version of a blog but are failing to keep it that way due to an image? Would you scrap off the image, or try to make the blog shorter? Remember, only one image is enough to double the scroll-time, which is not at all a good thing for you.
At times you might face a situation when you are failing to accommodate an image inside a Page without compromising its quality. It’s not your fault, neither does it mean you lack the skill. If you are using Elementor, you can insert a high-quality image without having to crop or compress it. Also, you can keep the scroll-time at tolerable levels. How? Let’s find out.
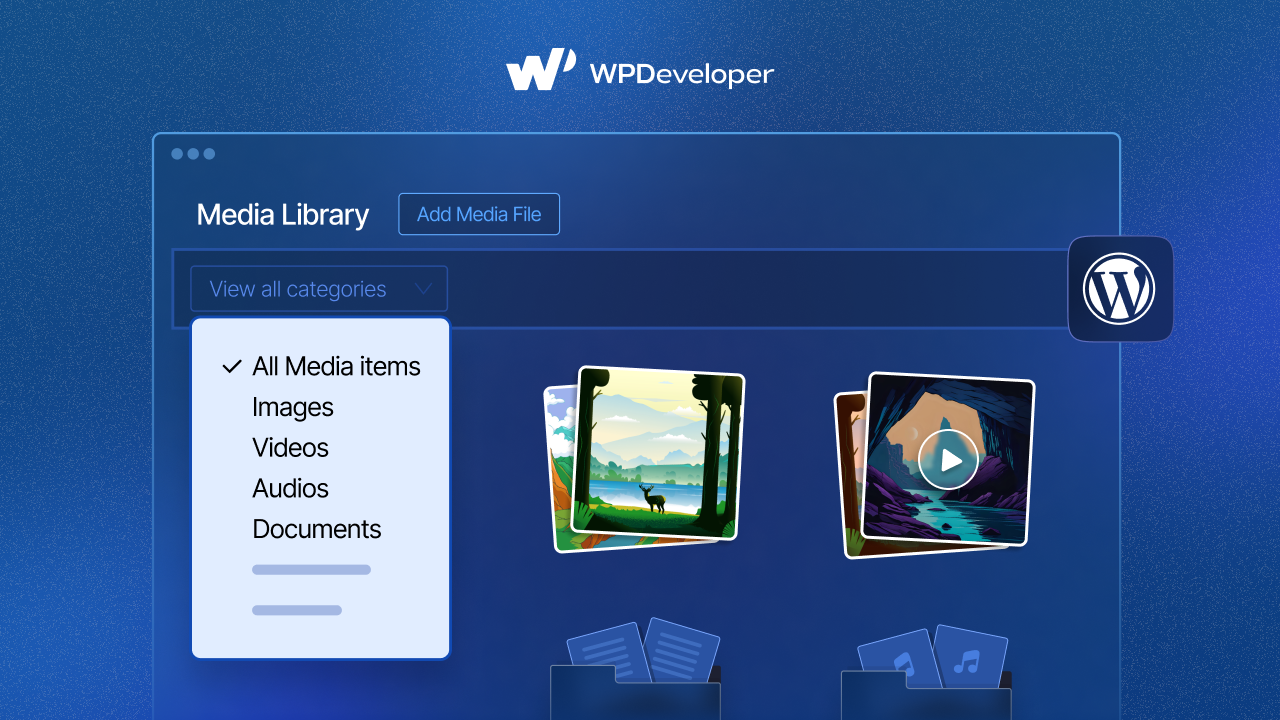
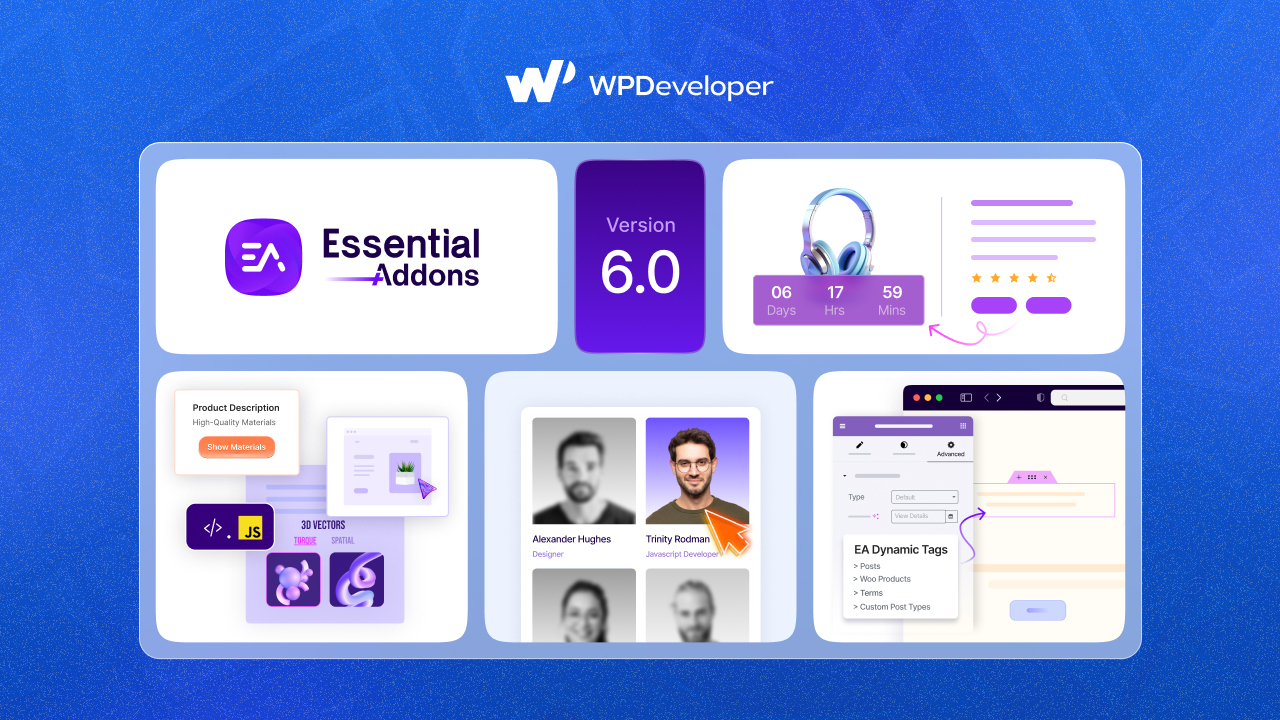
The most popular elements library out there, Essential Addons is proud to introduce the EA Image Scroller element. This element is built for the sole purpose of maintaining a moderate scroll-time for your blogs.
You Set The Image Container Size
No matter what the size of the image is, you can set its Container Size according to your requirements. If you have an image that is long, extends vertically, then you might want to set the container size to half its height. This would create an amazing scroll effect to amaze your site visitors. On the other hand, if you have an image that extends horizontally, you can set the container size to half its width.
To set the Container size all you need to do is use a drop-down and adjust a bar. First, navigate to Content>>General. Set the Container height using the bar. Then set the Scroll Direction for the image-vertical or horizontal, using the drop-down.

The Image Starts Scrolling At Mouse-Hover
The purpose of using EA Image Scroll is to present images in a stylish way. Also, it helps to accommodate large images in limited space. Then comes the question of how you want the image scroll to trigger. There are two options, you can either make it start scrolling at mouse hover. This will not fail to amaze your readers. But it comes with a shortcoming. Your site visitors cannot pause the scroll if you use auto-scroll. So, if you have important information at the bottom part of the image, or if the subject of the image sits at the middle, your visitors will need to hover their mouse over the image multiple times to make sense out of it.
In that case, you can simply turn off the Auto-Scroll option. Yes, you are only one Toggle Bar away from disabling the Auto-Scroll feature. If you do that, the Auto Scroll will be replaced by a Scroll Bar. Now your visitors can pause, Scroll up, Scroll Down, Scroll Right or Scroll Left at their own will.
However, this does not mean the auto scroll isn’t a useful effect. Imagine having to insert an image just for the purpose of decorating your web-page. In that case, inserting any bland image in combination with auto-scroll will help you achieve the right amount of action.
Wrapping Up!
Also, even if you aren’t dealing with large size images, you can use the EA Image Scroller just for its cool effect it comes with. EA Image Scroller lets you insert images in a totally different way than the traditional ones. Before we conclude, we would like to introduce another element that helps you insert two images without increasing the scroll-time.

Essential Addons comes with the EA Image Comparison element. Using this element you can place two images side-by-side. Moreover, this element lets your site visitors use a simple bar to unveil hidden areas of the images.