The idea of creating a brand new WordPress website can be exciting, but to play it safe, you might want to start with local websites first. With a local website, you are free to experiment however you want without worrying about any consequences, since your website will only be available to you rather than to the whole world.
Wondering what a local website is and how you can create one? Today, we’re going to show you the step-by-step guide on how to set up multiple local websites for free.
What Are Local Websites?
When it comes to launching a new website, professional web developers often follow three steps: development, staging and production.
First, they install the WordPress software locally on a device, design the website and test it thoroughly online.
Next, they push or upload the local site to an online, staging website, the URL of which is different from the ‘production’ or final website. During this time, more testing is carried out online and the site is often shown to the client at this stage.
When the website is finally ready to be launched, the staging site can be pushed to the production website, where it will be available for all users on the internet.
Now for this tutorial, we are going to focus on the very first step: on how you can create local websites.
The easiest way to go about this is by using Local by Flywheel.
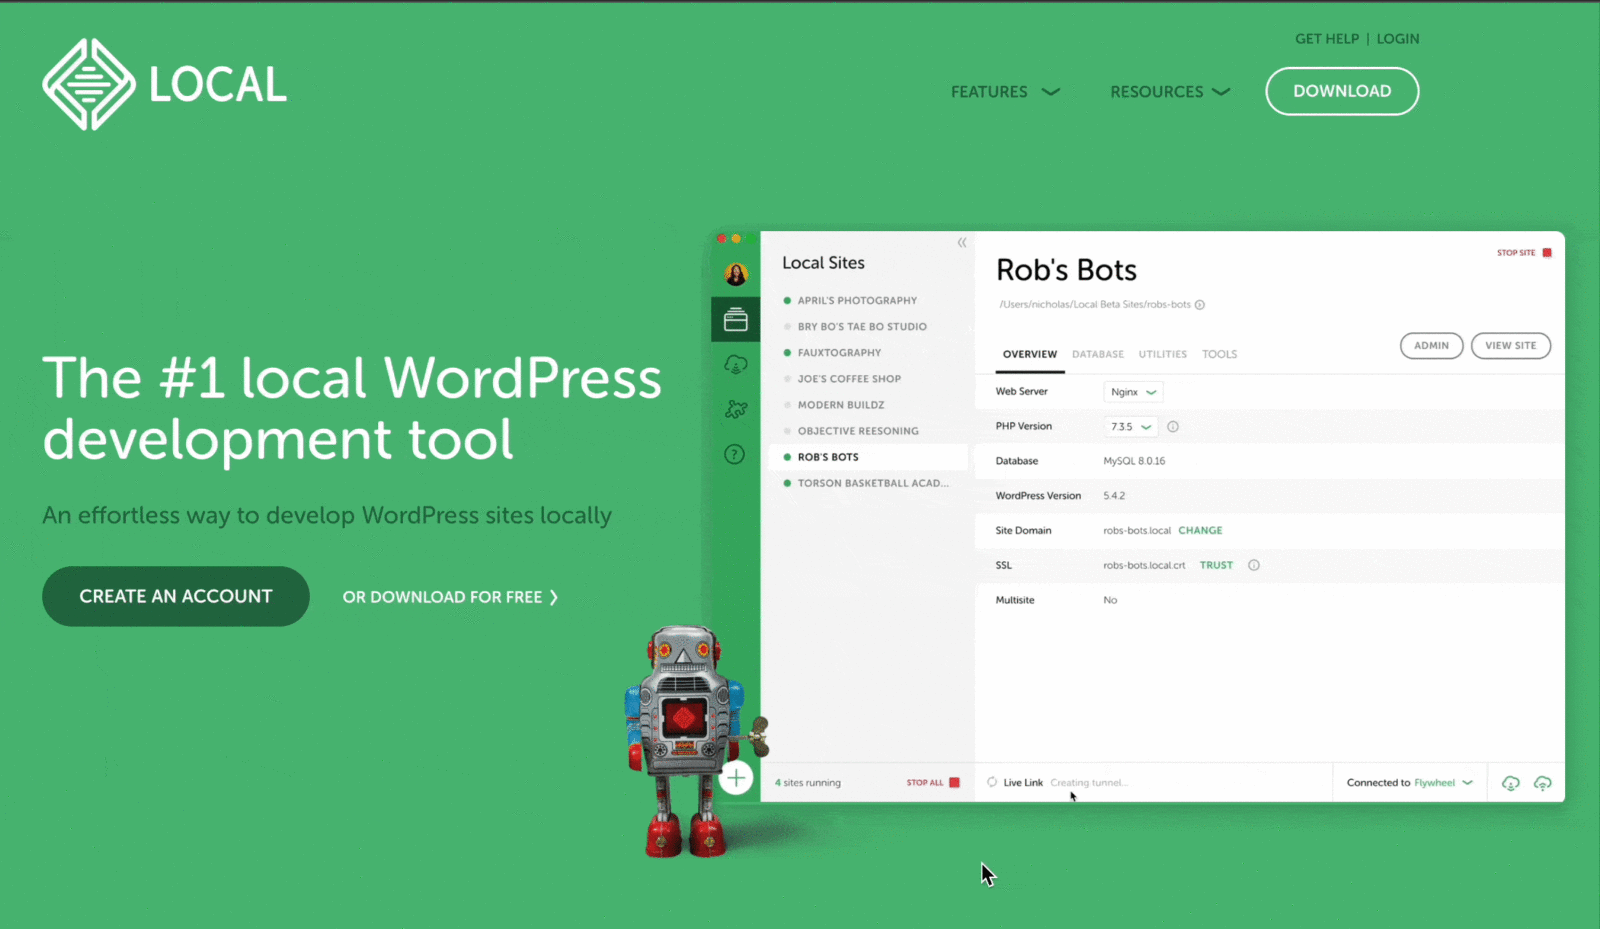
Local by Flywheel is one of the most popular local WordPress development tools brought to you by the same team behind Flywheel, one of the most popular WordPress hosting providers.
As the name suggests, using Local by Flywheel you can effortlessly set up multiple local websites and create your WordPress website limitlessly on your device.
From installing plugins and themes, to customizing your website with custom CSS, creating a local website allows you to play around with your WordPress website without any limitations.
The best part? Local by Flywheel is completely free to use, so you can easily set up multiple local websites and experiment with your WordPress website without worrying about sharing it with others.
How To Set Up Multiple Local Websites Using Flywheel?
To get started with creating multiple local websites using Flywheel, all you need to do is download and install the software on your device and add your WordPress website. Let’s get started.
Step 1: Download And Install Flywheel On Your Device
First, head over to Local by Flywheel and from here, download the free tool on your device. As you can see below, Local by Flywheel is available on Windows, Mac and Linux, so you can easily download and install the right software for your operating system.

You will be prompted to create an account by adding your name, email address and phone number. Add these details and follow the on-screen instructions to install the software on your computer. It will only take a few minutes.
Step 2: Create A New Local Website Using Flywheel
Once you are done installing Local by Flywheel, start the application. This is how the application will appear by default when you do not have any local websites set up.
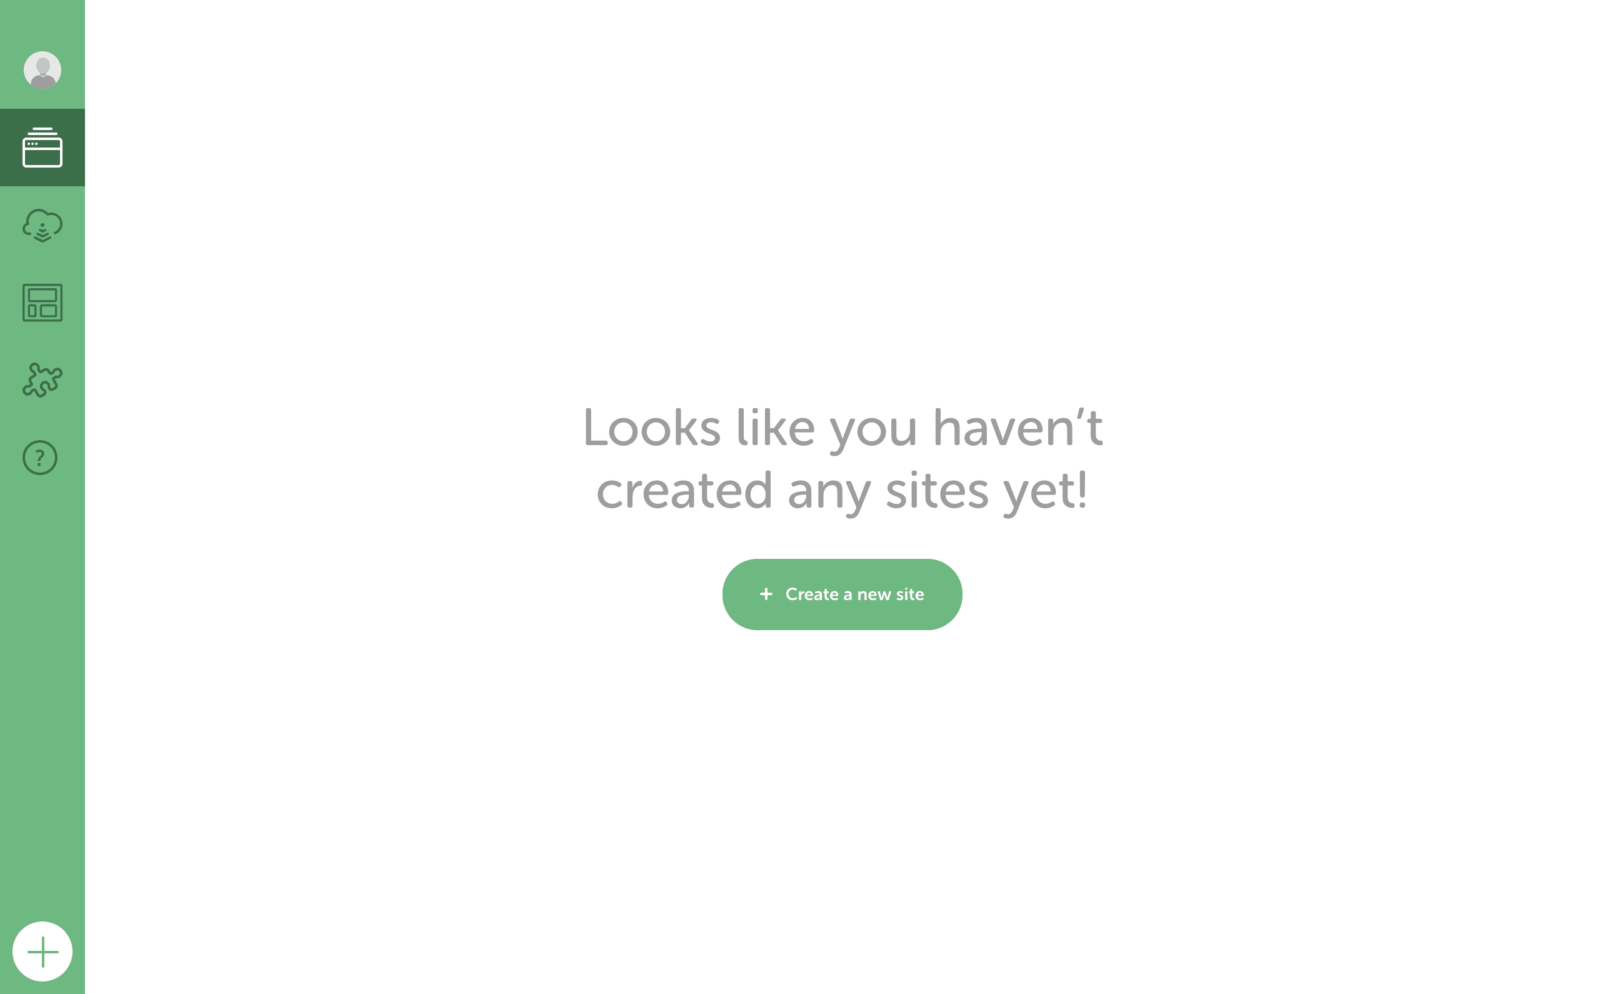
To add your first local website, click on the ‘+Create a new site’ button. This will prompt you to create a new local website using Flywheel.
In the next step, you will need to add a name for your website. As this is a local website, you do not need to worry about coming up with a unique name.
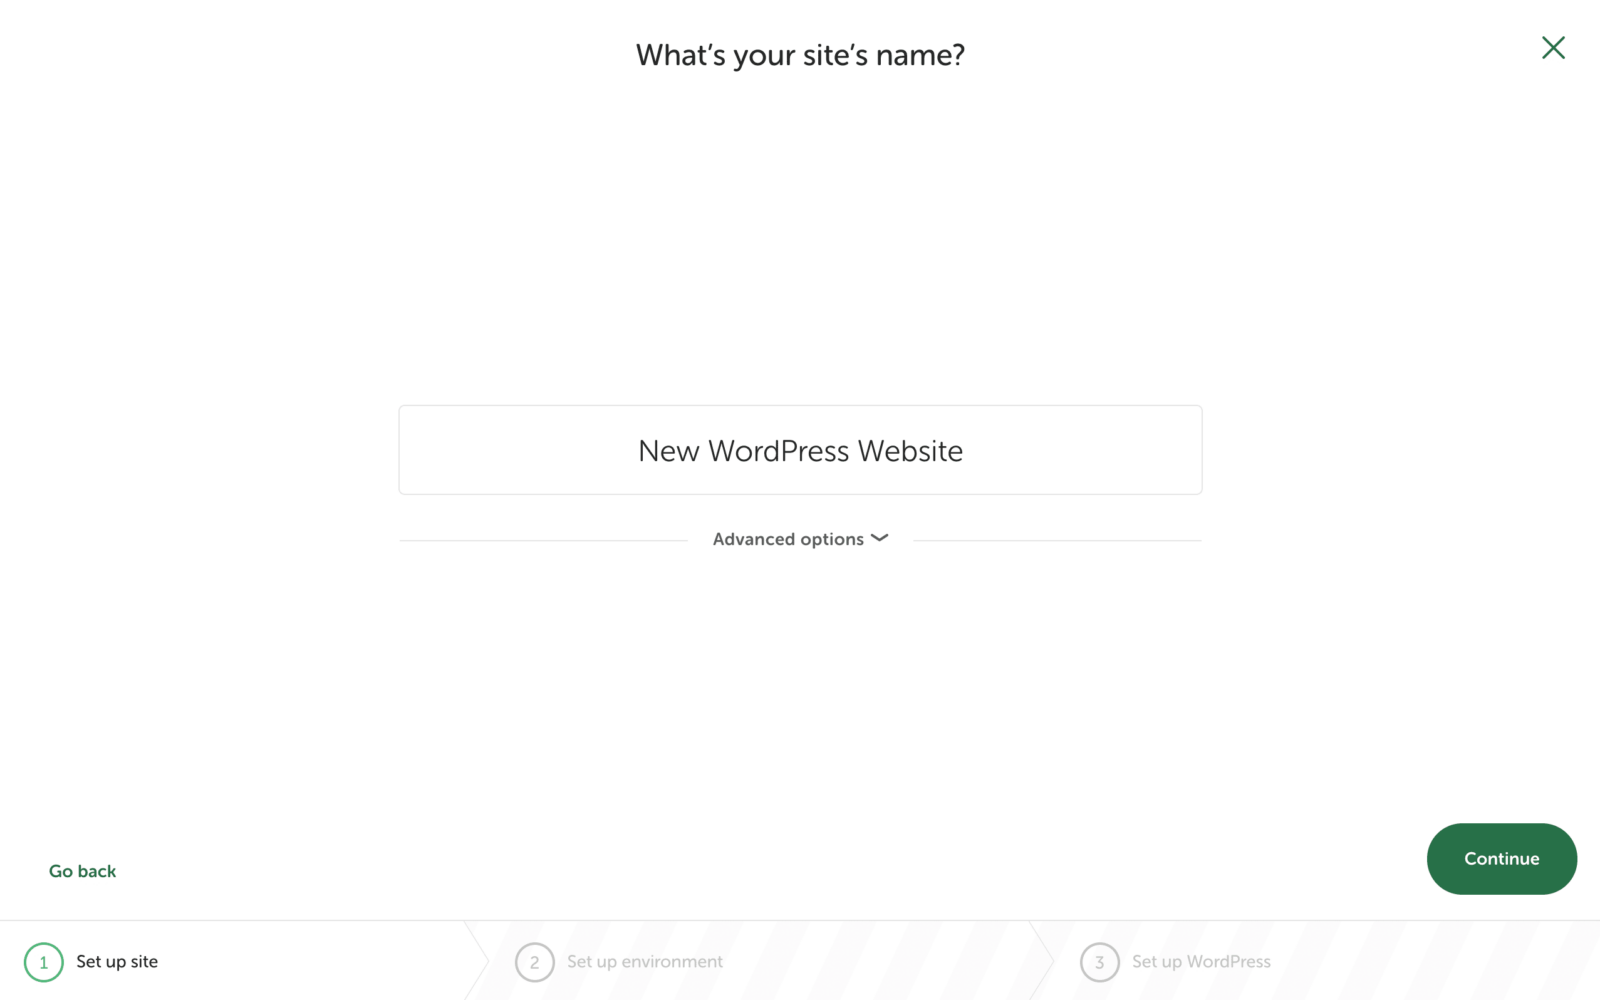
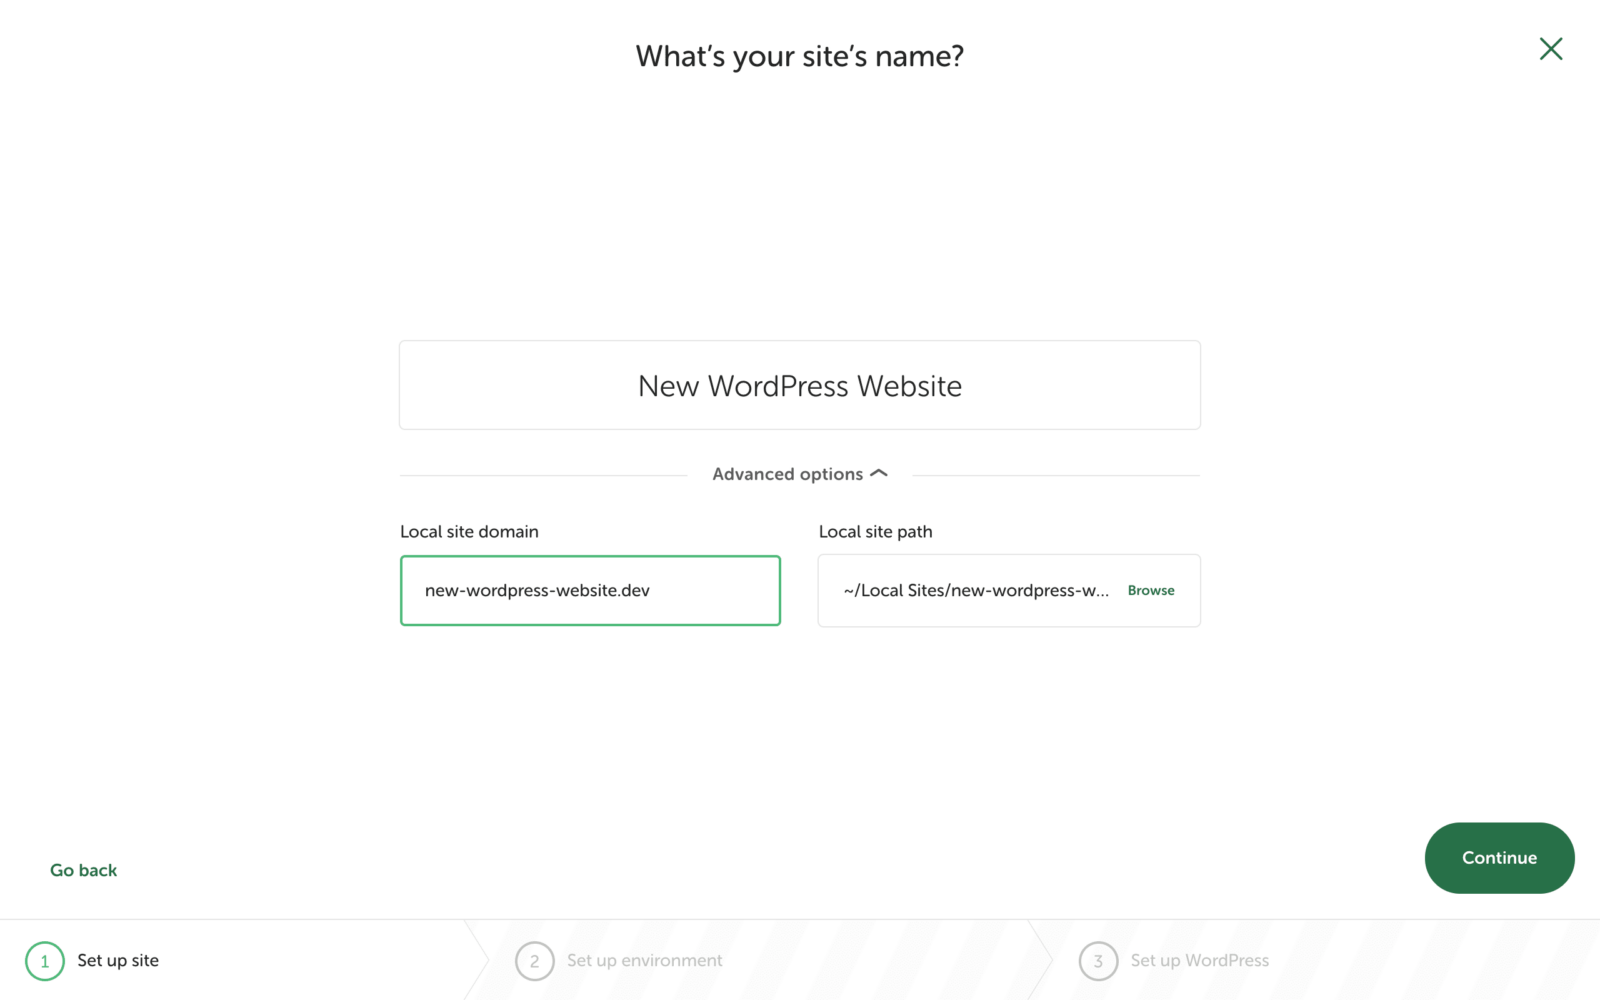
Clicking on the ‘Advanced Options’ will open a drop-down menu of options. From here, you can choose how you want your domain to end. By default, your local website domain will end in .local but you can change it to another suffix such as .dev as shown below.
Step 3: Set Up Your Local Website Environment
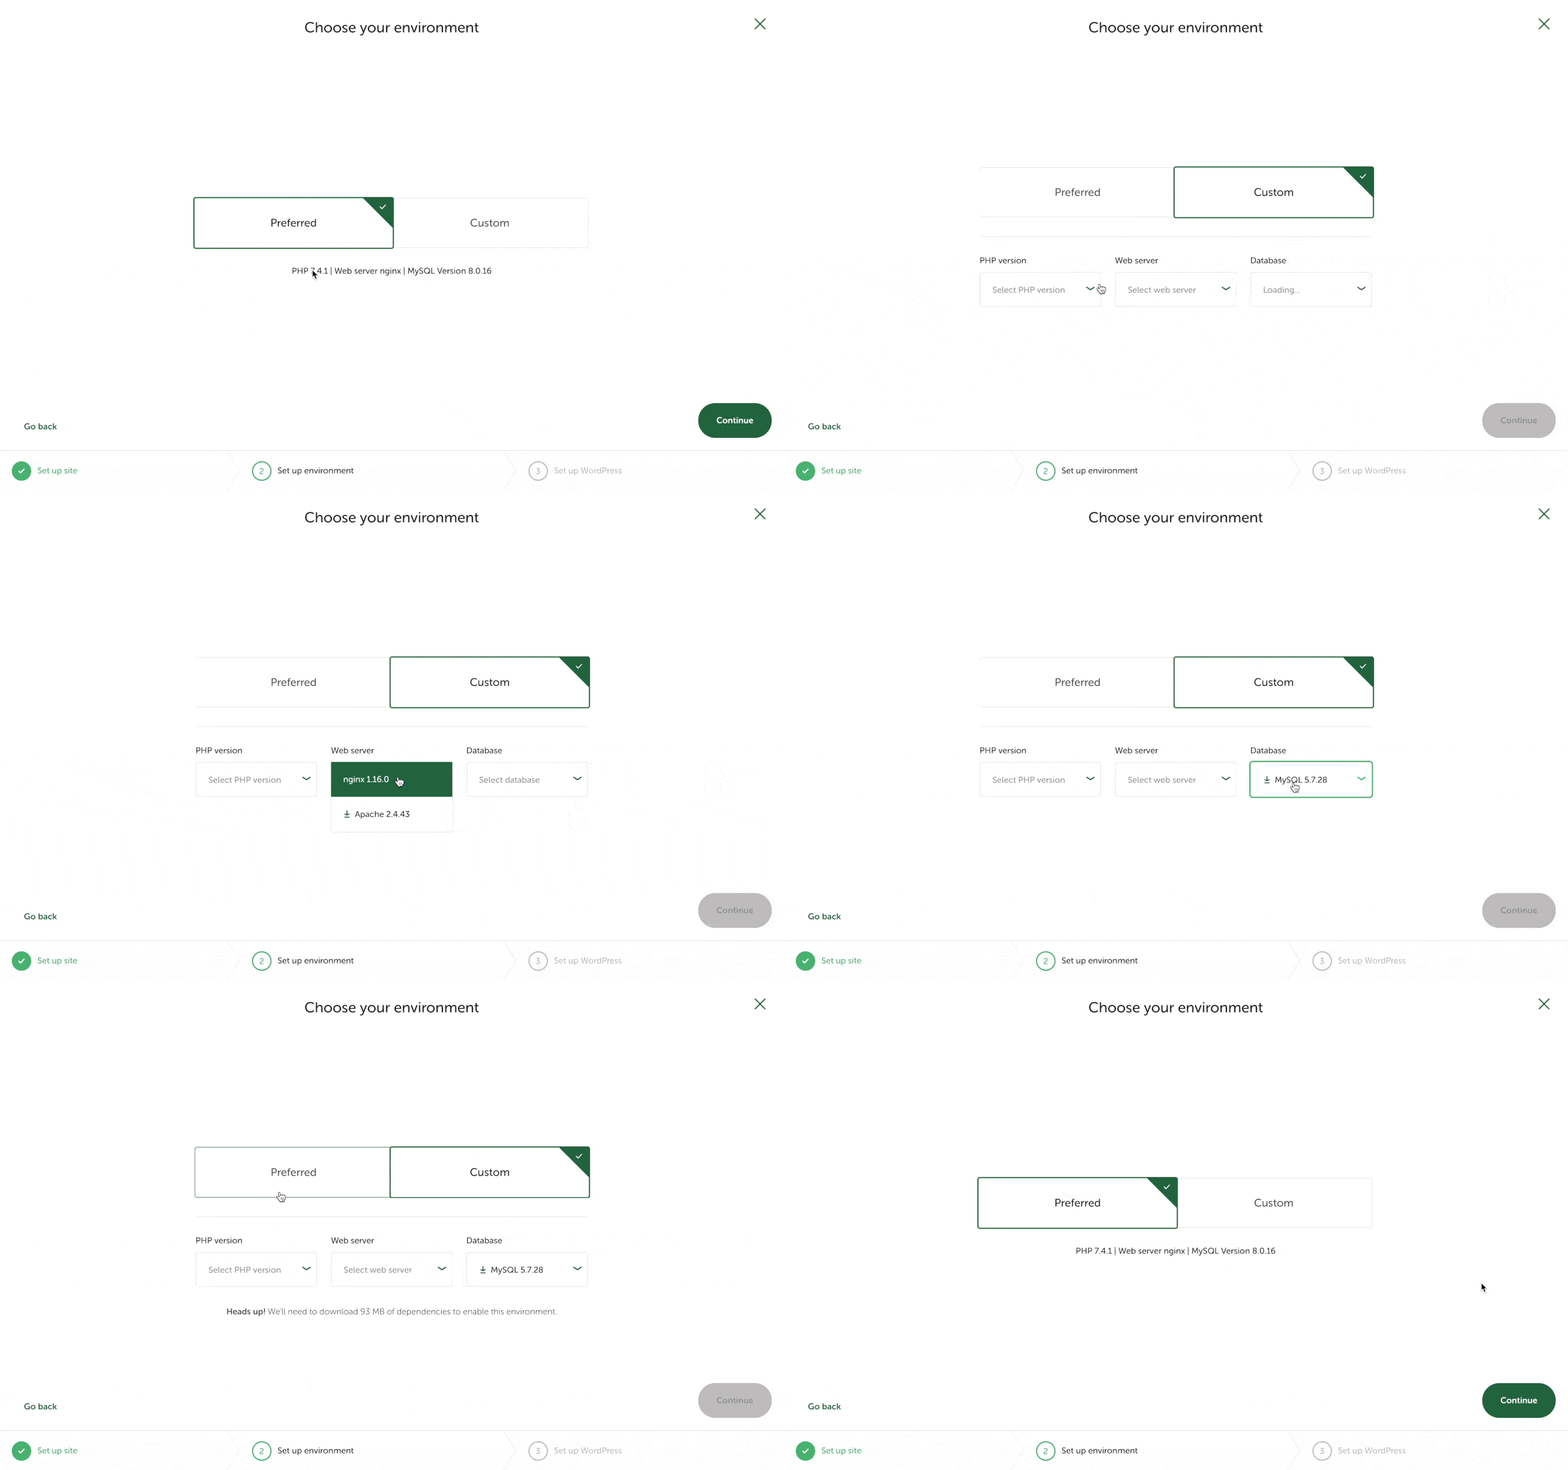
In the next step, you can customize the server environment for your local website. By default, the ‘Preferred’ option will use the same environment which mirrors Flywheel’s own web hosting. But if you want to do further customization, you can choose the ‘Custom’ option and set a different PhP version, web server and database version too.
Step 4: Set Up Your WordPress Website
Now, you just need to set up the basic details of your WordPress website. This includes adding your WordPress username, WordPress password and adding a WordPress email address.
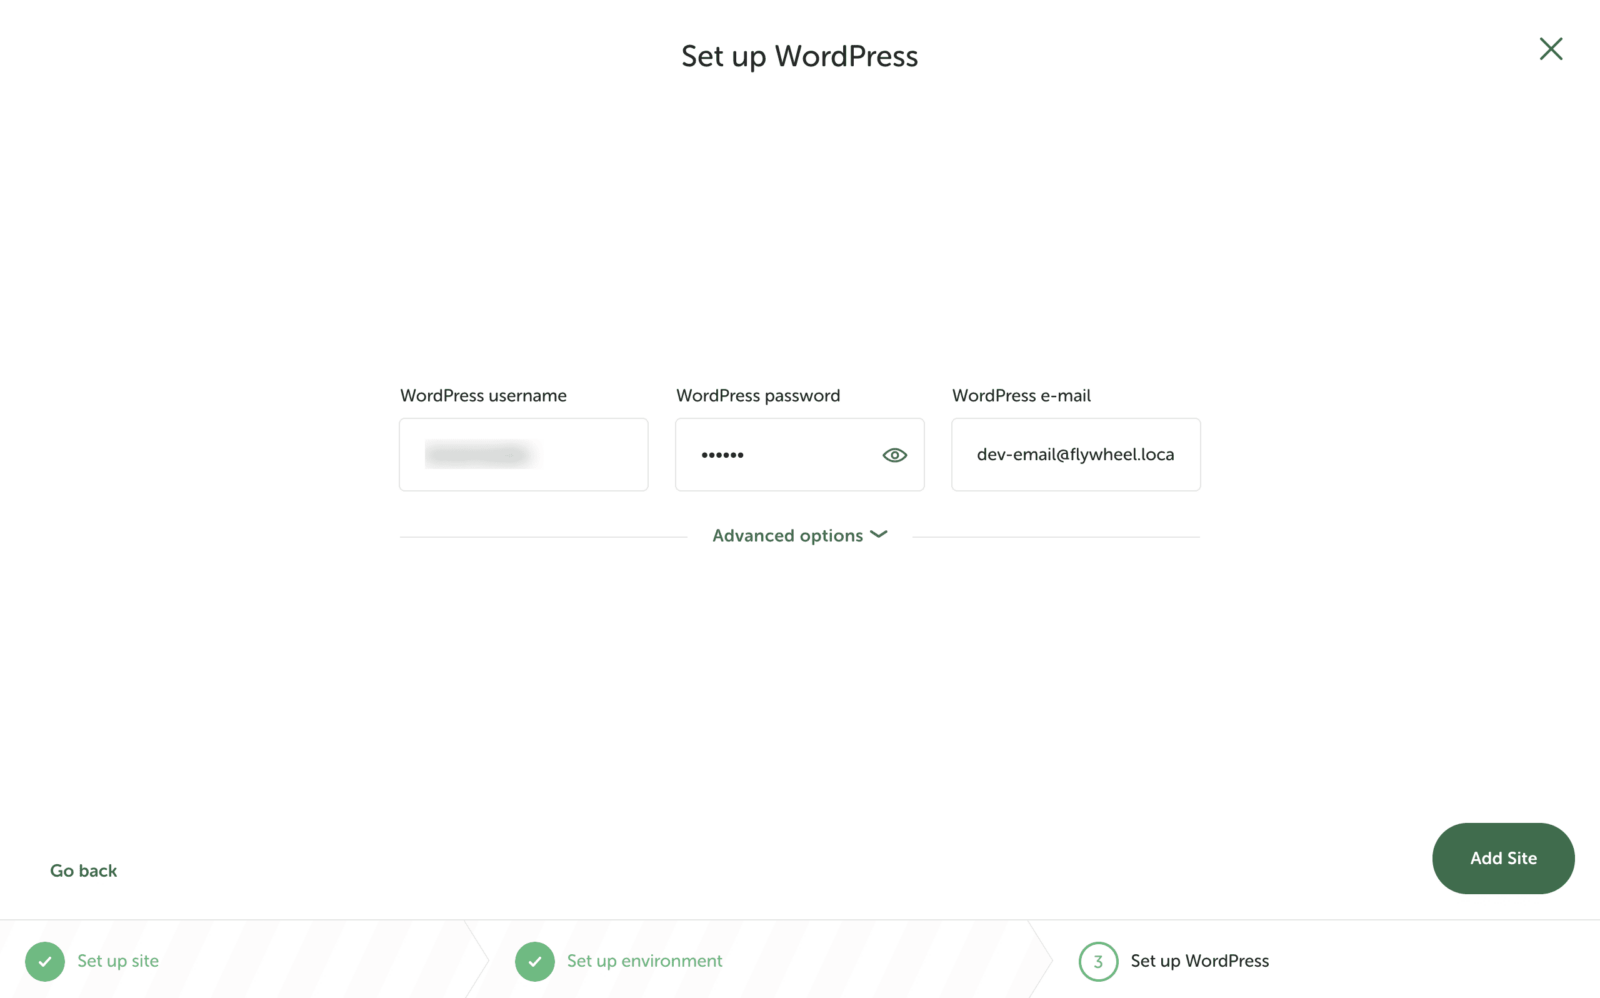
While there’s no need to fret over adding your WordPress username and password, you should definitely change the default email address to one that you actively use.
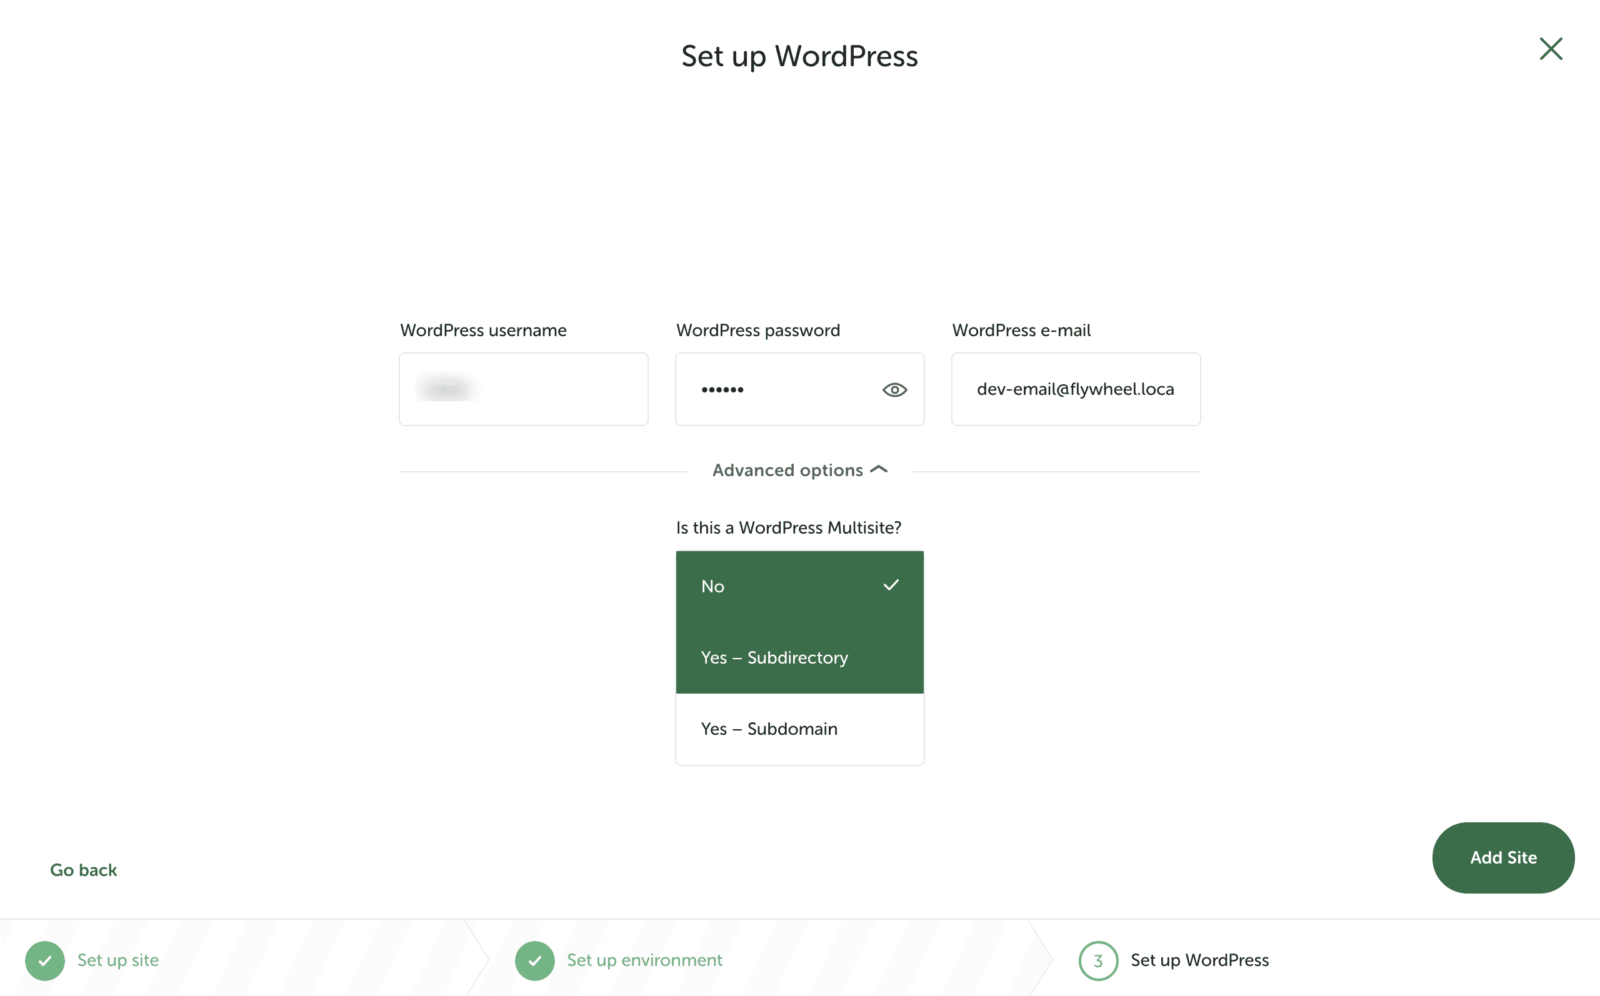
If you want to create a WordPress multisite, then you can also enable this option in Local by Flywheel by clicking on the ‘Advanced options’.
When you are ready to move on to the next step, click on the Add Site buttons as shown below.
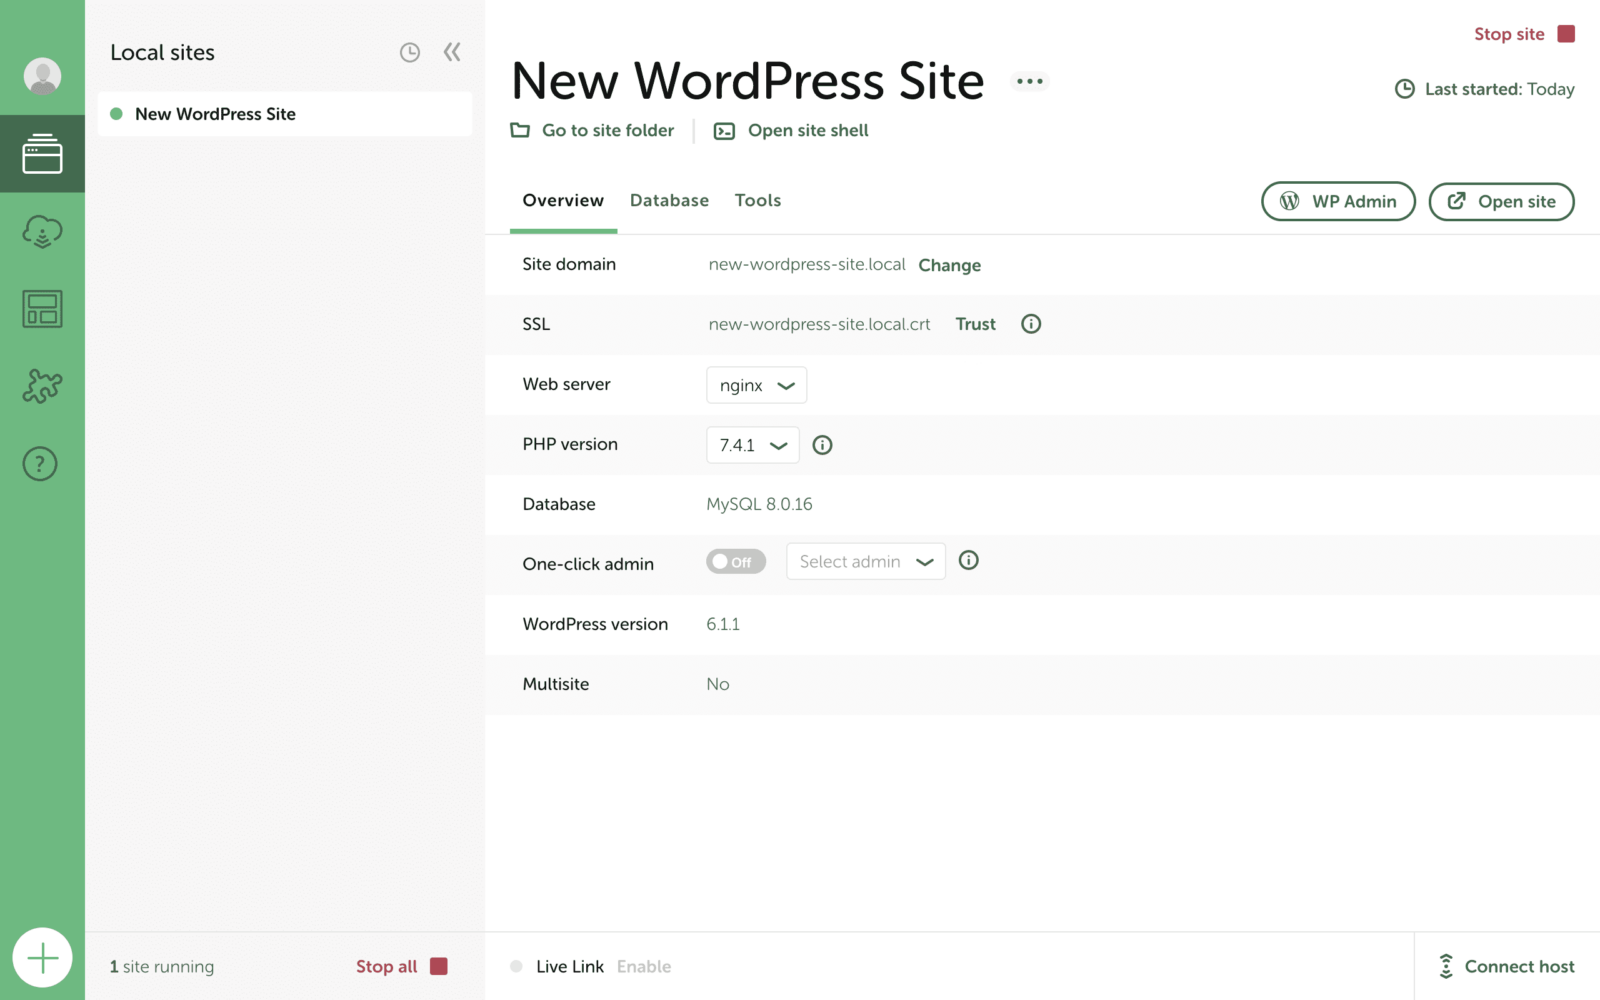
And just like that, you’ve created your very first local website with FlyWheel. You can now repeat the process from Step 1 to create multiple local websites using FlyWheel for free.
Bonus: The Ultimate WordPress Website Launch Checklist
Now that you know how to get started with creating a local website with Flywheel, design your WordPress website and set it up however you want. When you are ready to make your website live, make sure to check out our ultimate WordPress website launch checklist so you can publish your website the right way!
Enjoyed this post? Subscribe to our blog for more fun tutorials, news and the latest updates, or join our friendly Facebook community.


