Essential Addons and Timeline Elements
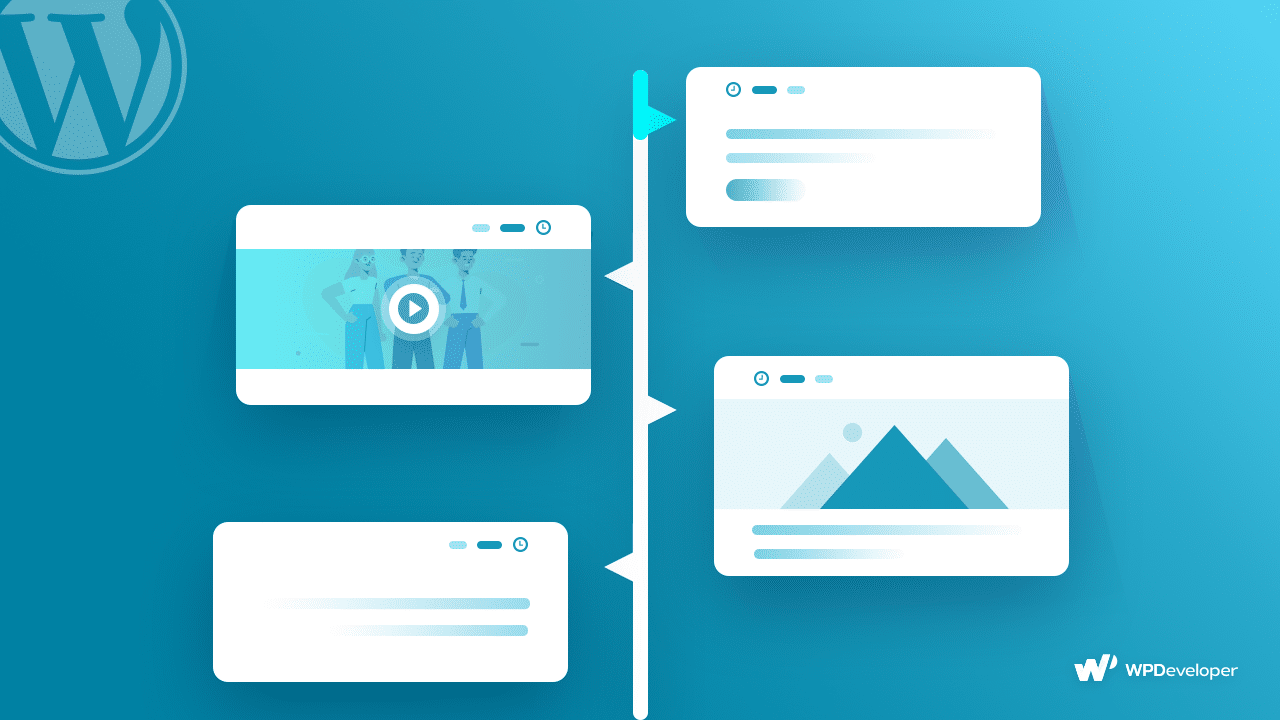
If you are using Elementor, then Essential Addons currently has two Timeline element- Content Timeline and Post Timeline. Luckily, both elements are very easy to use and have similar setting options. However, they differ in layout.
Post Timeline comes with the Free version of Essential Addons, which is a great tool to start creating Timelines for your WordPress Website. However, if you want to go the extra mile, we encourage you to try the EA Content Timeline element as well. So now that we know the tools you have at your disposal for creating Timeline sections on your Website, let’s see what are the most suitable places to insert one.Display Event Description using Timeline Elementor in WordPress
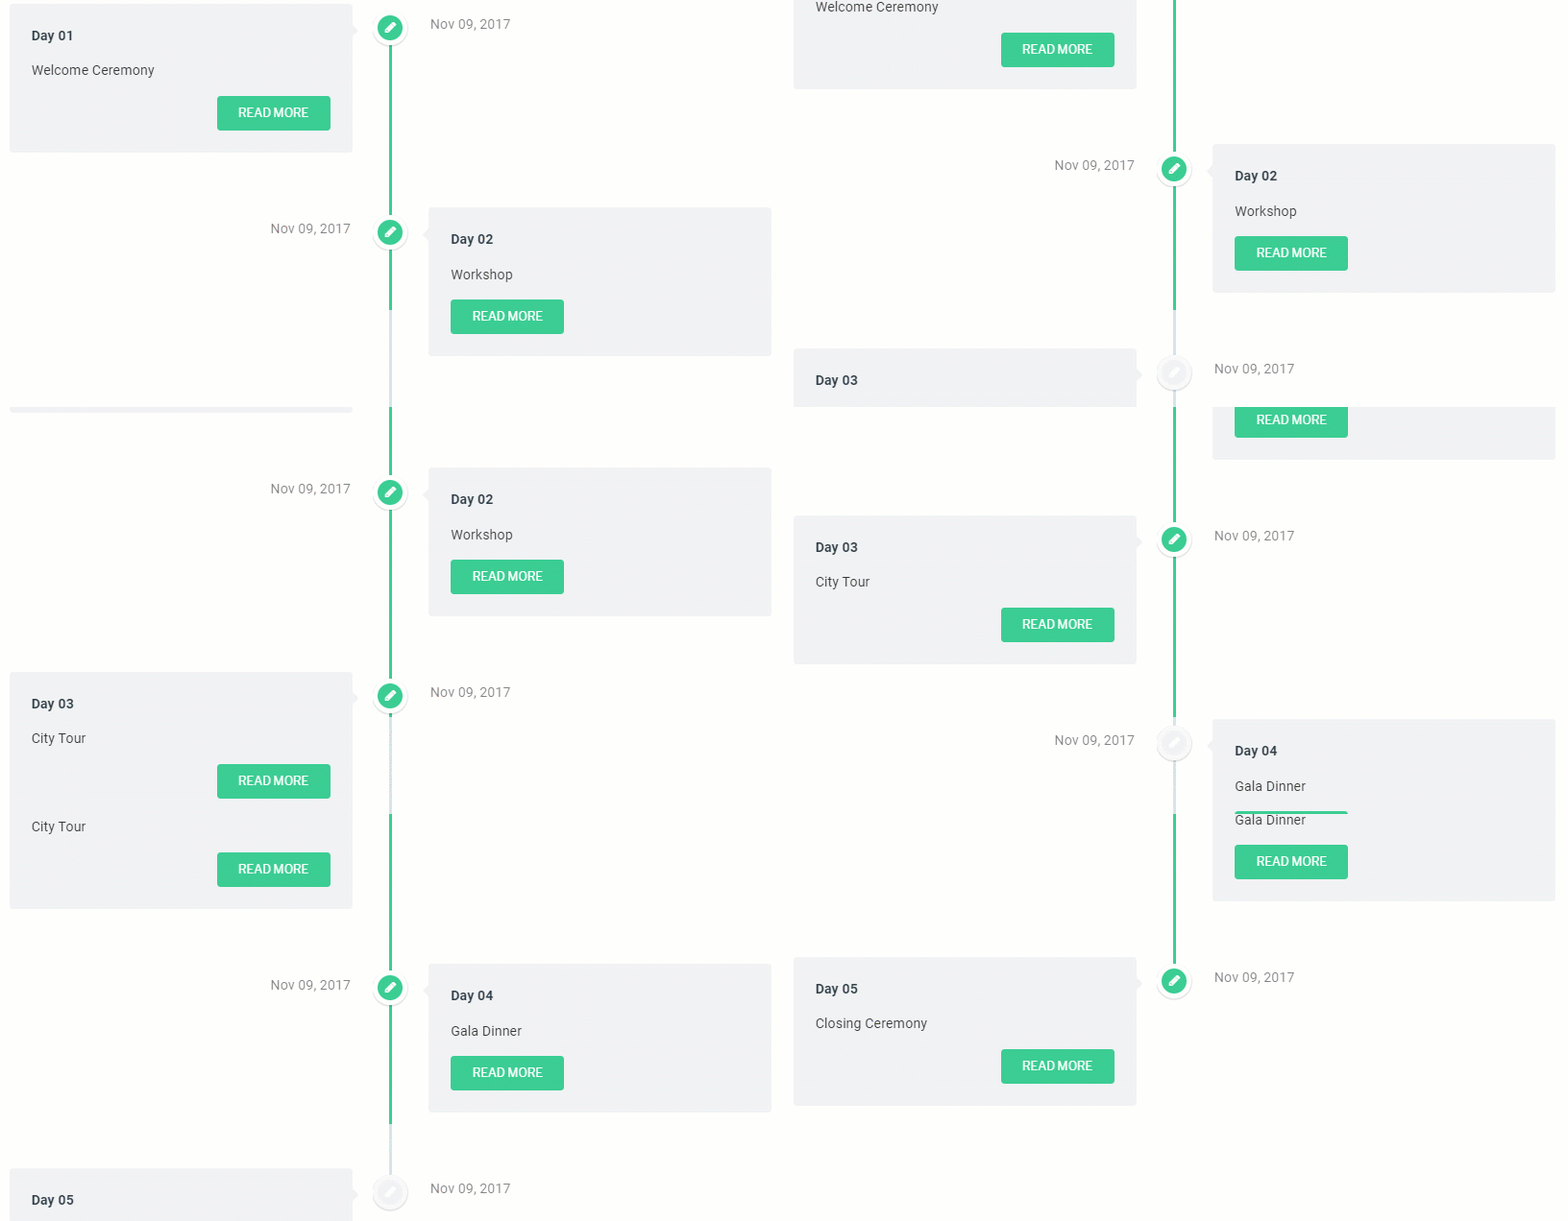
Every event has two parties involved. First, the organizer and the second is potential attendants for the event. The organizers need to communicate all the important details about their Event in the best way possible. And how can the Timeline element help in this regard? Well, the Timeline Element can help in displaying key information about the event in a chronological manner.
For example, can the Event Proceedings be displayed using a Timeline element? Yes of course. Depending on the duration of your event, you can arrange relevant information on both sides of the timeline.
Display Event Payment Steps using Timeline Element in WordPress
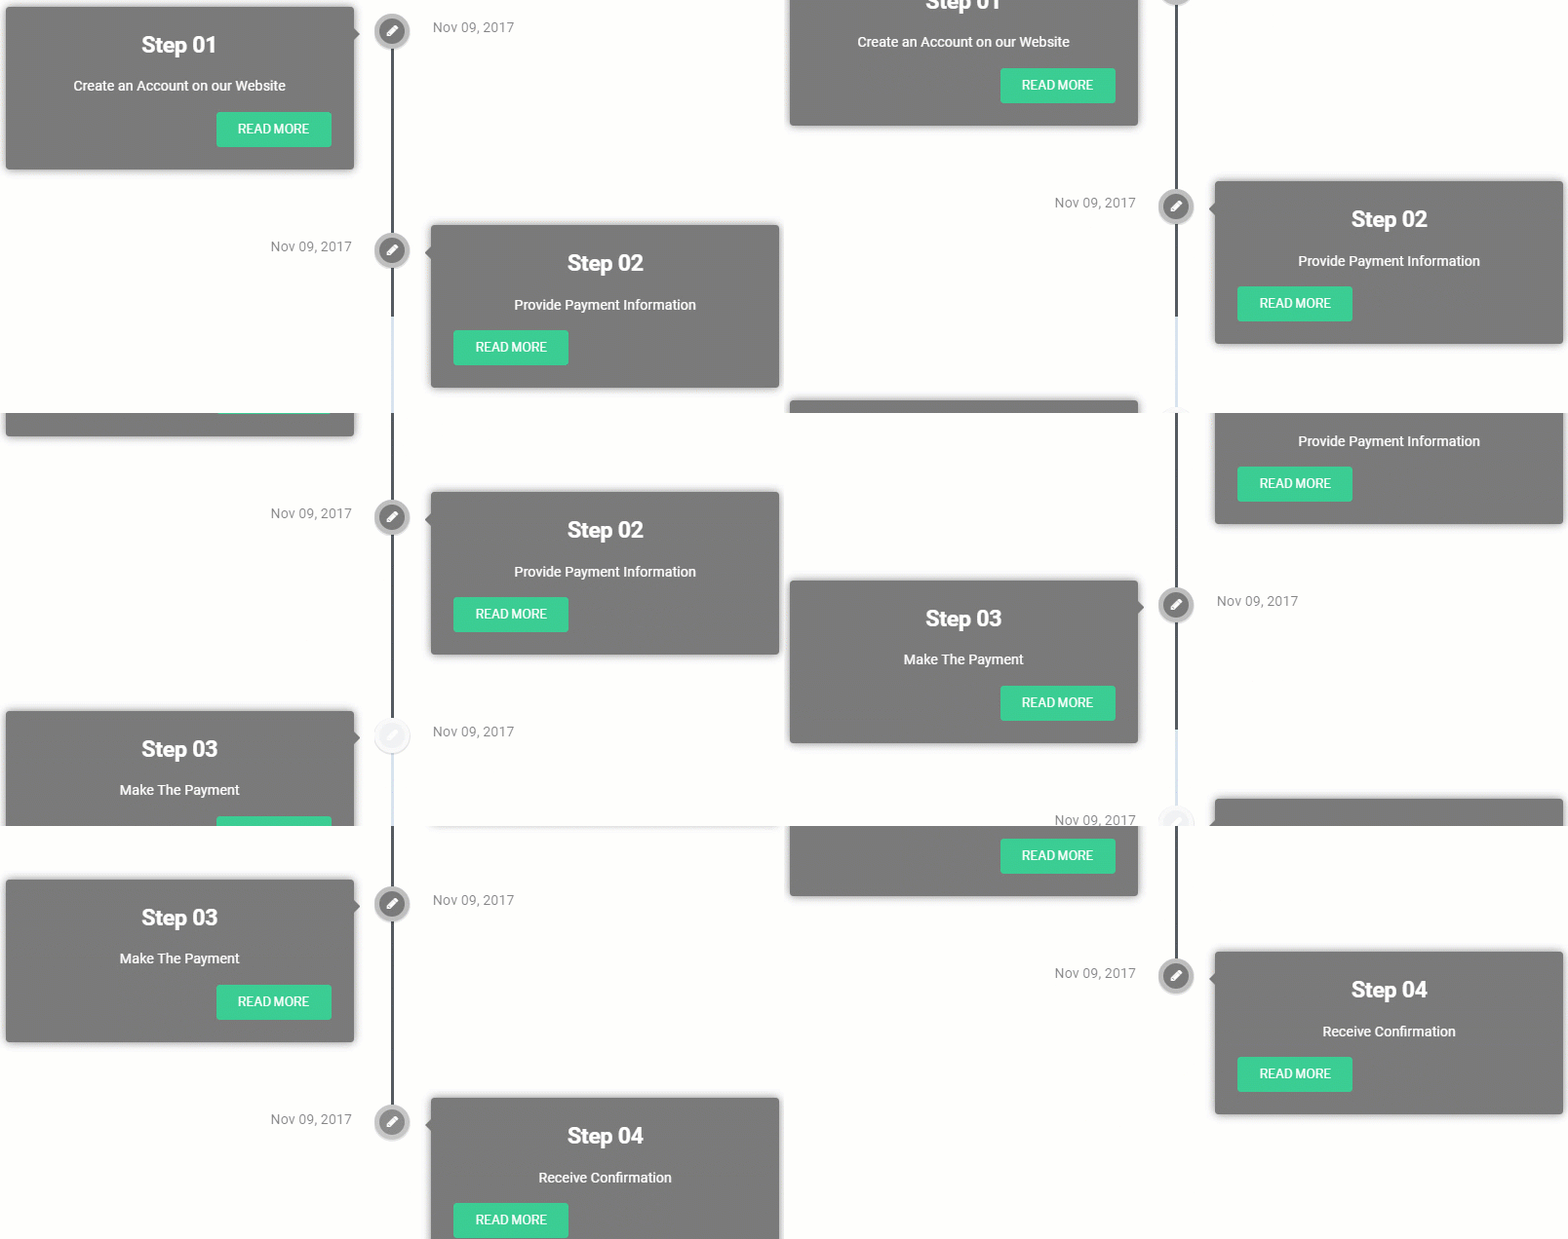
Another use case for the Timeline element is displaying the steps involved in making payment for the event. You can see a simple Payment Procedure in the below gif, but you can have more complex payment procedures. For example, you might have different pricing plans for your event. Maybe you are organizing a Music Concert in a stadium. And it’s very natural that the top row seats will have a higher price than the ones at the back. In that case, you will need to create the Payment Timeline that properly tells you what extra benefits you get with the Premium Ticket.
Build a Post Sequence using Timeline Element in WordPress
If you are good at one particular task and you are thinking about making money by teaching that skill to others, then the first thing you want to do is divide a sequence for your lessons.
Not everyone can learn at the same pace. Moreover, many individuals will come to you who already have some basic idea about the skill you are intending to teach. Keeping these factors in mind, you need to breakdown your entire lesson into distinct parts. And the best way to display the sequence of your lessons is by using a Timeline. Apart from displaying the Title, Price of the course, you can also display the tentative starting date of the course, all in a nice chronological manner.
Create Blog Sequence using Timeline Element in WordPress
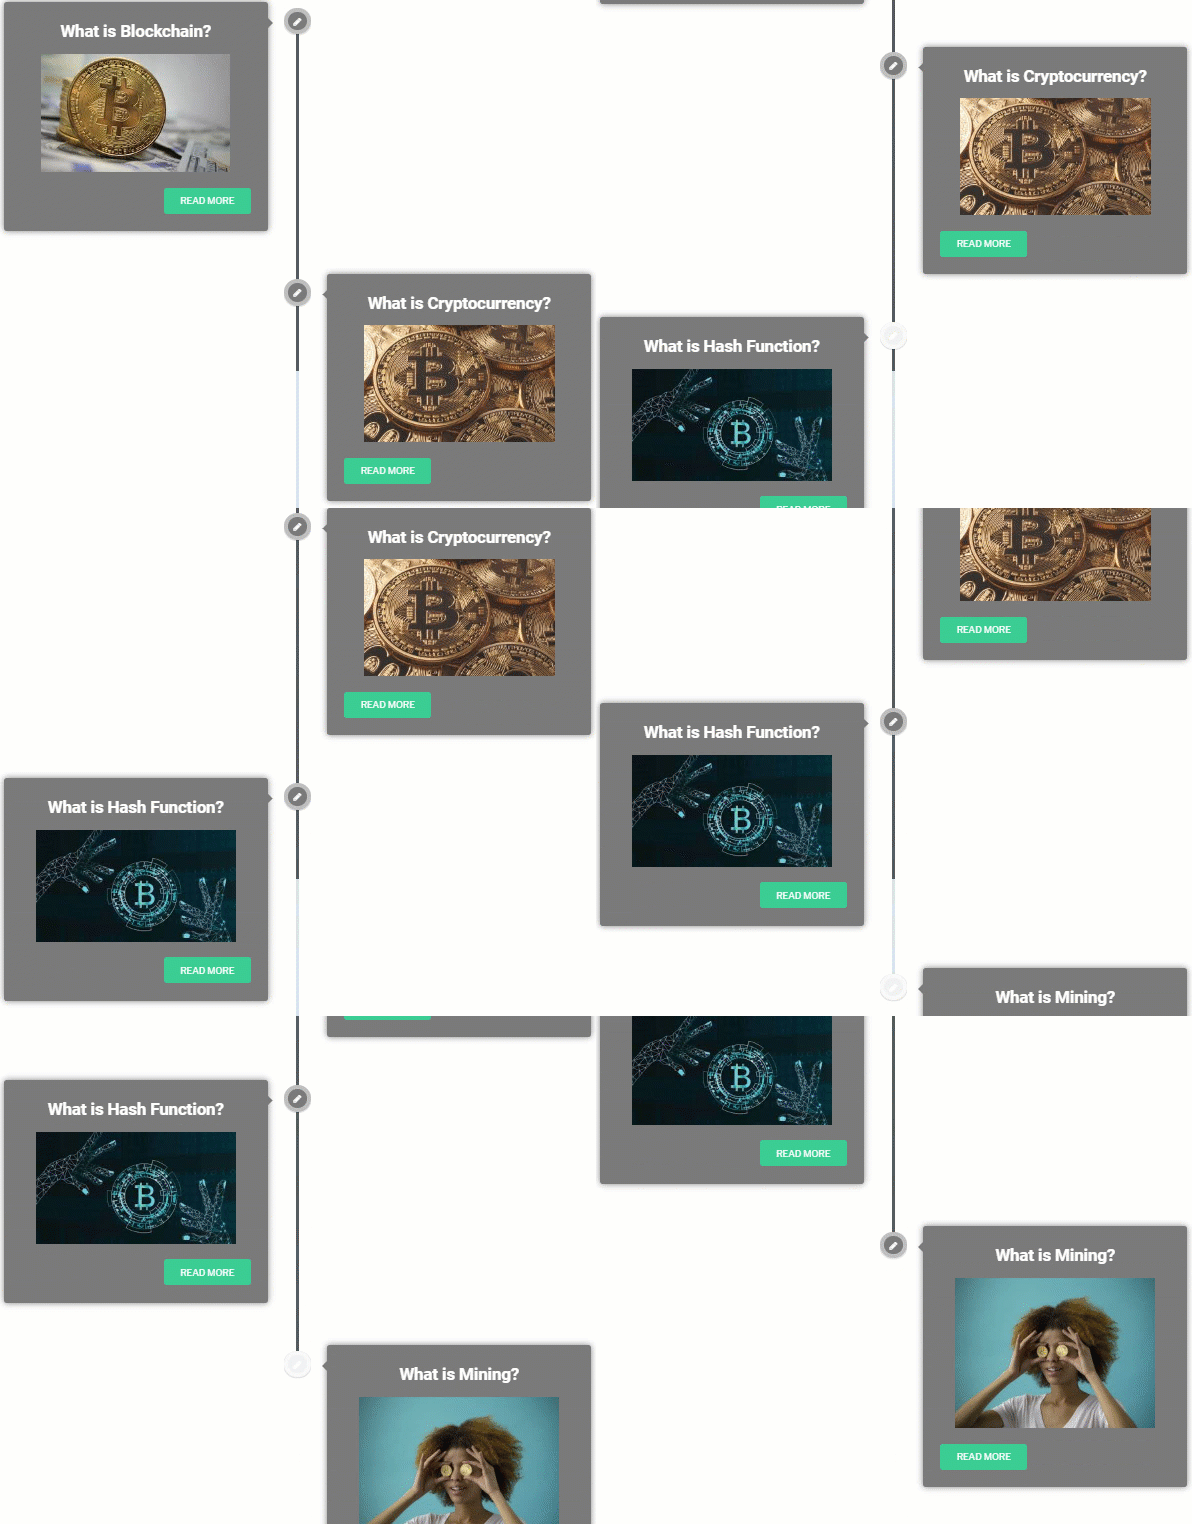
In case you have a blogging website, you might publish blogs that are related and inter-dependent on each other. For example, if you write a blog on “What is Cryptocurrency”, you are expecting that your readers already know the basics of Blockchain. But what if they don’t.
A great solution to this issue is writing a series of blogs. You include the basic topics at he beginning of that series and slowly progress to the harder ones.
Wrapping Up!
If you are using Elementor, you don’t need to get any extra plugin for creating a Timeline for your WordPress Website. You will get two Timeline Elements with the most popular Addon Library for Elemetoe, Essential Addons. Both the EA Content Timeline(PRO) and EA Post Timeline(FREE) are ideal for creating Timeline layout for your WordPress Website. If you want to learn the details about using these two elements make sure to check our Documentation pages.
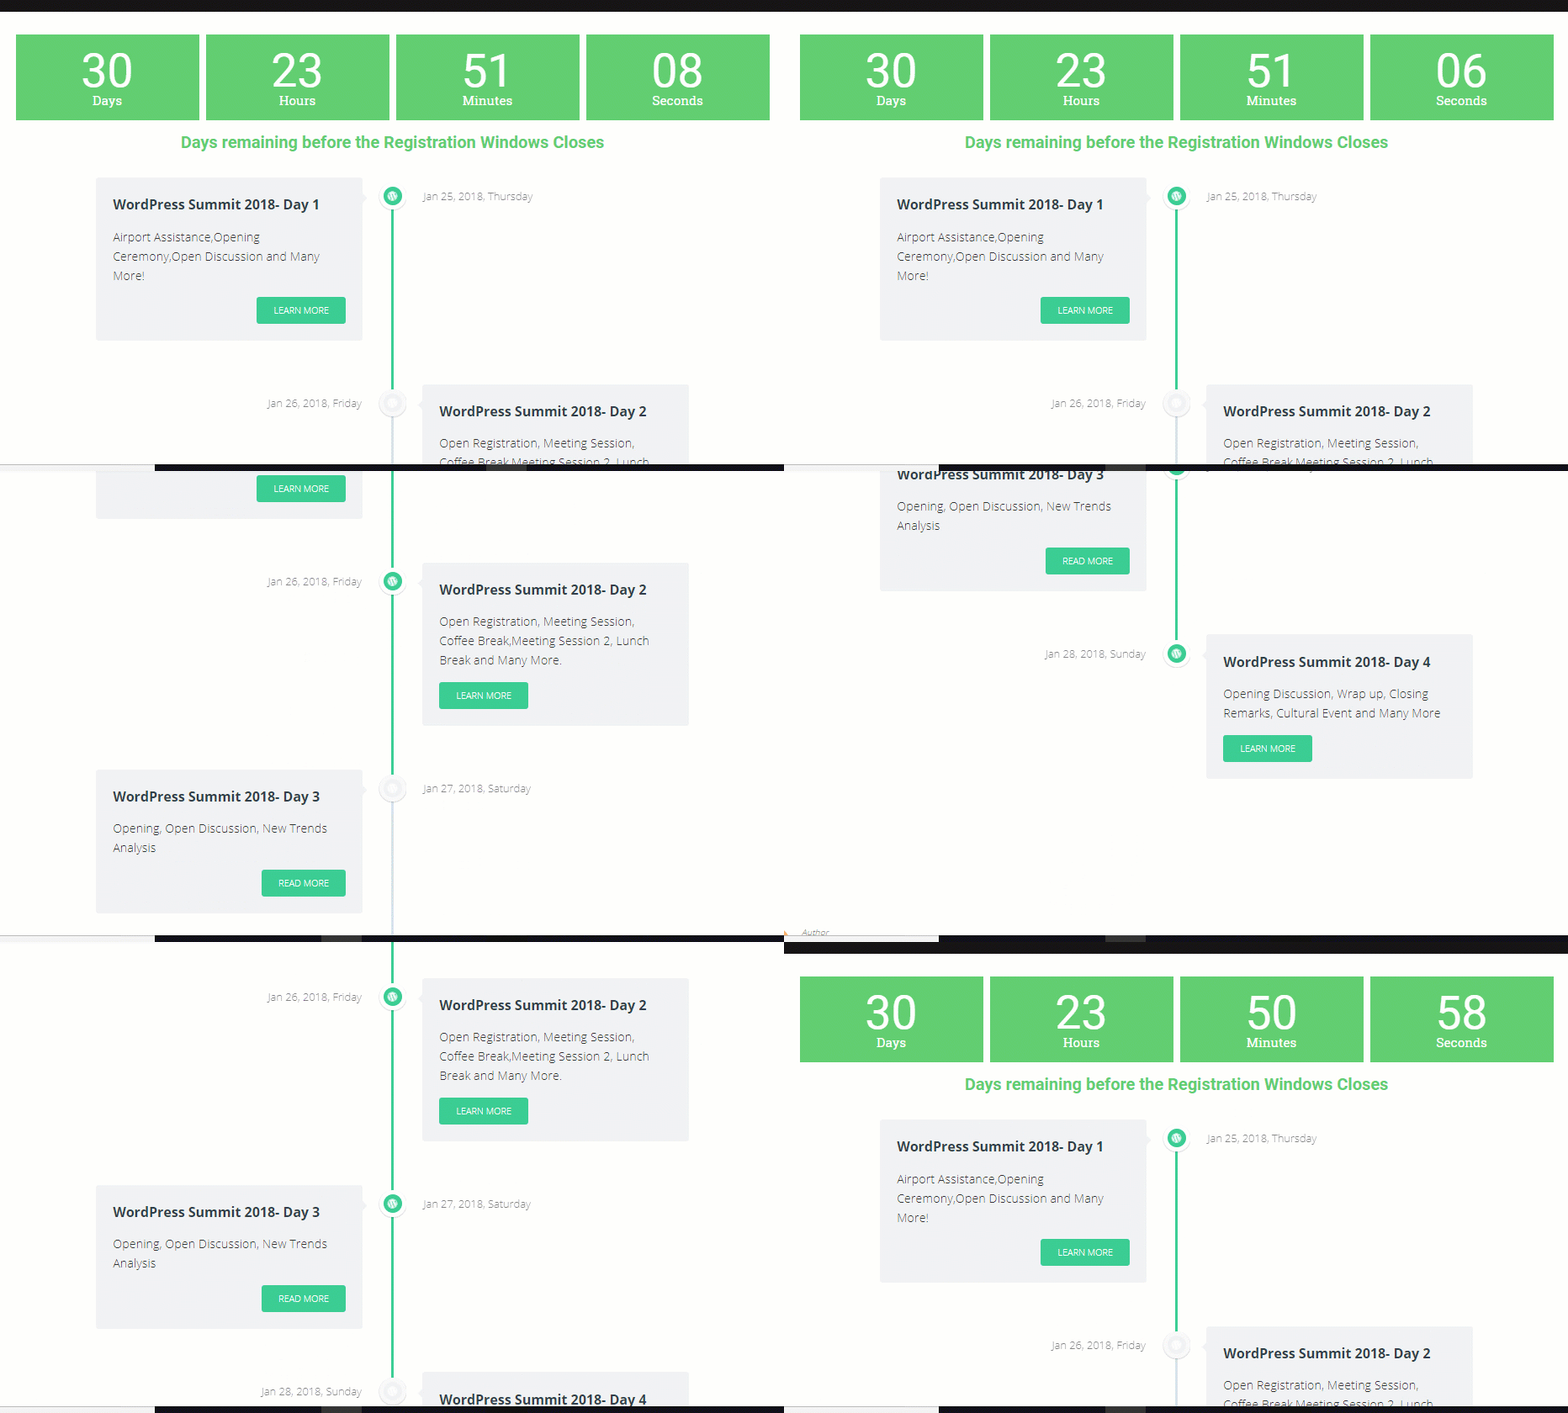
Once you start getting a hang of the elements, we encourage you to start using them in combination with other elements. A great place to start would be to use the Timeline elements in combination with the Counter Element.

