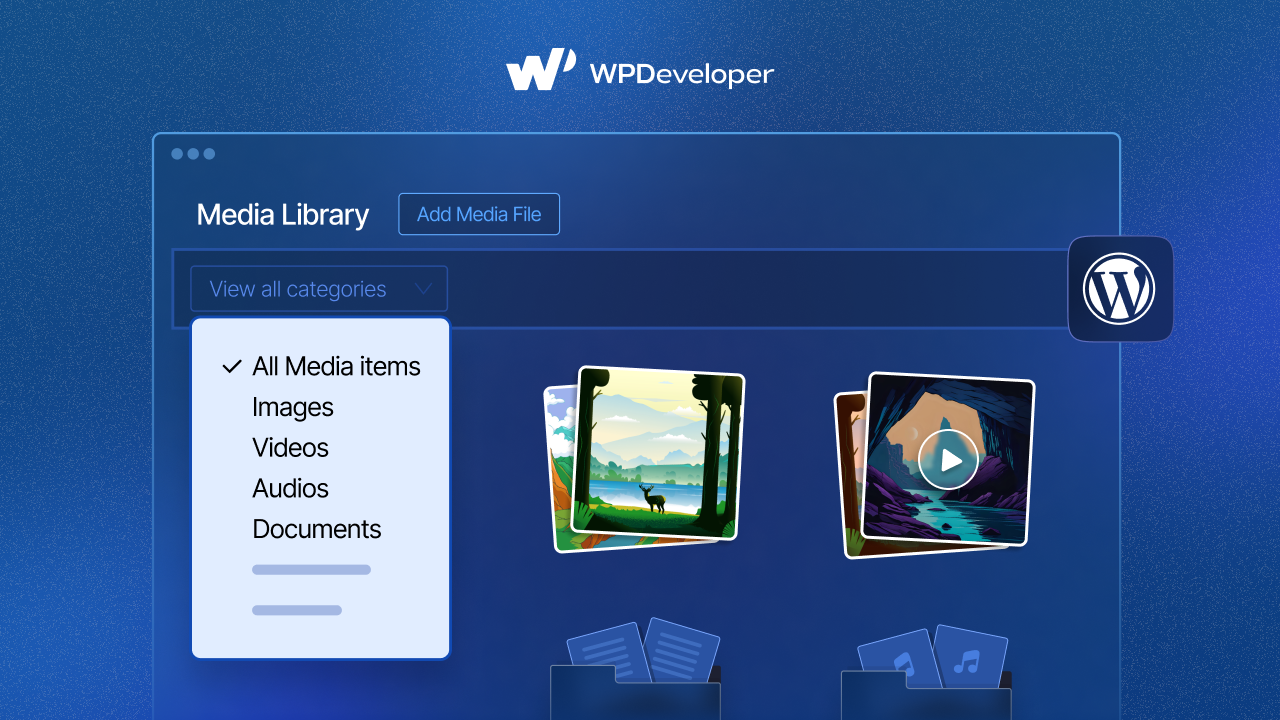
You’ve most likely heard the term WordPress custom taxonomies before, most likely with respect to WordPress posts. Even if you haven’t, no worries. Because we are here to explain to you exactly what a taxonomy is. And what do they do in WordPress?
In this post, we’ll explain a taxonomy and teach you how to create one for your own website. Taxonomies are a simple yet effective approach to adding more functionality and flexibility to your website. So, without further wait, let’s get started.

What Are WordPress Custom Taxonomies?
Taxonomies are widely used in WordPress, particularly for web posts. WordPress has two taxonomy systems by default for usage with Posts: Categories and Tags. If you have been a part of this content-sharing platform for a while, you’ve certainly used both of these previously to organize your material. Even if you have not, it’s time you got started.

But what if you want your posts to have a more elaborate structure? What if you want to utilize custom post types and organize them with anything other than categories or tags? For instance, you might create a new post type called Cookbook and then sort it by Recipe.
This is where WordPress custom taxonomies come into play. You can employ a custom taxonomy to construct complex structures that split your material into parts. They can also make your clients’ lives simpler. Custom post types and taxonomies can be created for them, which are subsequently shown in the WordPress sidebar. And additionally, you can make a well-organized WordPress website without any hassle.
Why Create Custom Taxonomies In WordPress?
So now, we know that tags and categories are both taxonomies and that tags are flat whereas categories are hierarchical. A custom taxonomy is a custom organizing system for your content that can be plain or hierarchical.

Additional taxonomies would be created if you consider they will be relevant to you or your audience. For example, we believe that some of our readers may choose to view only “Novice” or more advanced stuff therefore we built a new classification called difficulty. However, because this does not make sense on all, or even most, sites, it is not included by default in WordPress.
Guide: How To Easily Create WordPress Custom Taxonomies
There are some easy ways to create WordPress custom taxonomies. In the following sections, we have discussed 3 ways to do it to help you learn all the methods available and then, choose the best one for you.
Method 1: By Using A WordPress Plugin
There are many free and paid plugins available for WordPress to easily create any WordPress custom taxonomies. For the tutorial purpose, we are going to use the Custom Post Type UI WordPress plugin.
The first step is to install and activate the Custom Post Type UI plugin. Next, in the WordPress administration area, navigate to the CPT UI → Add/Edit Taxonomies menu item to build your first taxonomy.

Then, on this screen, you will need to do the following:
- Create your taxonomy slug (this will go in your URL)
- Create the plural label
- Create the singular label
- Auto-populate labels
Then, scroll all the way down to the ‘Additional Labels‘ section. In this section, you can describe the sort of post you’re creating. These labels appear in your dashboard when you modify and manage content for WordPress custom taxonomies.

The settings option comes next. You can configure various properties for each taxonomy you build in this section. Each choice is accompanied by an explanation of what it does.

As you can see in the image above, we chose to make this taxonomy hierarchical. This means that ‘Subjects‘ in our taxonomy can contain sub-topics. A subject named Fantasy, for example, might contain sub-topics such as Romance, Mystery, Murder, and others.
There are several more options in your WordPress dashboard that you may leave as-is for this tutorial. You can now save your own taxonomy by clicking the ‘Add Taxonomy‘ button at the bottom.
Finally, in the WordPress content editor, save the post type associated with this taxonomy to begin using it. And that’s it, you have successfully created taxonomies and organized your web content using a WordPress plugin.
Method 2: Create WordPress Custom Taxonomies With WooCommerce
The good news is that developing a custom taxonomy for WooCommerce items is nearly identical to the plugin Pods Admin. Of course, you’ll want to make sure you have WooCommerce installed and items uploaded to your store before proceeding.
The only thing that needs to be changed is what occurs when you go to the Advanced Options screen. Instead of checking Posts (post), this time you’ll check Products (product):

Method 3: Add WordPress Custom Taxonomies By Pushing Code
If you are a developer or do not want to utilize a third-party plugin, you may manually add custom taxonomies.
This solution requires the addition of code to your WordPress website. We don’t advocate manually altering your WordPress files because even a minor error might cause your entire site to crash. As a result, we recommend that everyone utilize WPCode, the most user-friendly and secure code snippet plugin available.
Bonus: How To Run A Proper Website Speed Test + 5 Best Tools
And with that, we conclude our quick guide on how to create WordPress taxonomies. But before we leave, we also wanted to share some tips with you on making your WordPress experience much better. Even the tiniest loading time delay can send people away from your website; in fact, research says that if your site takes more than 400 milliseconds (or 0.4 seconds) to load, consumers are more likely to go to another.
This is where determining the speed of your website comes into play. But how can you determine whether your site is quick enough to attract users’ attention? This post will provide you with comprehensive instructions on how to perform a decent website speed test.

Have you liked this blog? Share your comments in the feedback section, subscribe to our blog, and join our Facebook community for more WordPress tutorials and articles.


