Fonts on websites have always been more than just text styles – they are powerful tools for shaping a website’s personality and user experience. As a web developer or web designer, you need to add and manage fonts flexibly to build fully functional websites. The recently launched WordPress 6.5 introduces an innovative feature, the WordPress Font Library, which allows you to effectively manage, install, and utilize fonts across your entire website.

The capability to add and manage site fonts directly in your WordPress dashboard is surely a game-changer for WordPress website managers and developers. Now, let us explore this new feature with a comprehensive guide on how to leverage it to enhance your website typography.
🎉 New WordPress 6.5 with Font Library
Before getting more into the specifics of the new Font Library, it is essential to understand the context of the recent WordPress release. Released as the first major update of 2024, WordPress 6.5, named “Regina“, is an exciting upgrade packed with major features, enhancements, and bug fixes.
This version, developed by over 700 contributors worldwide, is geared towards enriching the experience of site builders, designers, and developers. It aims to make the website management and content creation process more streamlined and enjoyable with Interactivity API, Font Library, and more. Now, let us explore one of its most buzz-creating features: the WordPress Font Library.
🎊 Introducing the WordPress Font Library
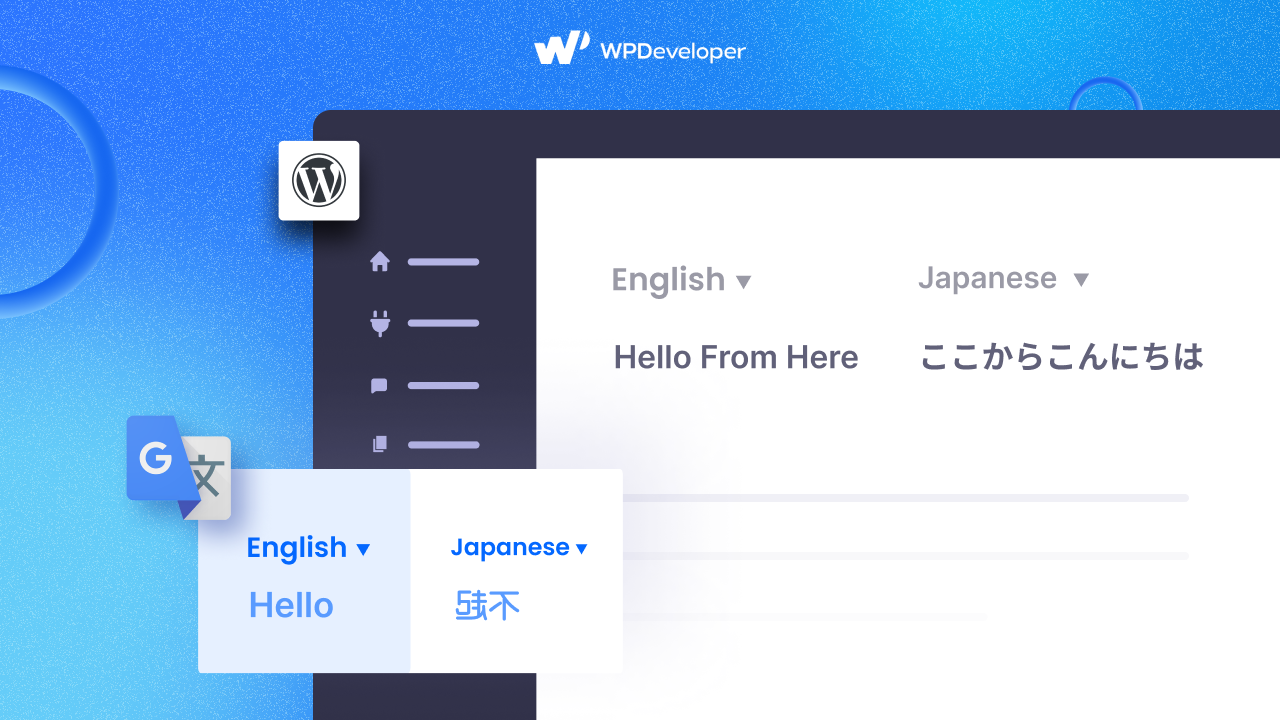
A standout feature introduced in this WordPress release is the Font Library. This component allows you to manage website fonts similar to managing media in the WordPress Media Library. It is a site editor-based feature that enables you to control fonts. How? You can install, manage, and smoothly use them via the Styles interface. All from a single location!
On top of that, you can now install and uninstall local fonts and Google Fonts directly within your WordPress dashboard. The fonts you add to your library can be utilized across your site, regardless of the activated theme. This addition significantly expands the styling options for site creators and publishers, enabling more customizations and attractive website designs.
🔡 [Guide] How to Add And Manage Site Fonts
Now that we know how the Font Library has been introduced in the WordPress recent release, you might be excited to know how to add and manage them. Follow these simple steps below to leverage the new WordPress Font Library.
You can access the latest WordPress Font Library in two ways, as below:
👉 Site Editor: In your WordPress dashboard, navigate to ‘Appearance‘ and then ‘Editor‘. Keep in mind that this section is only visible when using a Block Theme.

👉 Styles → Typography: In the Site Editor interface, click on the Styles icon in the top right corner. Navigate to the ‘Typography‘ section to customize your fonts or add new ones.

👉 Manage your fonts: Click the ‘Manage fonts‘ button to open the Font Library in a popup. Here, you will find pre-installed WordPress fonts in the ‘Library‘ tab. You can upload fonts locally from the ‘Upload’ tab or connect to the Google Fonts library in the ‘Install Fonts’ tab.
👉 Install new fonts: Browse or search for a specific font in the Google Fonts library, select the ones you wish to add, and click ‘Install’. The font will be downloaded and served directly from your website, ensuring no additional requests are sent to Google.

📝 How to Apply Installed Fonts
Once you have added fonts to your library, you can apply them to your site in the following ways:
👉 Apply Fonts to Theme Elements: Go back to the website typography area in the Styles section and assign your newly added fonts to different elements of your site, such as headings, body text, or buttons.
👉 Apply Fonts to Individual Blocks: Whether you are using the Site Editor or editing a post or page, click on the block you wish to change the fonts for. Navigate to the Block settings, look for a section called Typography, and select the Font Family option to change the font for the chosen block or element.
Now, your site’s font styling can be fully customized to match your brand’s aesthetics without the need for extra plugins or CSS adjustments.
📌 The Impact on Classic Themes

While the WordPress Font Library is a significant enhancement for Block Themes, it is important to note that it is currently incompatible with classic themes. Users of classic themes may need to consider transitioning to a block theme to benefit from this feature fully. However, with the speed of development in the WordPress ecosystem, it is possible that future updates or third-party plugins may extend this functionality to classic themes.
🎉 Leverage the Font Library & Maximize Your Web Aesthetics
The introduction of the WordPress Font Library in version 6.5 has made managing and customizing website typography significantly more effortless and user-friendly. Remember, to leverage this feature and many others that WordPress 6.5 offers, ensure your WordPress installation is up to date. As you explore the new possibilities, do not forget to back up your site before any major updates.
If you have found this blog helpful, feel free to share your opinion in the comment section or with our Facebook community. You can also subscribe to our blog for valuable tutorials, guides, knowledge, tips, and the latest WordPress updates.