As WordPress is powering up more than 40% of all websites around the world, it is the perfect platform for you to create your multi vendor website. And the easiest way to go about it is by using beautiful, ready Elementor template packs like the one we are going to show in this tutorial.
With the rapid increase in online shopping, most customers don’t want to waste time searching many different websites just to purchase one product. Instead, online shoppers these days are shifting to multi vendor marketplace websites like Amazon, Etsy, eBay and AliExpress. This way, they can explore many different products and stores all in one place and without having to leave the website.
For entrepreneurs or business owners, a multi vendor website is a big opportunity to collaborate with sellers, grow the network and boost eCommerce sales. Let’s find out more below.
Table of Contents
What Is A Multi Vendor Website Or Multi Vendor Marketplace?
Just as the name suggests, a multi vendor website or multi vendor marketplace is where many different sellers or “vendors” come together to offer their products to customers online. A huge advantage of this is the more vendors you have, the higher your chances are of getting a huge amount of traffic to your multi vendor website.
In addition to this, you get the freedom and flexibility to cater to all kinds of customer segments. You don’t have to limit yourself by targeting a specific group; with a multi vendor marketplace, you can offer different products of different categories to a huge number of customers, all from one place.
In this post, we are going to give you a complete guide on how to create a WordPress multi vendor website using WooCommerce and ready Elementor templates. Make sure to bookmark this, as we are going to cover all the important things you’ll need to know.
Why Create A Multi Vendor Website In Elementor?
WooCommerce is powering up more than 5 million websites around the world, and is one of the best platforms to create your multi vendor website on WordPress. It is easy to set up your store on WooCommerce, and you can build beautiful product pages on WooCommerce in a matter of minutes.
When it comes to website building, on the other hand, Elementor is one of the easiest and most popular options to go for. With Elementor, you won’t have to bother with coding or even hire professional website designers.
All you need to do is use the widgets that come with Elementor, drag and drop them anywhere on your page to start building your multi vendor website.
Tip: New to using Elementor page builder on WordPress? Check out our complete beginner’s guide on How To Use Elementor.
With 5 million active users, Elementor is one of the most popular pagebuilders for WordPress, and so, there are tons of resources available for getting ready Elementor templates. These ready Elementor templates make the entire website designing process even easier, as they come with ready designs, layout, and content.
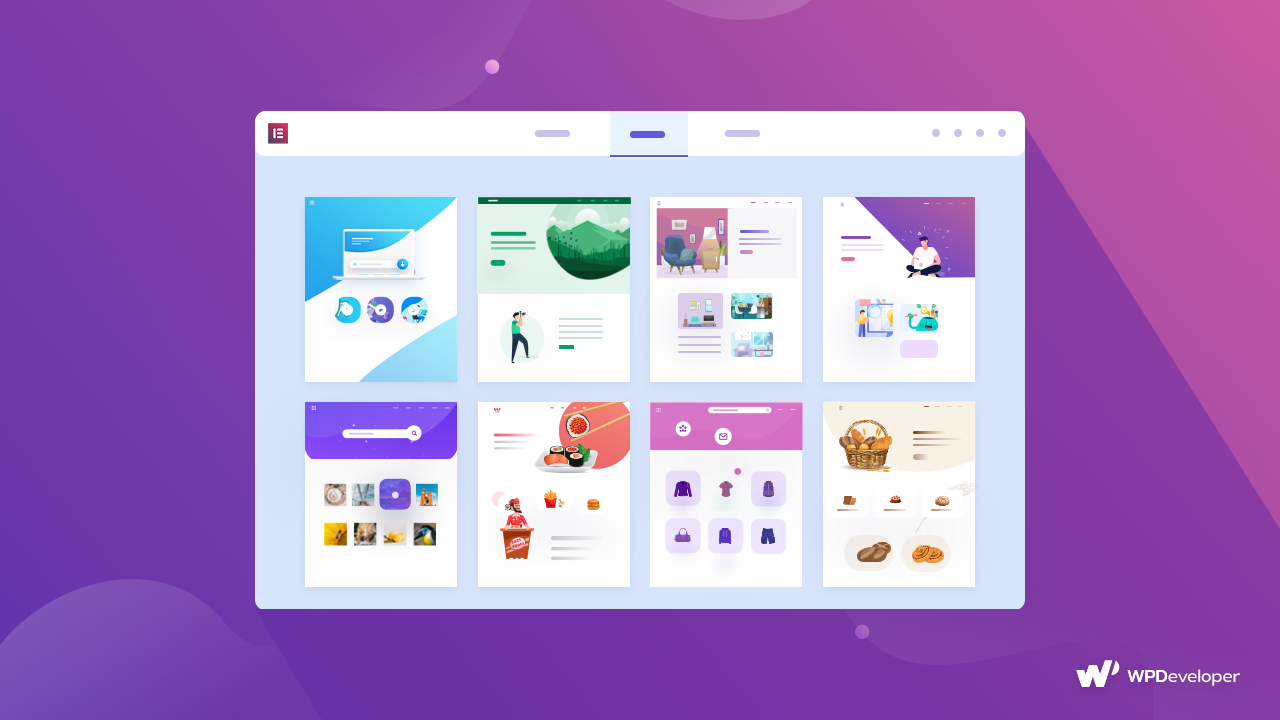
You only have to insert them into your website, add your personal touch, and you are good to go. And one of the best places where you can find such Elementor templates is Templately.

Templately has over 1000+ ready Elementor templates and packs for you to make a beautiful website with a single click. It is empowering more than 70,000 website creators around the world who want to build stunning web pages in Elementor without coding.

Whether you are running an online clothing store, or a jewelry store, there are tons of beautifully designed WooCommerce website templates available on Templately to create any kind of eCommerce store. And one of these includes Bazar, a stunning, fully responsive multi vendor website template for Elementor and WooCommerce.
Introducing Bazar: A Stunning WordPress Multi Vendor Website Template For Elementor
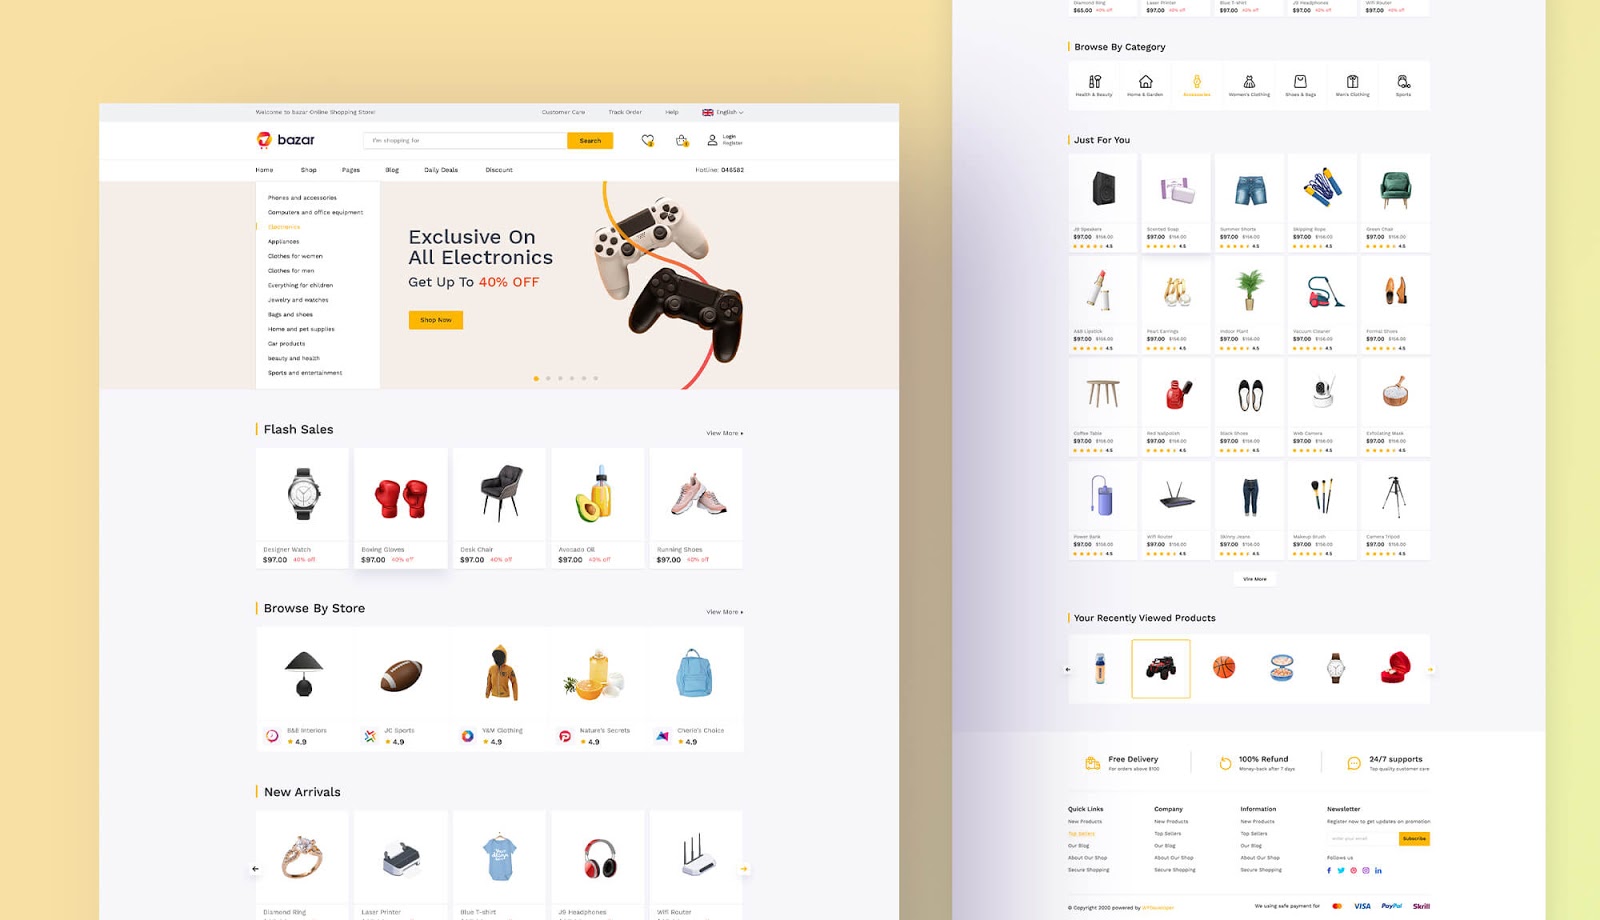
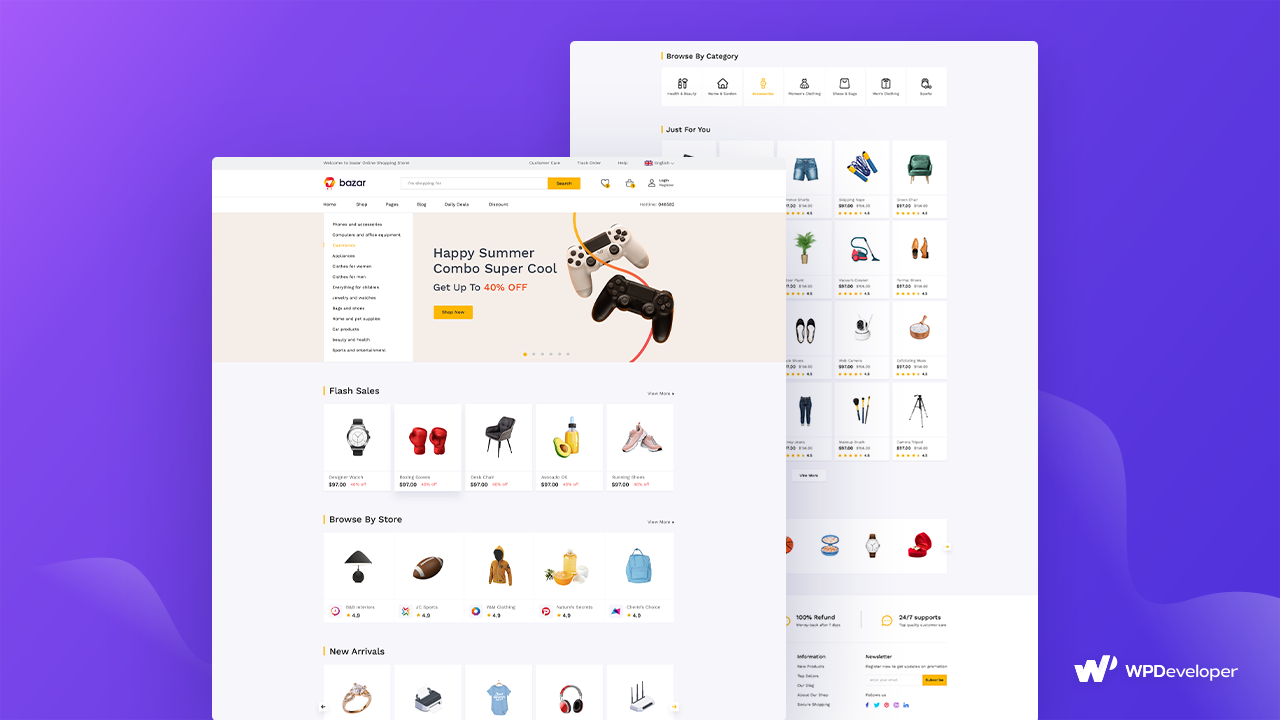
Bazar is a beautifully designed, multipurpose eCommerce template pack that is specially made for creating multi vendor websites on WordPress. It features a minimalist design, and comes with 11 different ready to use pages for helping you create an entire multi vendor marketplace website without any coding.
Fully compatible with both WooCommerce, Bazar is made using Elementor and Essential Addons for Elementor.
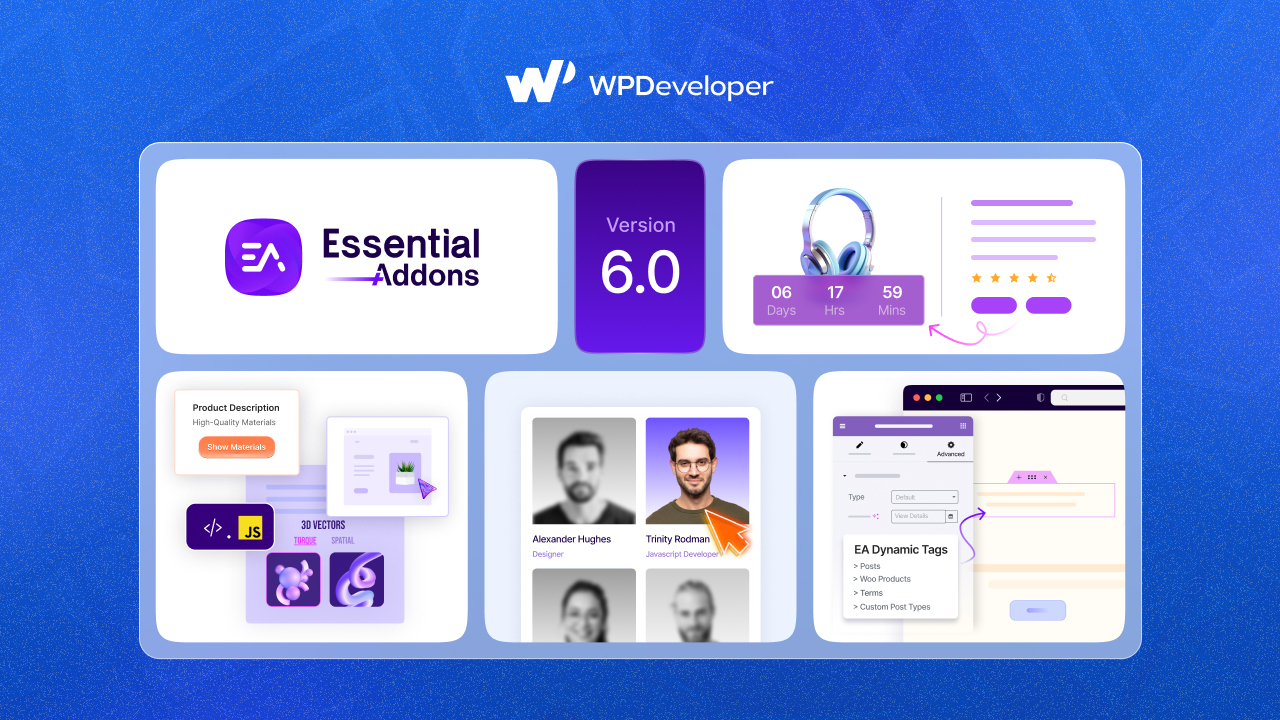
Essential Addons for Elementor is the most popular widgets library for Elementor with more than 1 million happy users and 70+ amazing widgets. These widgets from Essential Addons lets you expand on the existing features of Elementor to enhance your page-building experience.
Let’s take a look at some of the pages you can get with Bazar template pack from Templately.
Attractive Store Page For Showcasing All Vendors
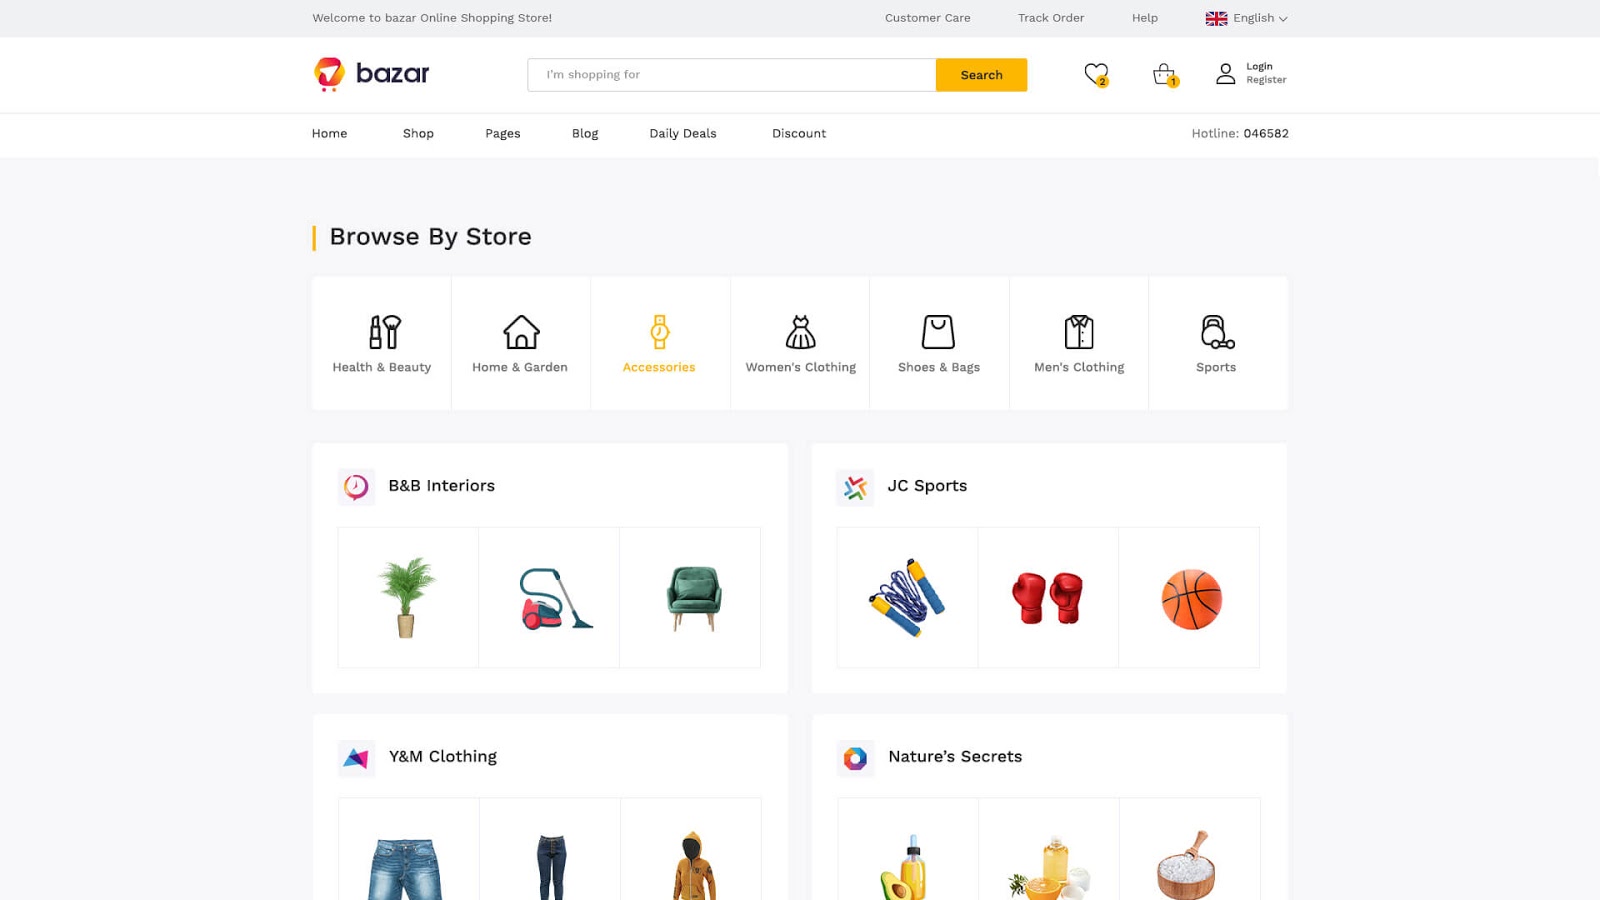
When a customer wants to browse through different stores in an online marketplace, they want to be able to find all the available stores at a glance. That’s why, Bazar comes with an attractive, ready Store Page template for showcasing all the vendors on your online marketplace.
Eye-Catching Vendor Page For Individual Sellers
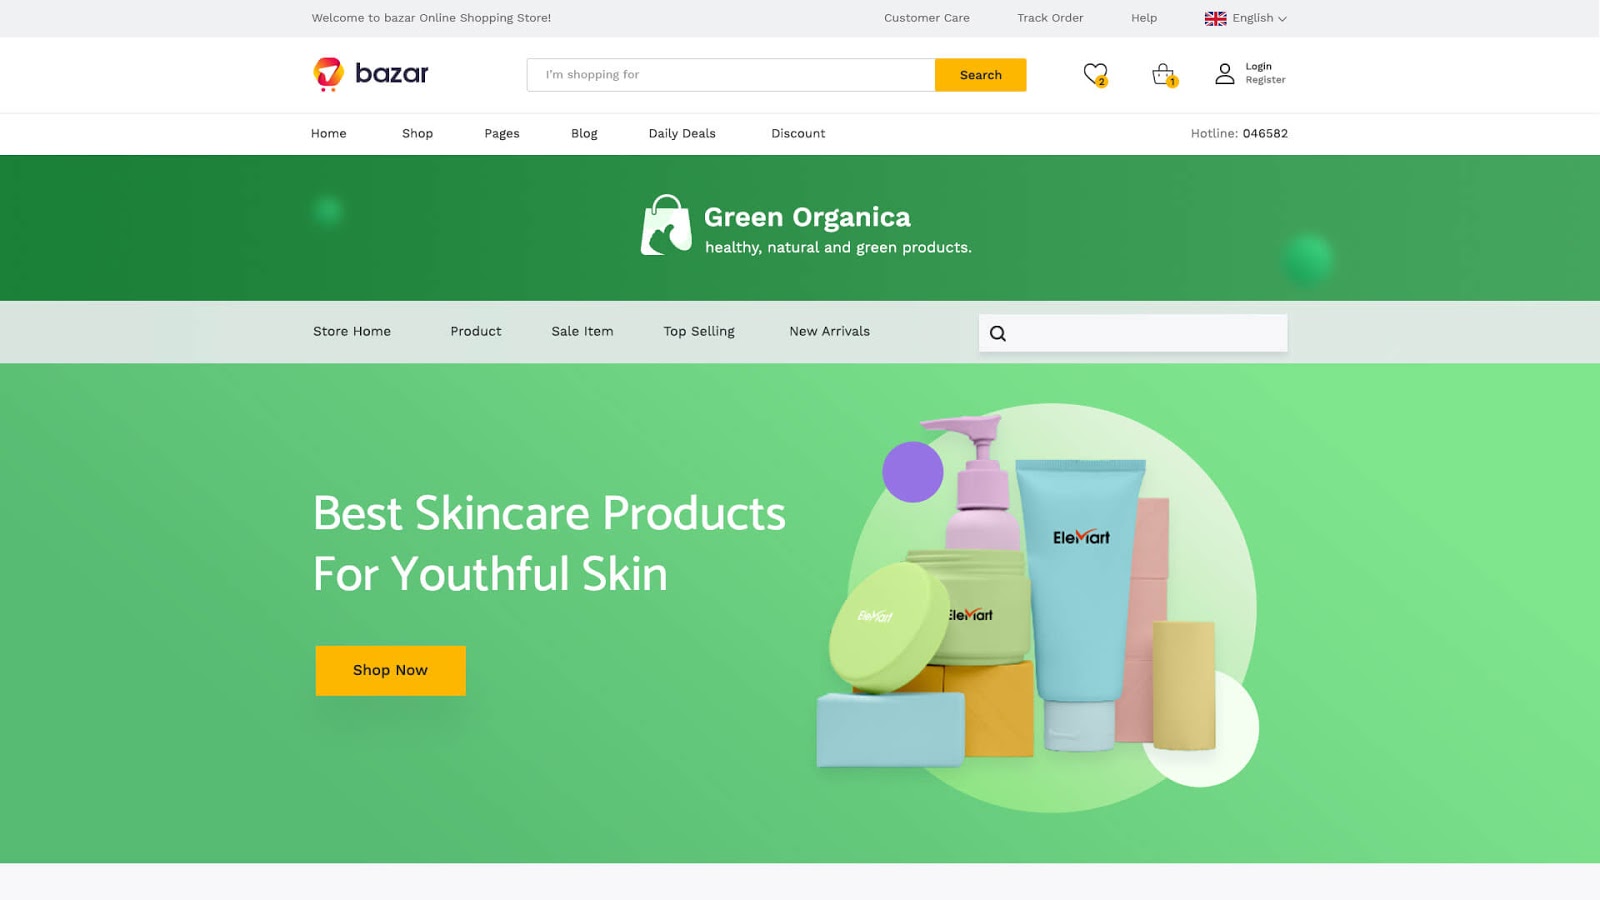
Obviously, the vendors on your online marketplace will want to highlight the products they have to offer. And the best way to help them do that is with a beautiful but versatile landing page that you can customize easily for any purpose.
To help you do this quickly, Bazar comes with a ready-made Vendor Page that can be styled easily so that individual vendors can showcase their store in a special, eye-catching way.
A Ready Deals Page For Showcasing Flash Sales
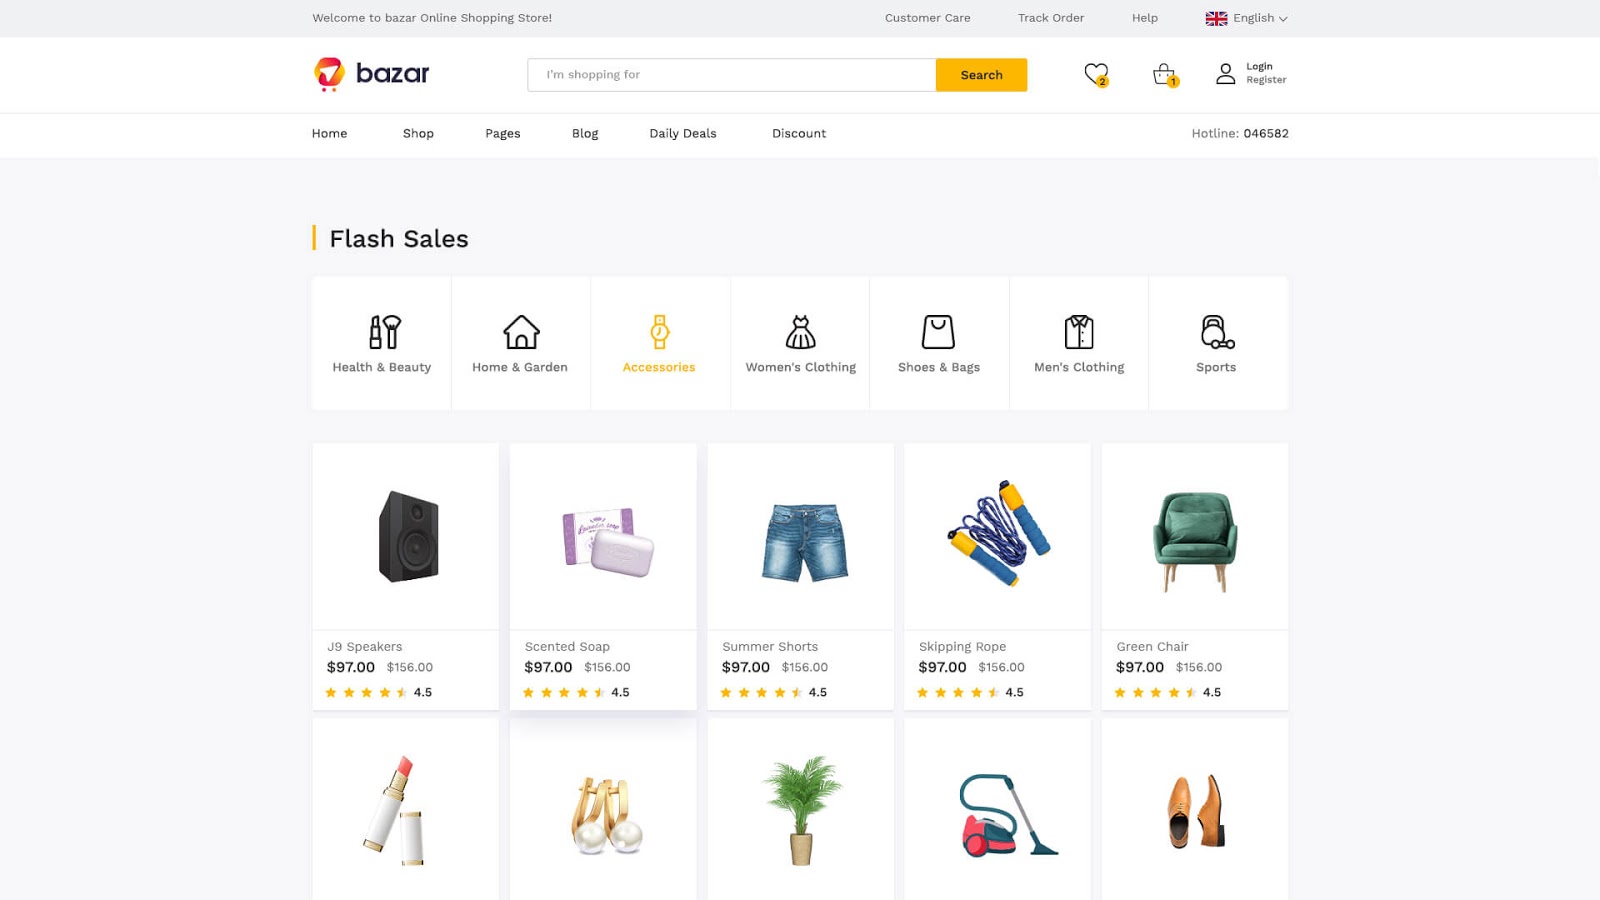
With so many vendors running different discounts, flash sales, and other promotional campaigns, it can be hard for your site visitor to find the right deals for them. To enhance your customer’s shopping experience, you can use the Deals Page template from Bazar and showcase all running discounts and flash sales in one place.
Stunning Checkout Page To Enhance Shopping Experience
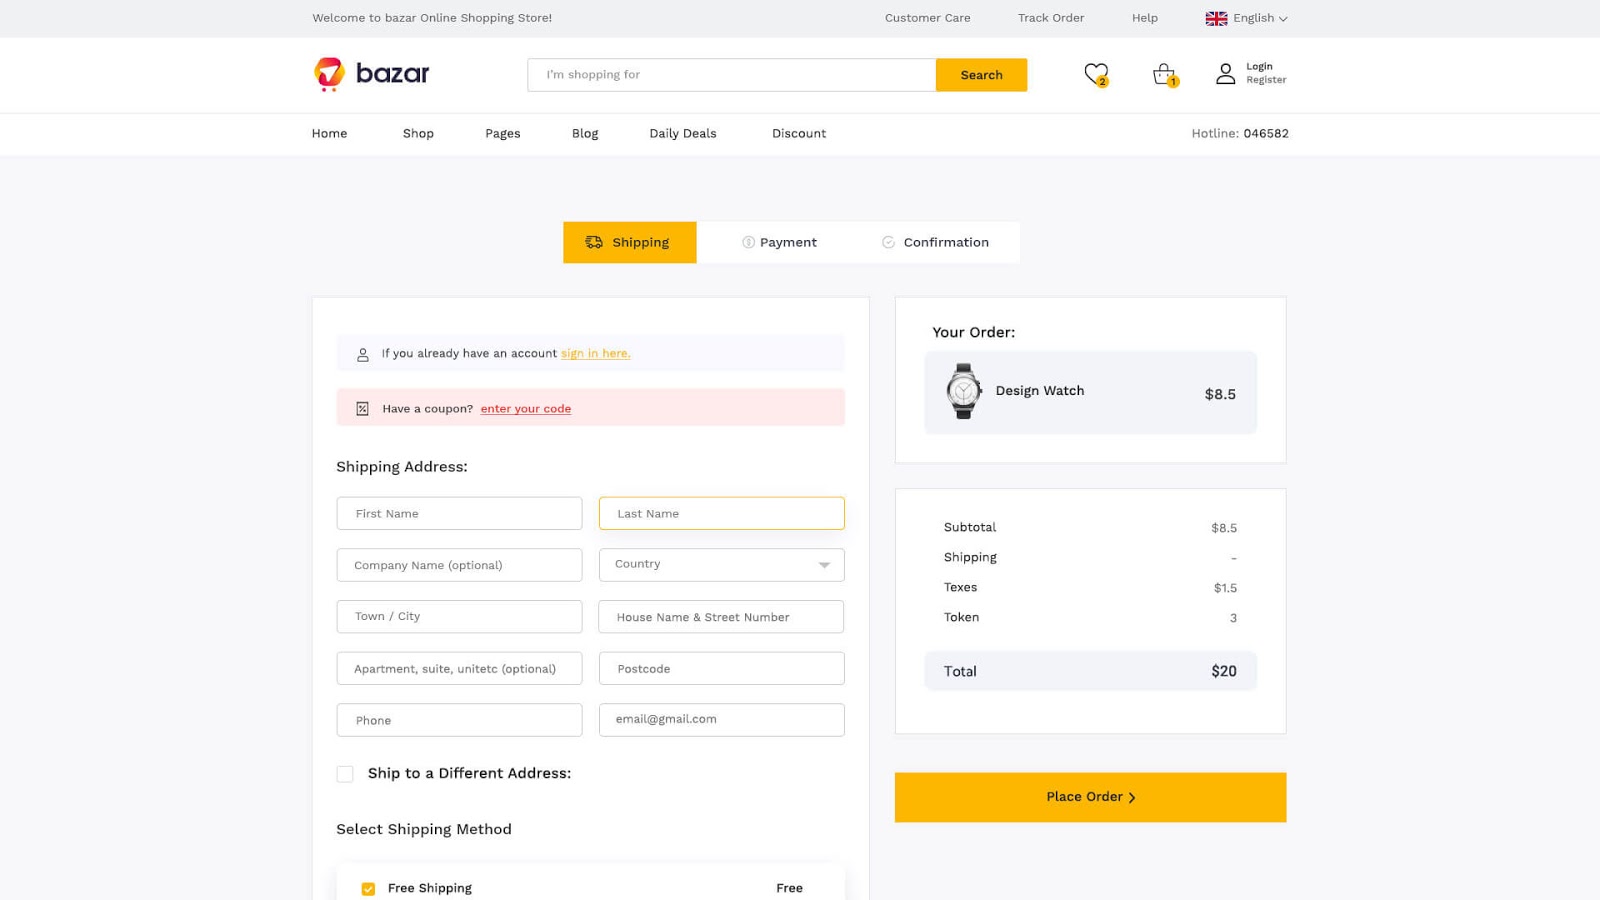
Another important thing to consider when trying to enhance your customers’ shopping experience, is to spend time creating a fully functional and attractive Checkout Page. With Bazar, you get access to a ready WooCommerce Checkout Page template that is built with Elementor and Essential Addons for Elementor.
A Ready Made Login Page For Returning Customers
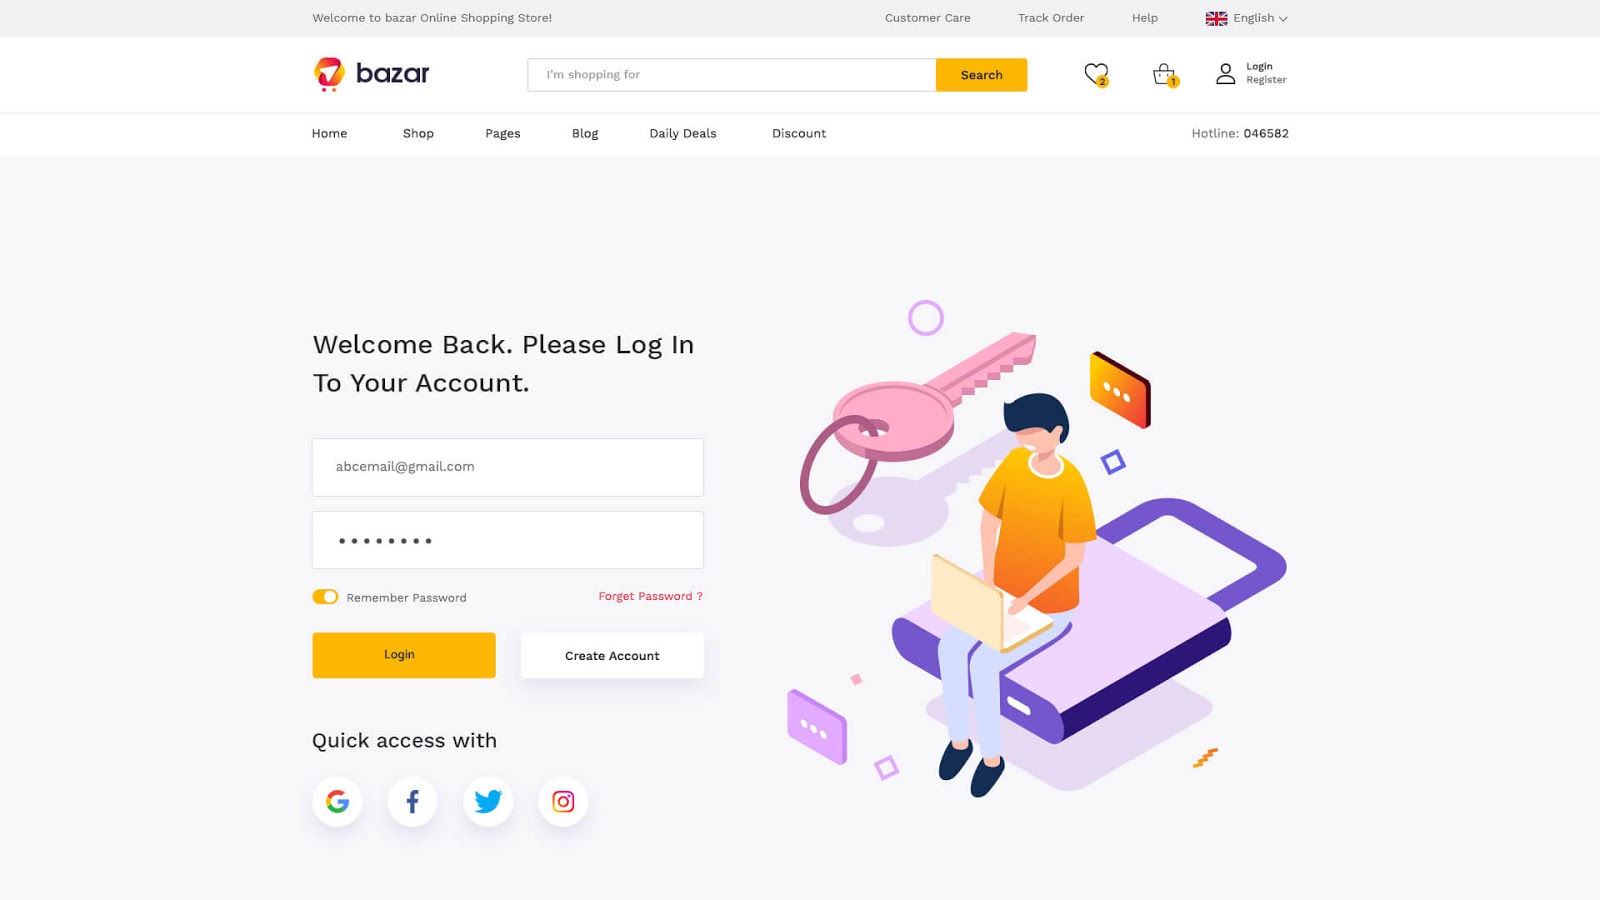
Most online marketplaces require your customers to sign up for an account during the purchase process and then log back in when they return for shopping. With Bazar, you can now instantly create a stunning Login Page for your returning customers without any coding. This page template is made in Elementor, using the Login | Register widget from Essential Addons for Elementor.
How To Set Up An Online Multi Vendor Marketplace On WordPress
Before you can start creating your multi vendor website, you will first need to set up an online multi vendor marketplace on WordPress. This involves changing some settings for your WooCommerce store and configuring a few options before getting started with your website. In this section, we are going to show you how to prepare and set up an online multi vendor marketplace on WordPress.
Step 1: Choose A Domain Name & Website Hosting Provider

In order to set up your online multi vendor marketplace on WordPress, you first need to choose a domain name and a website hosting provider.
Your domain name is essentially the address of your website on the internet. With a registered domain name, you will gain more credibility and your site will have a short, unique URL that will be easily accessible to everyone on the internet.
On the other hand, by getting a managed hosting providers for your WordPress website, you will not have to worry about site maintenance and security issues and can focus more on setting up your online eCommerce multi vendor marketplace.
Step 2: Set Up Your Online Store With WooCommerce
After getting your own domain name and website hosting provider, you need to install WooCommerce on your WordPress website. Then, you can follow the on-screen instructions to set up your online store. You can follow the steps shown in this comprehensive tutorial to find out how to do this.
Step 3: Turn Your Store Into A Multi Vendor Marketplace

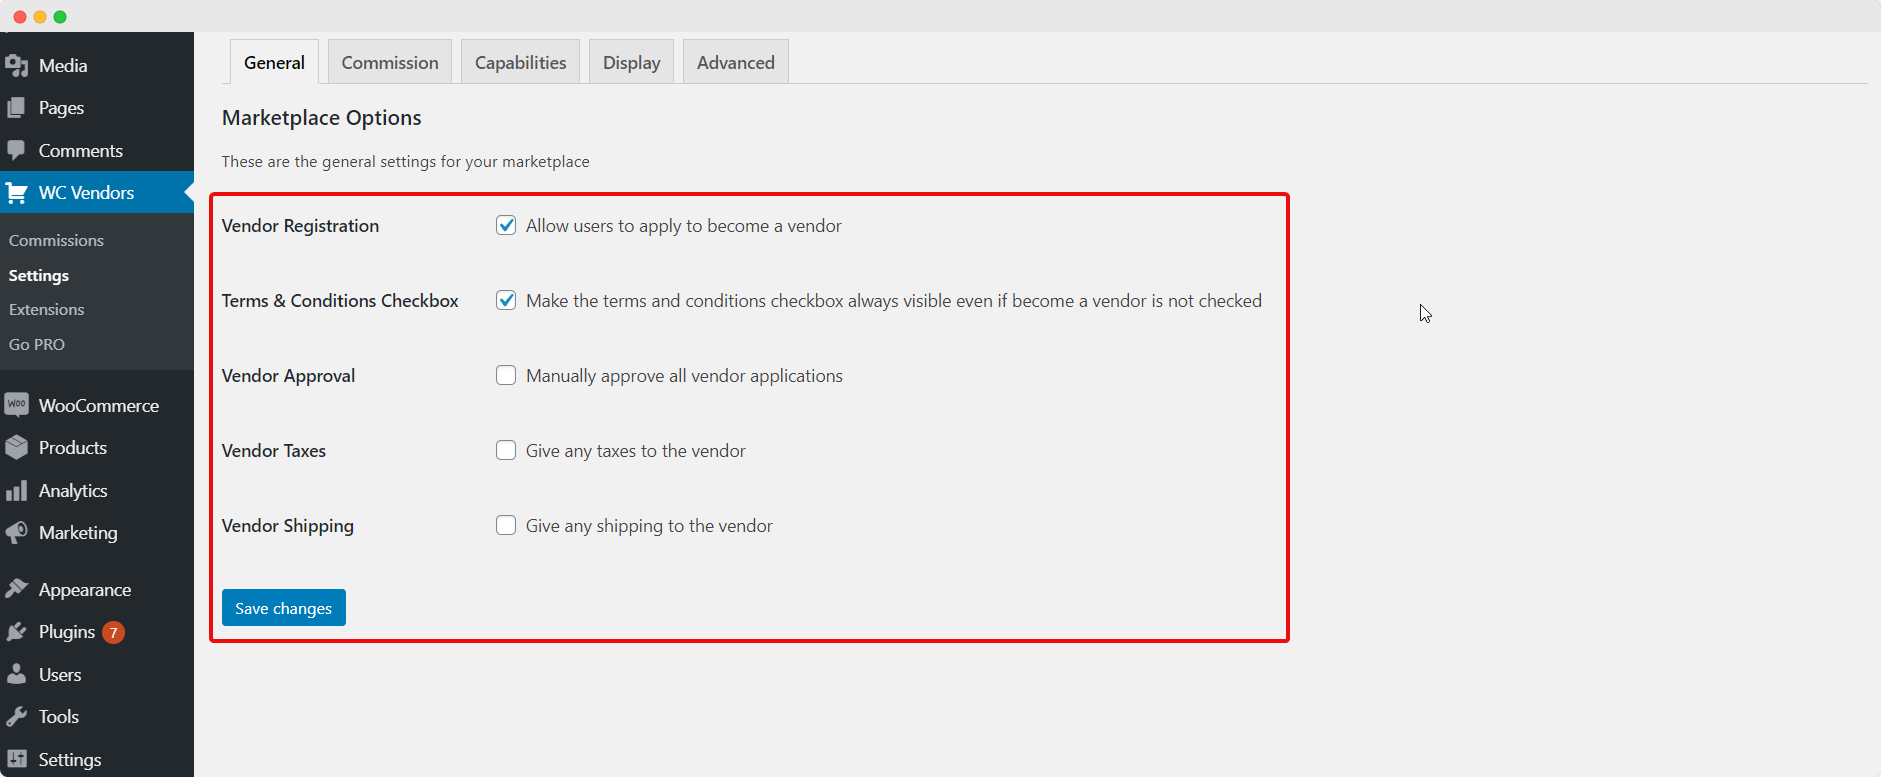
After setting up your online store with WooCommerce, it’s time to turn it into a multi vendor marketplace. To do this, you will need to use WordPress marketplace plugins. There are several amazing solutions that you can use. For example, you can use WC Vendors Marketplace to turn your WooCommerce store into an online marketplace.
All you need to do is install the plugin on your website, and then head over to the ‘Settings’ page where you will see several options to allow others to become vendors on your site, set commissions and much more.
No-Code Guide: How To Build Your WordPress Multi Vendor Website With Elementor
When you are done setting up your online multi vendor marketplace on WordPress, it’s time to focus on your website design. After all, a beautifully designed and fully responsive website is a must-have for any online business. Here’s our guide on how you can do this without any coding, or hiring any professional website designer.
Things You’ll Need:
👉 Elementor: For creating your multi vendor website without coding, you will need a visual, drag-and-drop page builder, and the best and most popular choice for this is Elementor.
👉 Essential Addons For Elementor: Many of the pages in the Bazar template pack are built with exclusive elements from Essential Addons for Elementor. This includes the Checkout Page and Login Page we mentioned earlier. So you will need to install and activate this plugin on your WordPress website.
👉 Templately: Since Bazar is a multi vendor template pack that is exclusive only to Templately, you will need to sign up for an account on Templately and install the plugin on your WordPress website to get access to this template.
Once you have everything you need, follow the instructions below to create your multi vendor marketplace website in Elementor.
Step 1: Select ‘Bazar’ Multi Vendor Template
First, create a new page in your WordPress dashboard by navigating to Pages→ Add New. Once your page has been created, click on the Edit With Elementor button at the top. This will load the Elementor Editor for you.
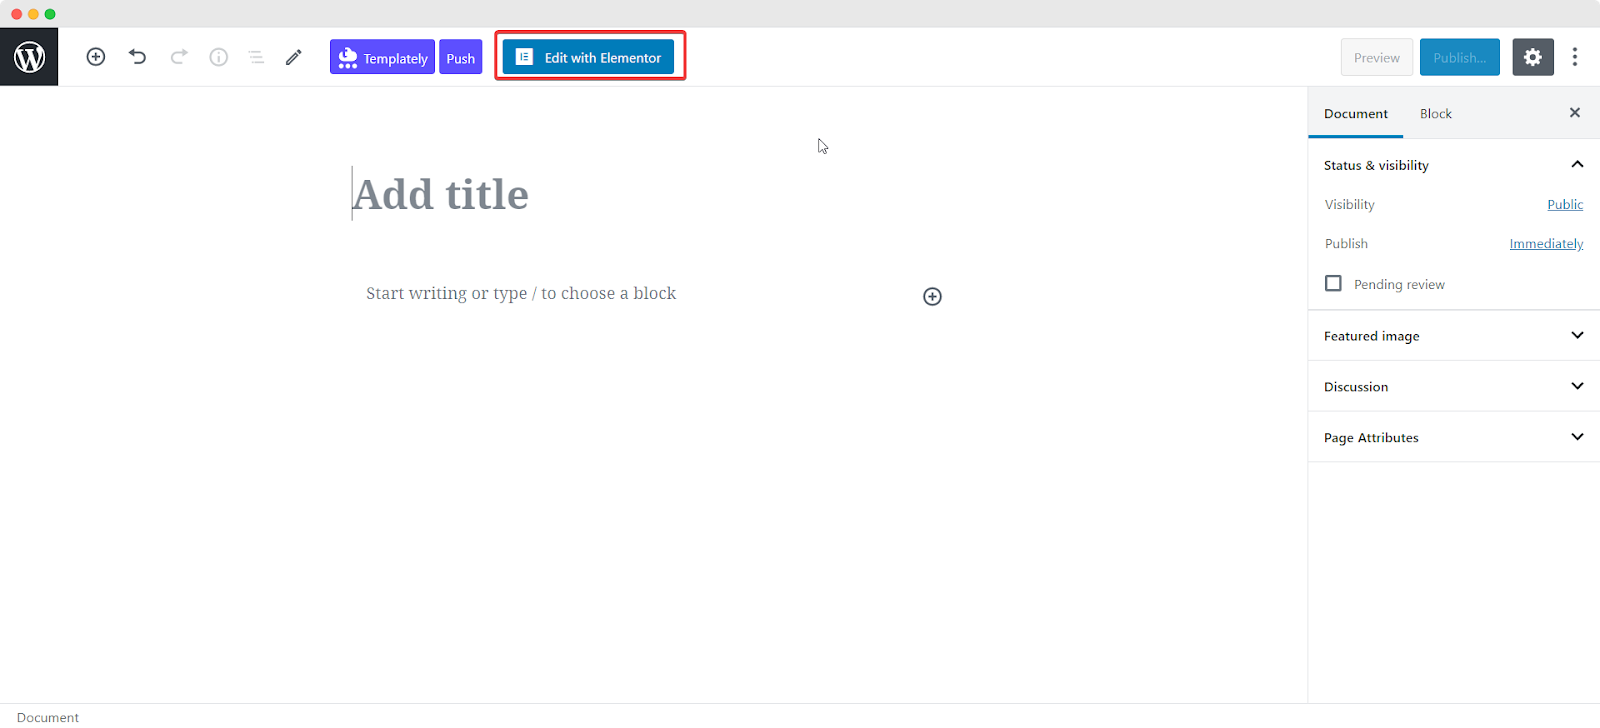
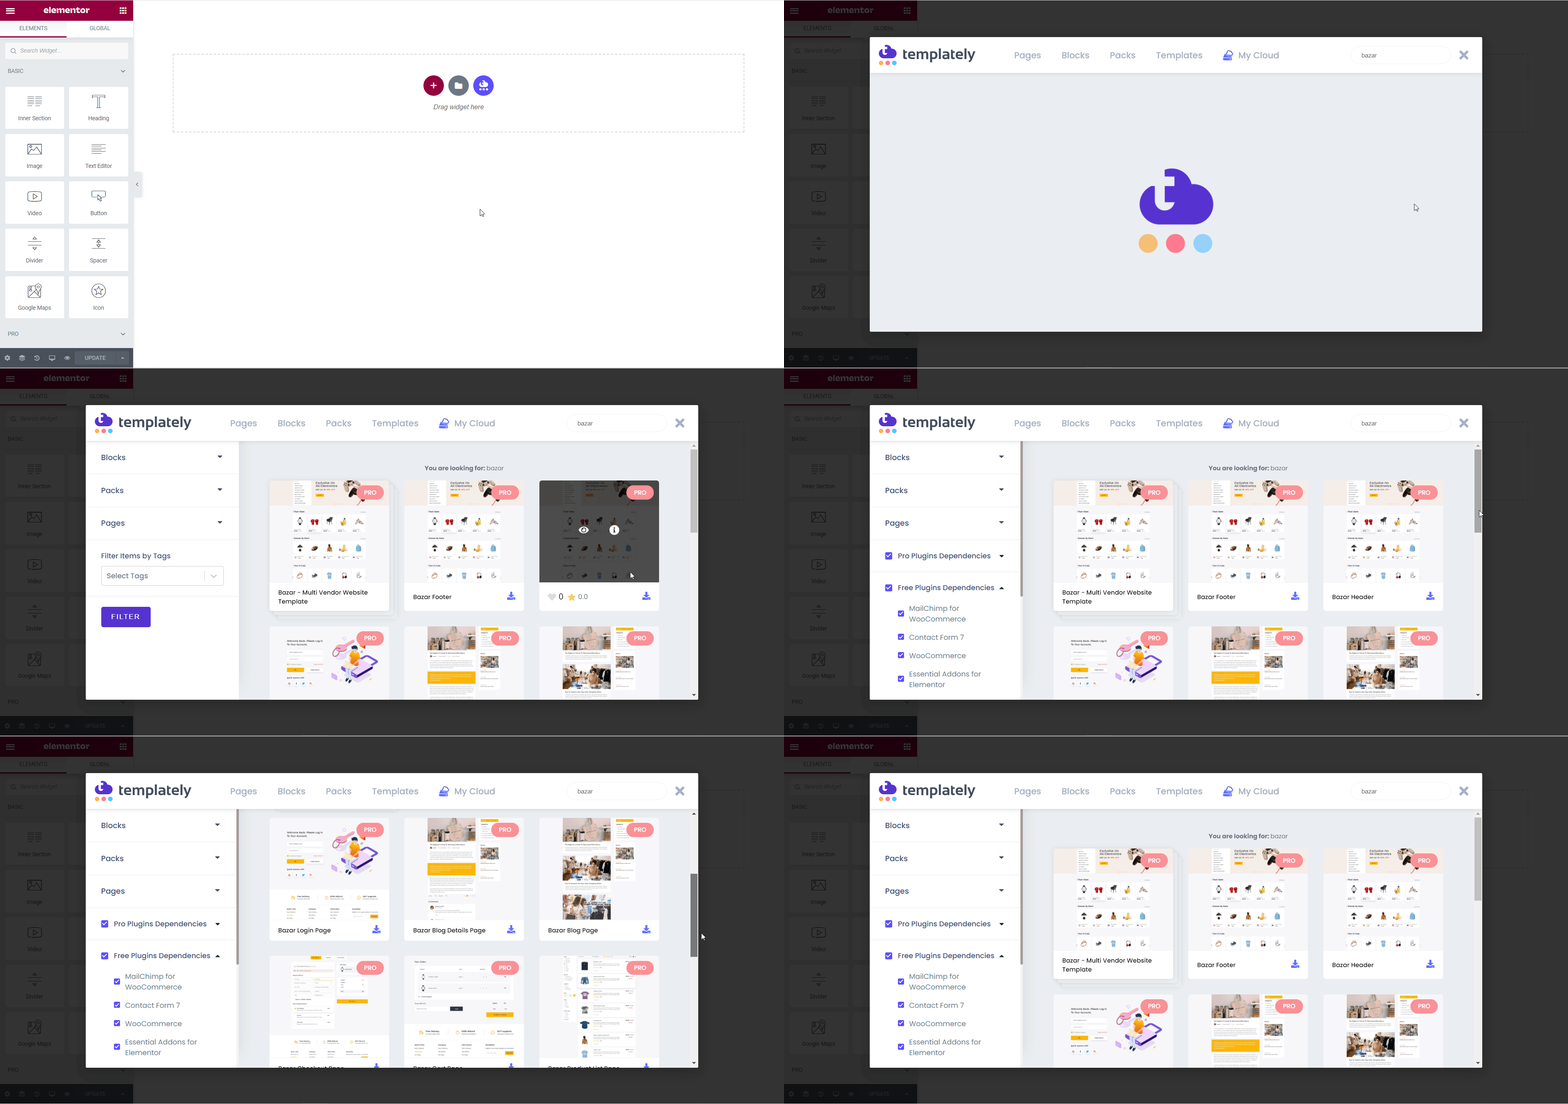
Afterwards, you need to click on the blue Templately icon to open Templately’s templates library and search for the Bazar template. Pick any of the premade pages you like, check the responsiveness, and insert them into your site.
For this tutorial, we are going to start with the Bazar Home Page.
Step 2: Customize Your Multi Vendor Website Template
When the page template is inserted, this is how it will show up on your website by default. You can now style the page using the Elementor Editor on your left hand side and play around with the options in the ‘Content’ and ‘Style’ tabs.
Change the background color, images, typography, and more until you are happy with the look.
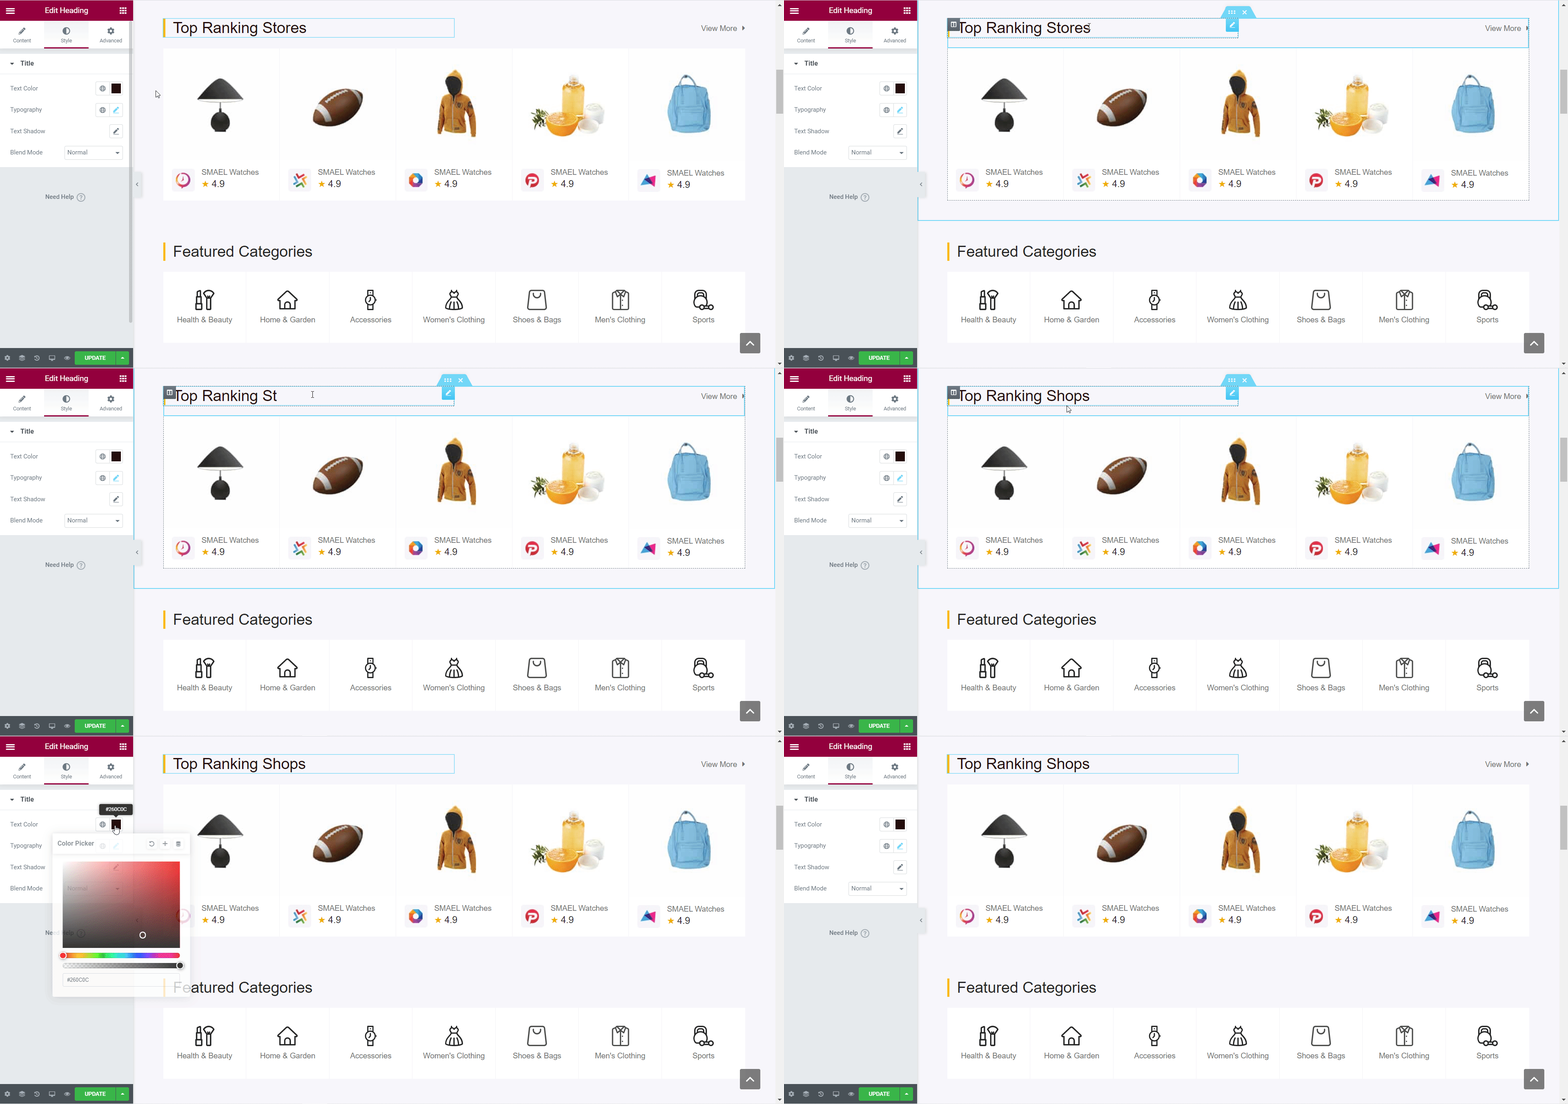
Keep adding more pages until you are happy with your multi vendor marketplace website. Once you are done adding the pages you want, it’s time to add your personal touch.
Step 3: Save And Publish Your Multi Vendor Website
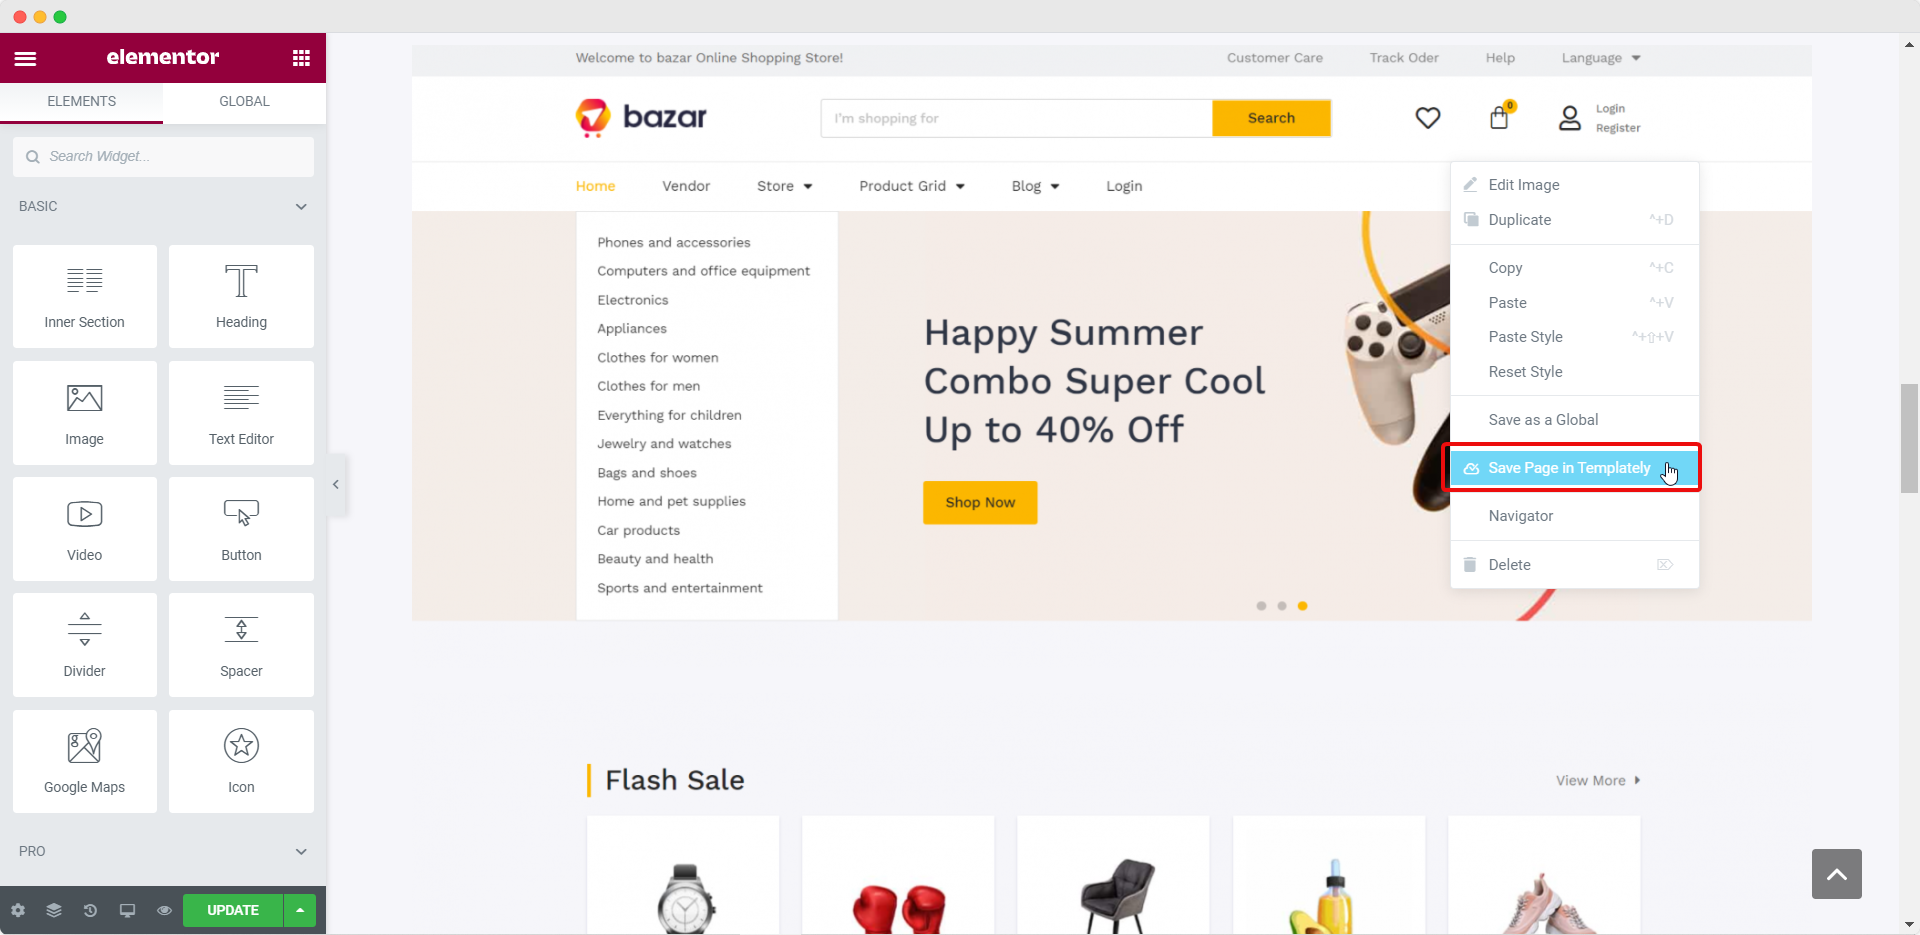
One of the best features of Templately is that it lets you save your website design on its own cloud storage known as MyCloud. This is a great option that’s very useful in case you want a backup of your website design or reuse them again.
To save your multi vendor website design to Templately, right click on anywhere on the page and click on ‘Save Page To Templately’.
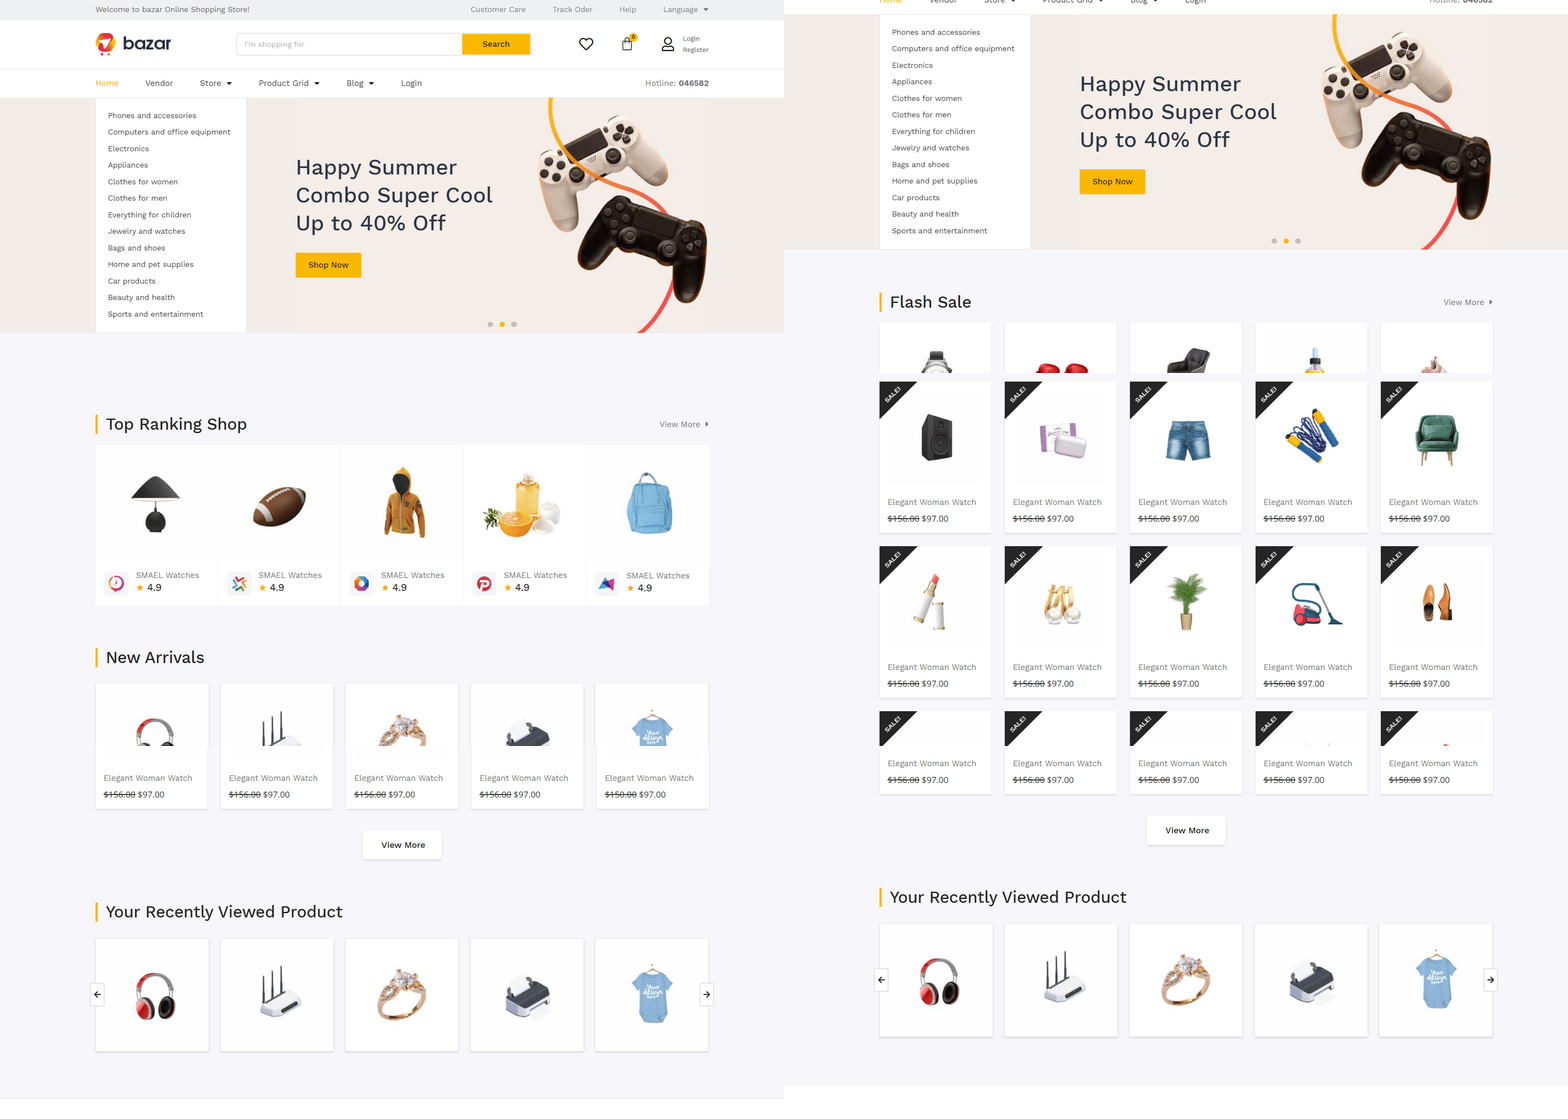
Just like that, you have created your multi vendor website. Now all that’s left to do is publish it so it becomes live and accessible to everyone on the internet. Take a look at the one we did in this tutorial.
With these simple steps, you can easily create your multi vendor website without any coding on WordPress, by using the ready Elementor template pack Bazar from Templately. In a matter of minutes, you will have a beautiful eCommerce website without needing to hire professional designers.
BONUS: Must-Have WordPress Plugins To Grow Your WooCommerce Website
So now that you know how to create a WordPress multi vendor marketplace website, what comes next?
Well, if you want to gear up for success, then you have to come up with effective marketing strategies to boost your sales and grow your eCommerce website. There are tons of WordPress plugins available to help you do this. Below are some of the best ones that you can use to skyrocket your WooCommerce multi vendor marketplace website.
1. Boost Online Sales With Multi-Criteria Reviews & Ratings

For any online store, customer reviews can make or break your sales. That’s why you need to capture content-rich, high-quality customer reviews to gain the trust of your potential customers and build yourself as a reputable and credible business.
With ReviewX, you can do just that by leveraging the power of multi-criteria reviews and ratings. This WordPress plugin for WooCommerce lets you set up multiple criteria for product reviews and ratings, send automated email reminders to customers asking them for their feedback, and display reviews beautifully on your WooCommerce website.

2. Use FOMO & Social Proof Marketing To Skyrocket Sales
While showcasing customer reviews can definitely help you generate sales, you may often need to go a step further by using FOMO (Fear Of Missing Out) marketing strategies. This involves using social proof to make your potential customers feel like they will miss out on a great opportunity if they do not quickly make a purchase decision.

NotificationX is one of the best WordPress marketing tools for doing this. Trusted by more than 20,000 businesses, NotificationX comes with seamless integrations with over 15 popular WordPress tools and platforms, including WooCommerce, to help you create successful marketing campaigns using social proof.
Get Access To 1000+ Ready Elementor Templates
That wraps up our tutorial on how to create a WordPress multi vendor marketplace website using the Bazar ready Elementor template pack from Templately. Now, it’s time for you to get down to business. Sign up for an account on Templately today and get access to this exclusive and premium multi vendor website template, along with over 1000 ready Elementor template packs.
If you have any suggestions, feedback or need any help, leave a comment below or reach out to our support team. Don’t forget, you can also join our Facebook Group to connect with other website creators in our friendly community.


