Better Payment lets you get a checkout form with just one click that helps the users to do the payment easily without any hassle via Stripe and Paypal. With Better Payment, you can configure form settings based on your need.
Let’s follow this step-by-step guide to configure form settings in Better Payment. Before you start make sure that you have Elementor installed & activated on your site.
Step 1: Get The ‘Better Payment’ Widget #
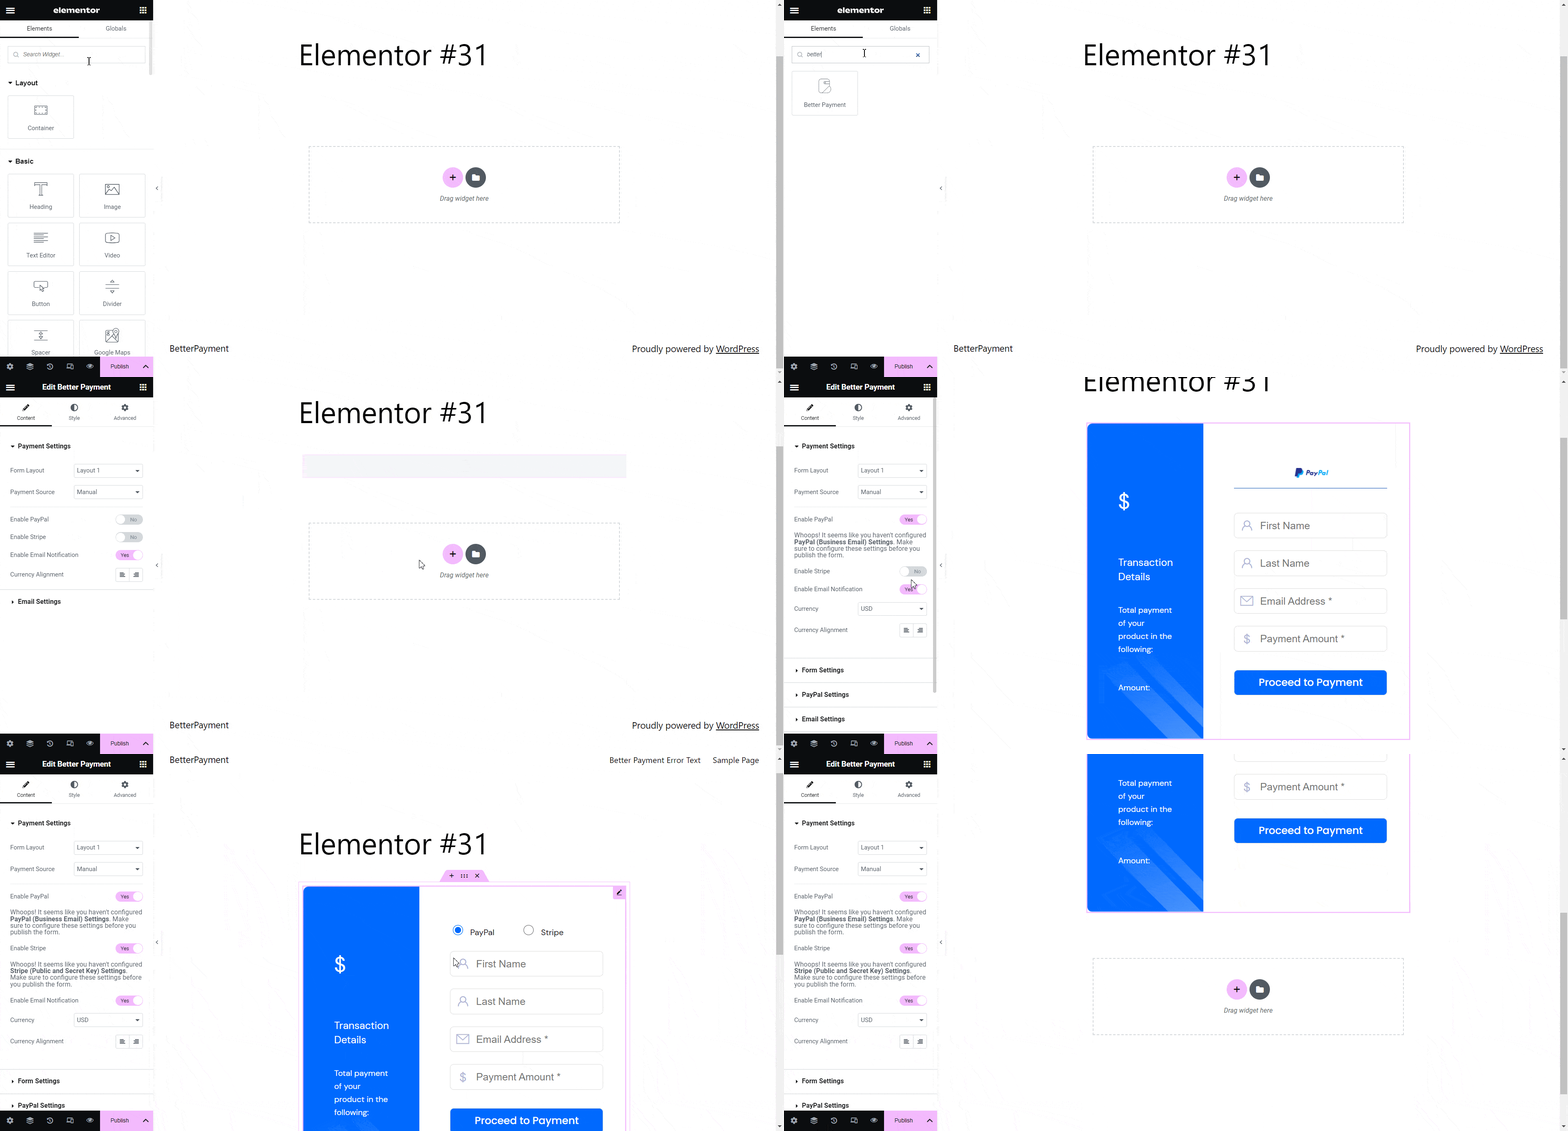
First, open a page where you want to integrate Better Payment. Click on the ‘Edit with Elementor’ button to get started in Elementor. Then search for the ‘Better Payment’ widget and drag and drop it into your page.

Step 2: Configure Better Payment Form Settings #
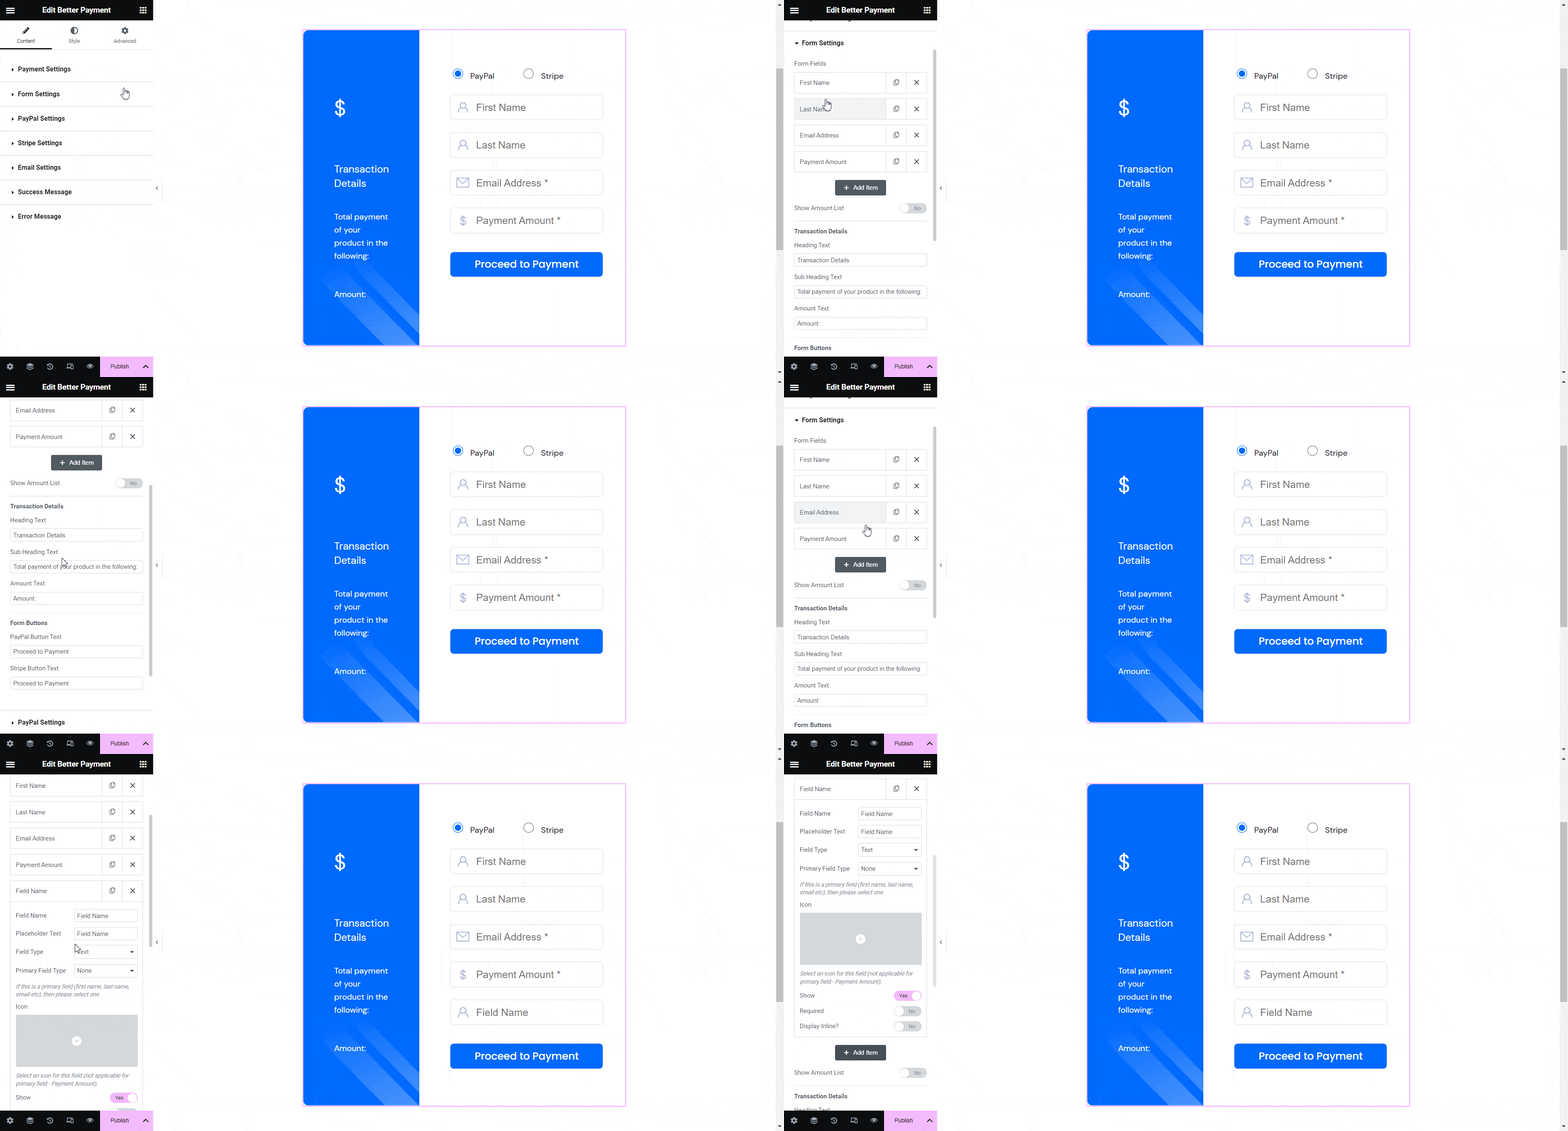
When you are done with step one, click on the Form Settings option. You will get multiple customization options there. Set up the contents you want to be in your form and customize the form contents according to your need.

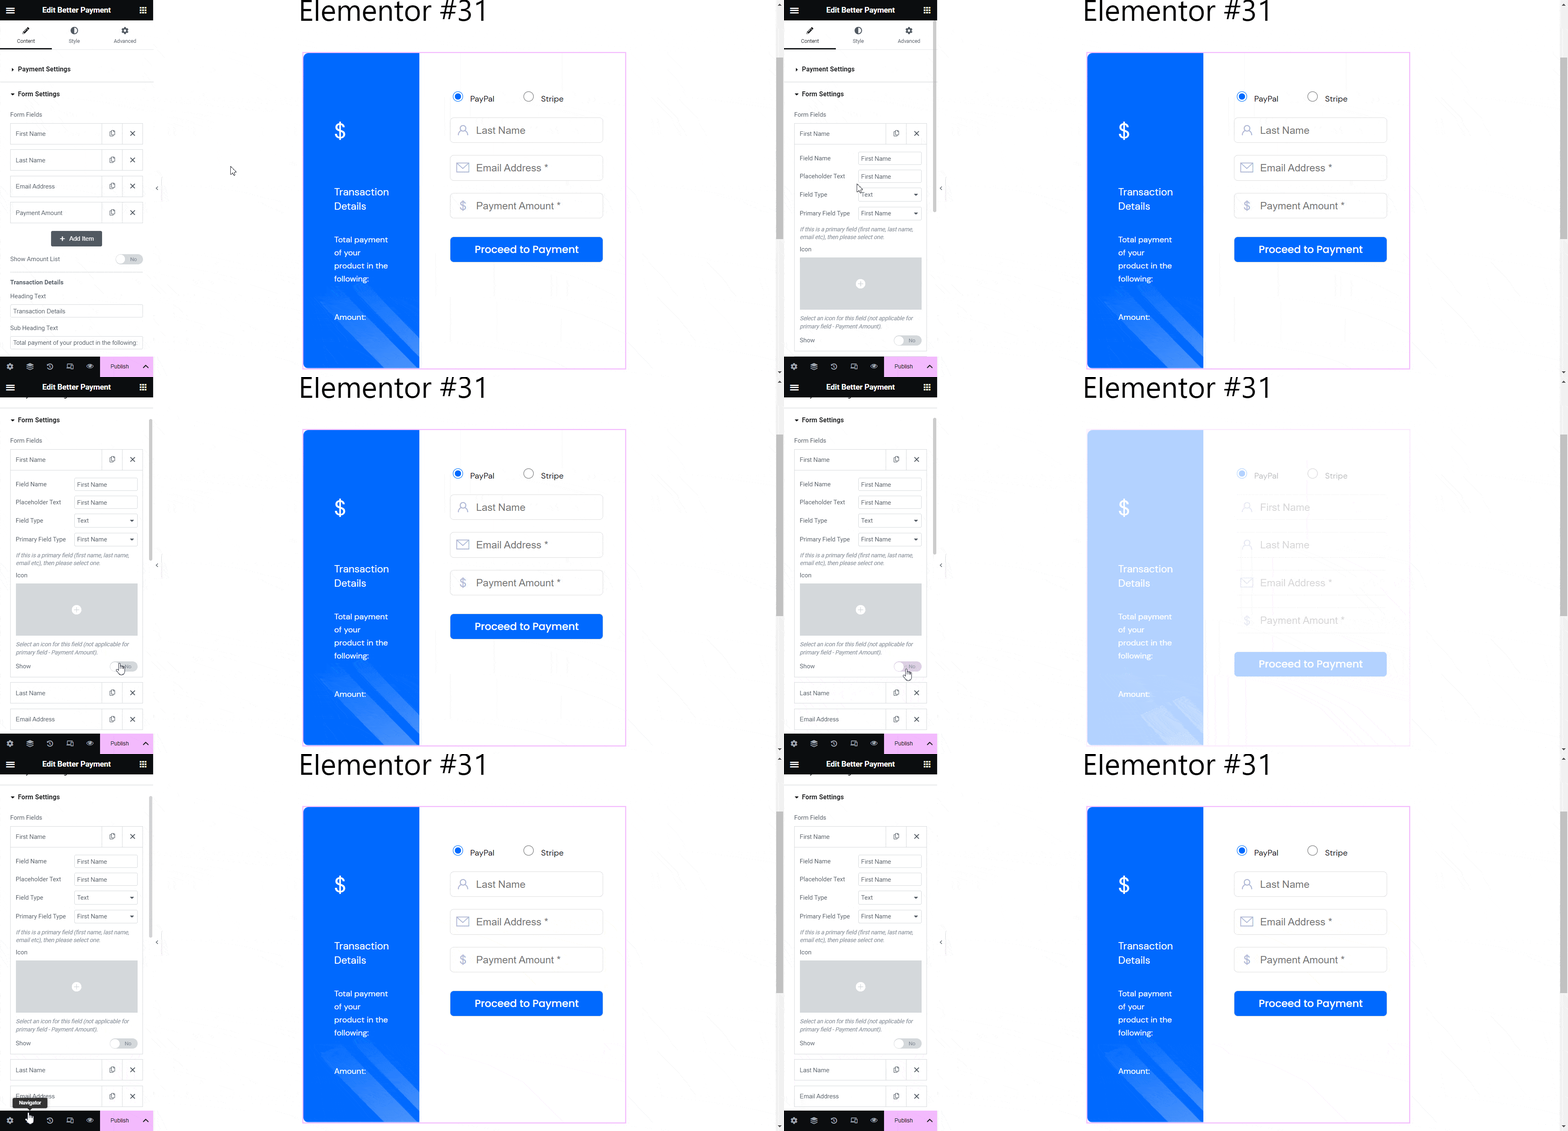
In the Form Settings panel, set the fields you want to keep in your checkout form by toggling the button. Set up the placeholder texts for name, email id, or other information.

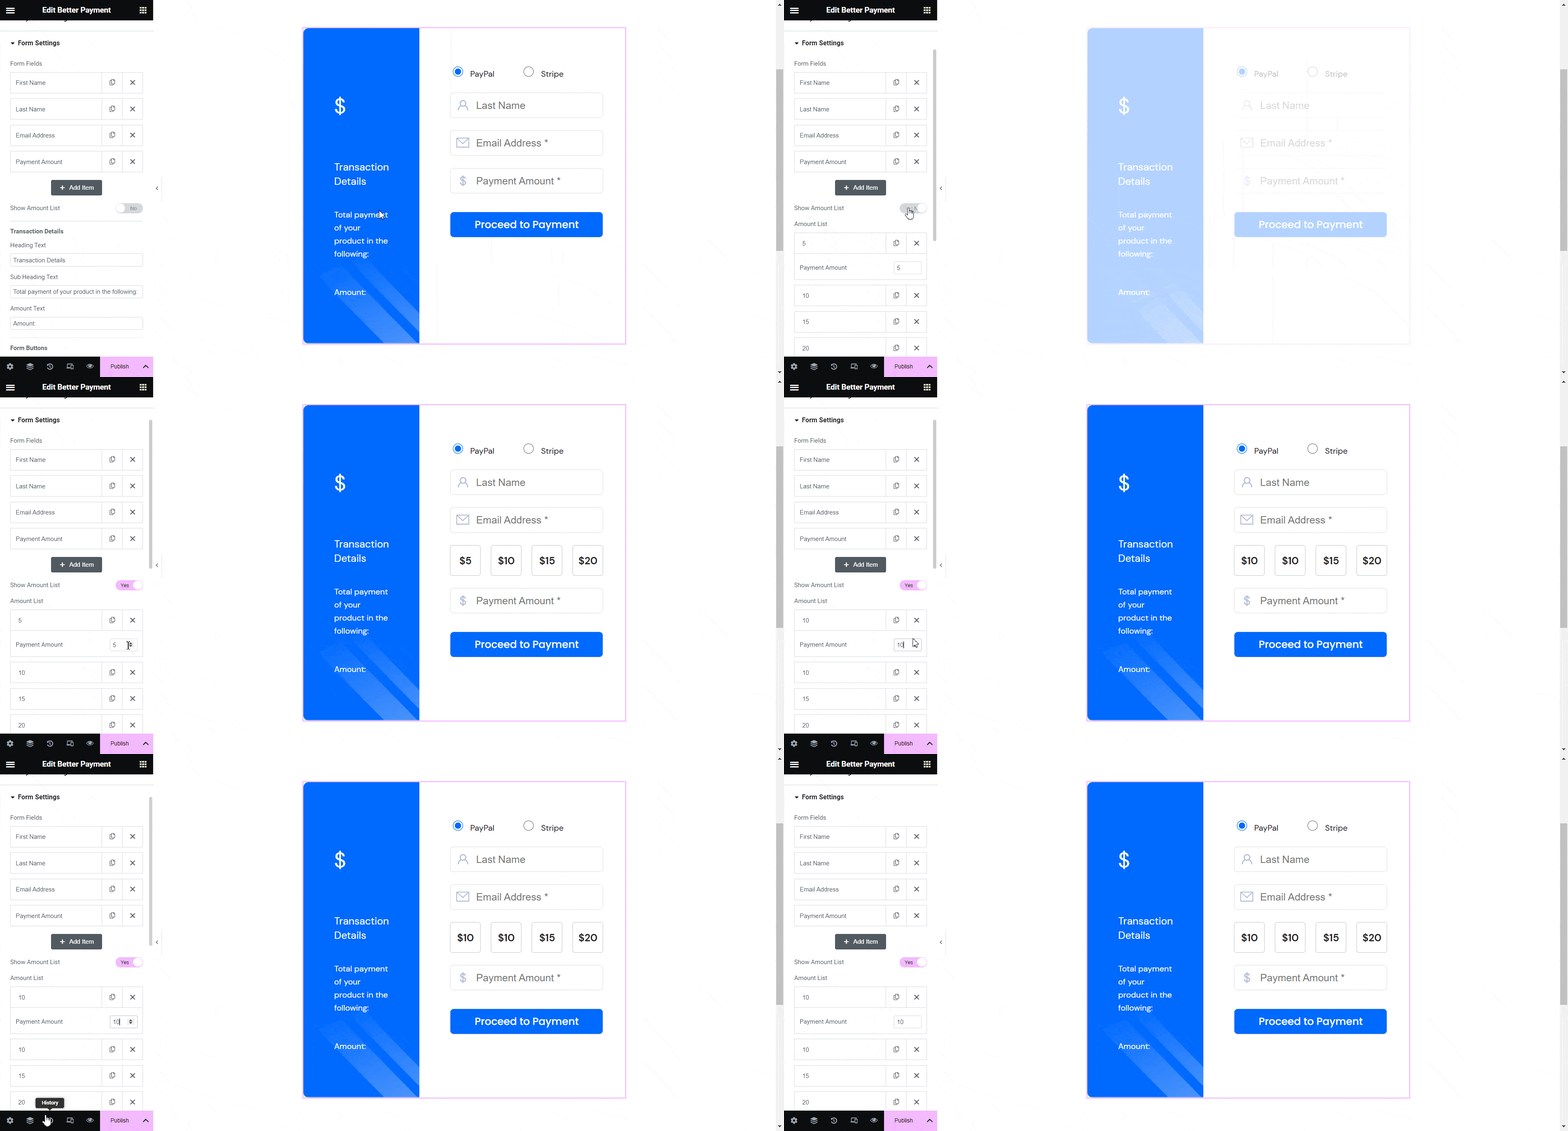
To show the amount list simply toggle the button ‘show amount list’. Add a new amount list if needed as it is displayed below.

By following this simple guideline you can configure form settings in Better Payment and play around with the form settings panel the way you want.
Getting stuck? For further assistance feel free to contact our dedicated support team.


