SchedulePress is an all-in-one content management solution that lets you schedule, update, and publish posts and pages directly from your website. SchedulePress PRO comes with an ‘Advanced Schedule’ feature for the most popular Classic Editor.
With this Advanced Schedule in Classic Editor feature, you can schedule an update for an already published blog post or page, without drafting it or unpublishing it. You can update blog & doc content as well as tags, categories, pictures, feature images, excerpts, and anything else of your choice.
How to Configure SchedulePress Advanced Schedule in Classic Editor? #
Check out this guideline below to learn how to use the advanced schedule on WordPress to update published content with SchedulePress.
Note: This PRO feature is also available on Elementor. Check this documentation for detailed guidelines.
Step 1: Purchase, Install, And Activate SchedulePress PRO #
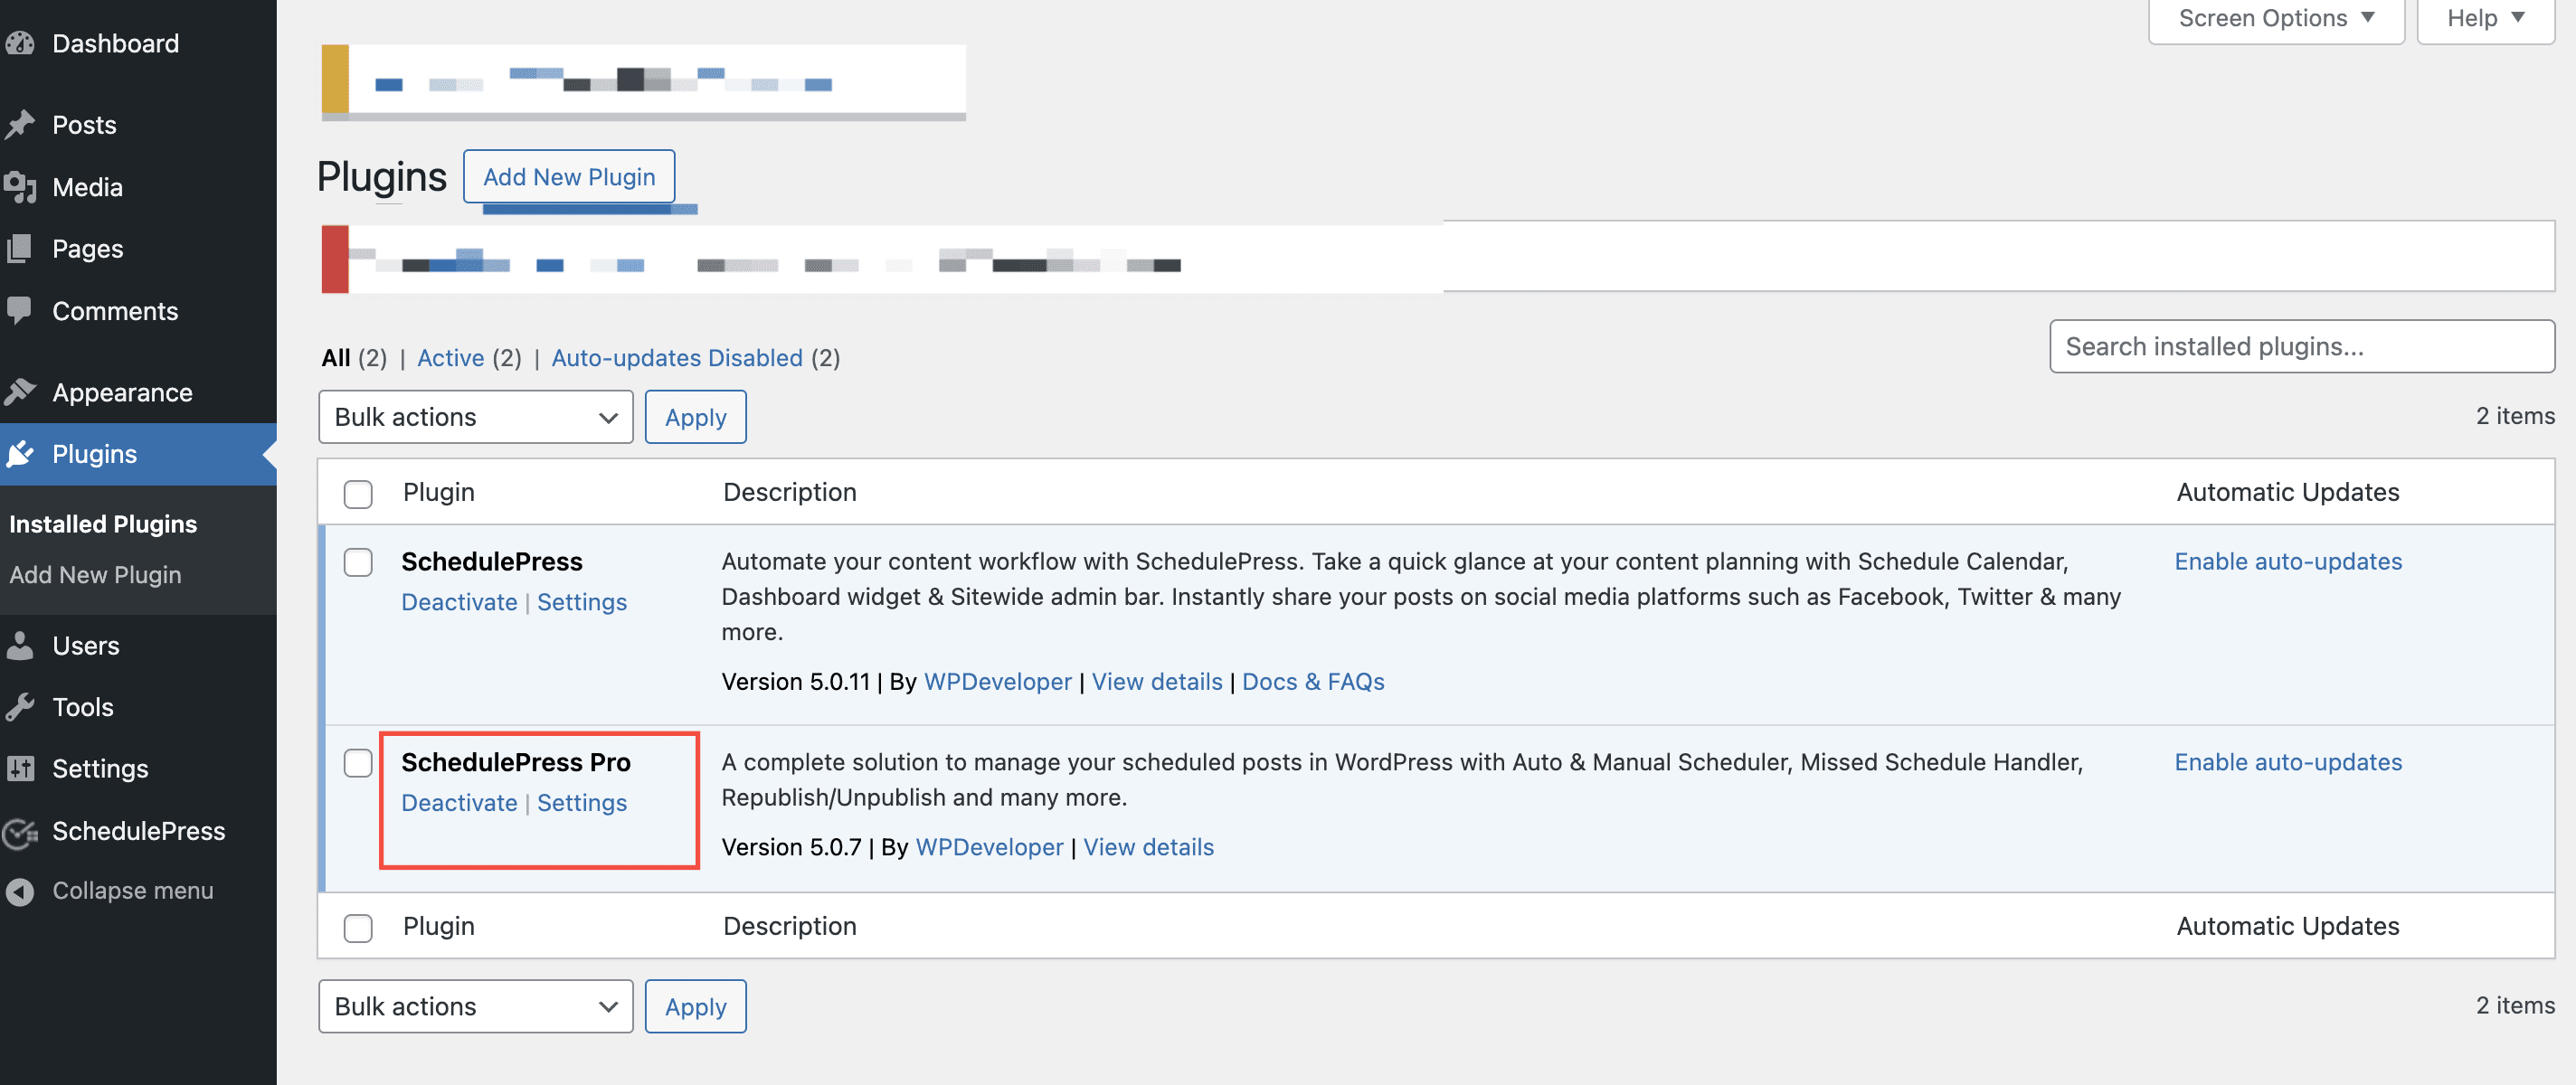
As the Advanced Schedule is a premium feature and to avail of it, you need to purchase SchedulePress PRO first. Afterward, install and activate it on your WordPress site to go further.

Step 2: Toggle On The Advanced Schedule From Dashboard #
Open your WordPress dashboard. Then go to the SchedulePress settings and select the ‘Scheduling Hub’ tab. From the Advanced Schedule tab, toggle to turn on the option and then click on ‘Save Changes’.
Step 3: Update Content And Select A Preferred Schedule #
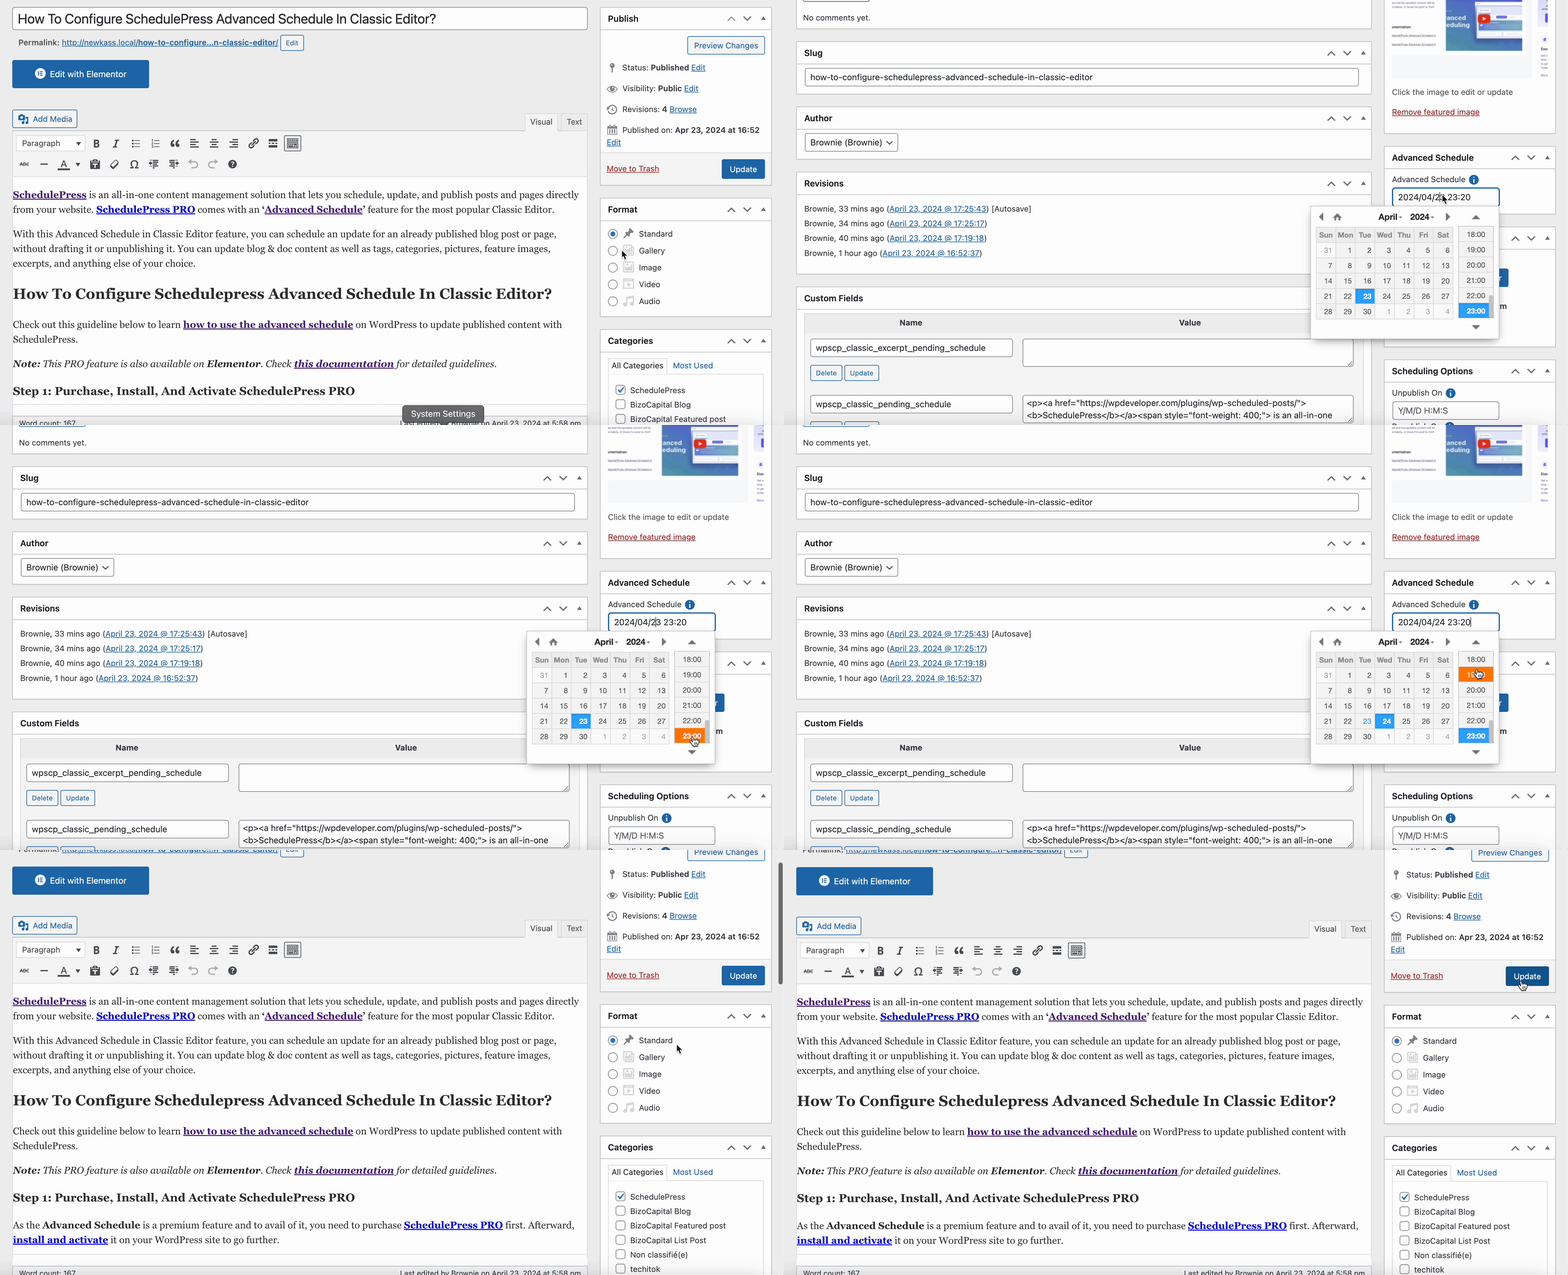
Open the page or post with Classic Editor where you want to update the content. Modify it according to your needs. Now, on the right side, from the ‘Classic Editor’ panel, click on this SchedulePress ‘Advanced Schedule’ option. Now, select the publish date and time.
After scheduling a post, you can anytime change the scheduling date. To do that, select another date from the ‘Advanced Schedule’ field and click on the ‘Update Button’.

Note: In Addition, you can also update your WooCommerce store products ‘Title’, ‘Product Description’, ‘Short Description’, and ‘Feature Image’ with this SchedulePress Advanced Schedule feature in Classic Editor.
Final Outcome: #
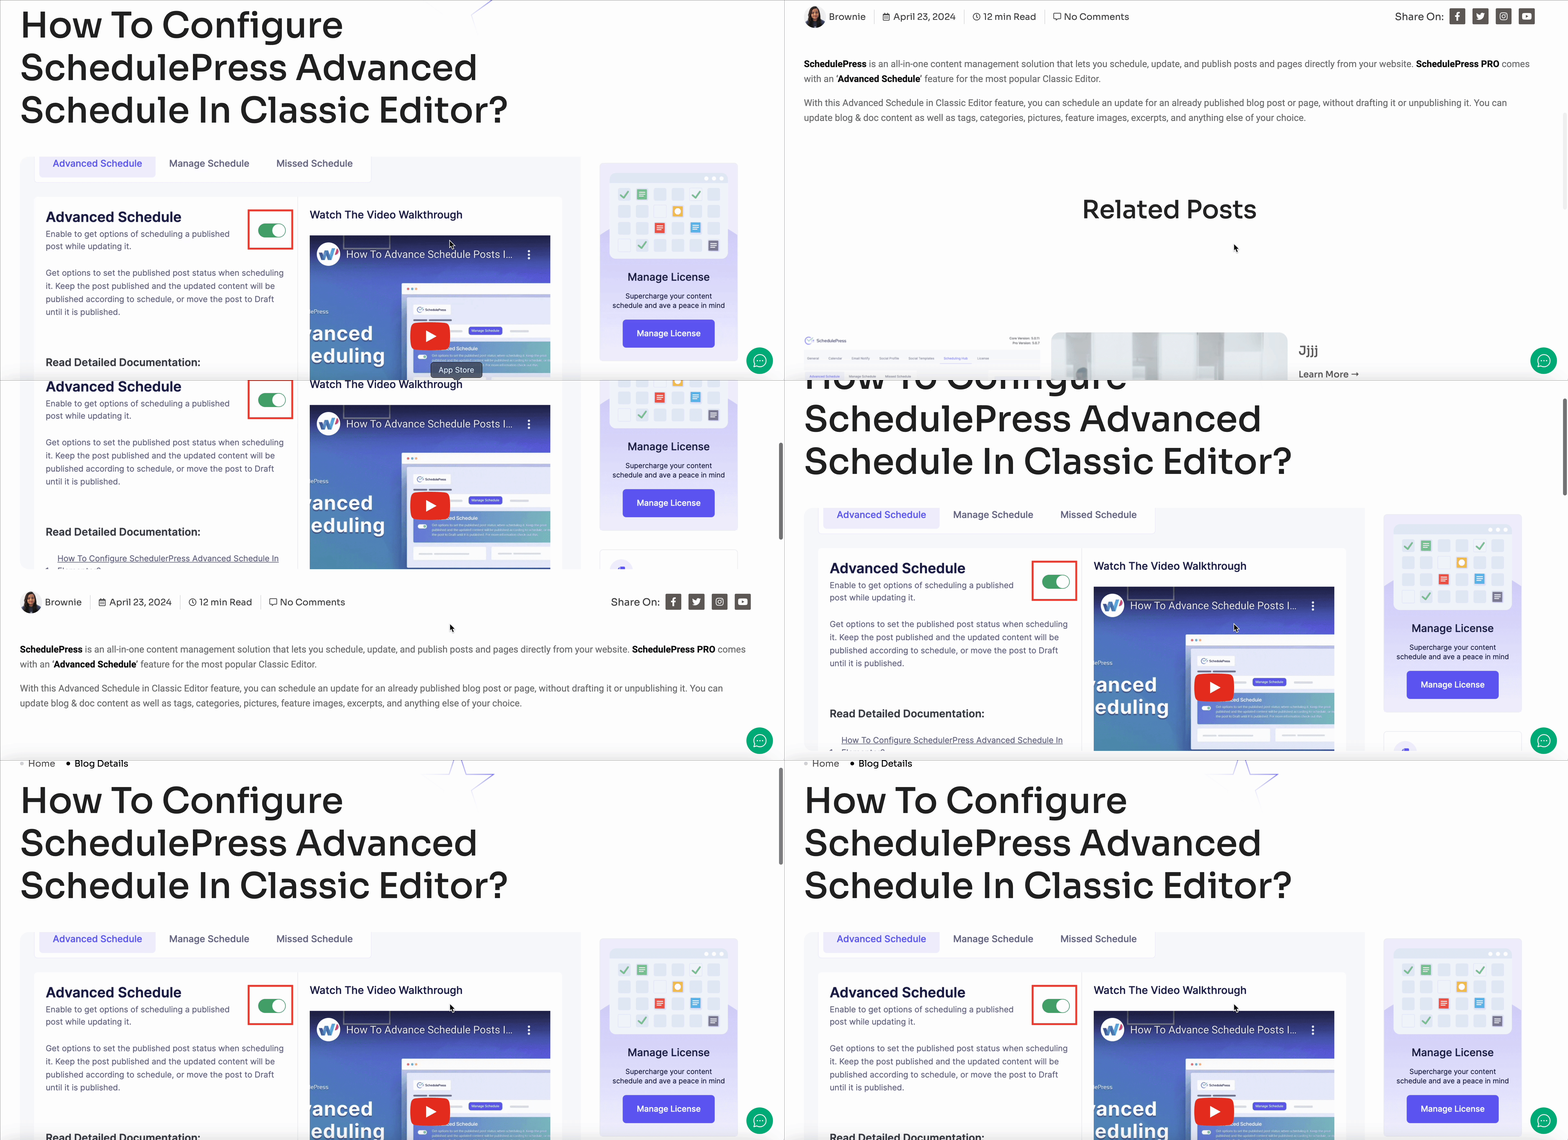
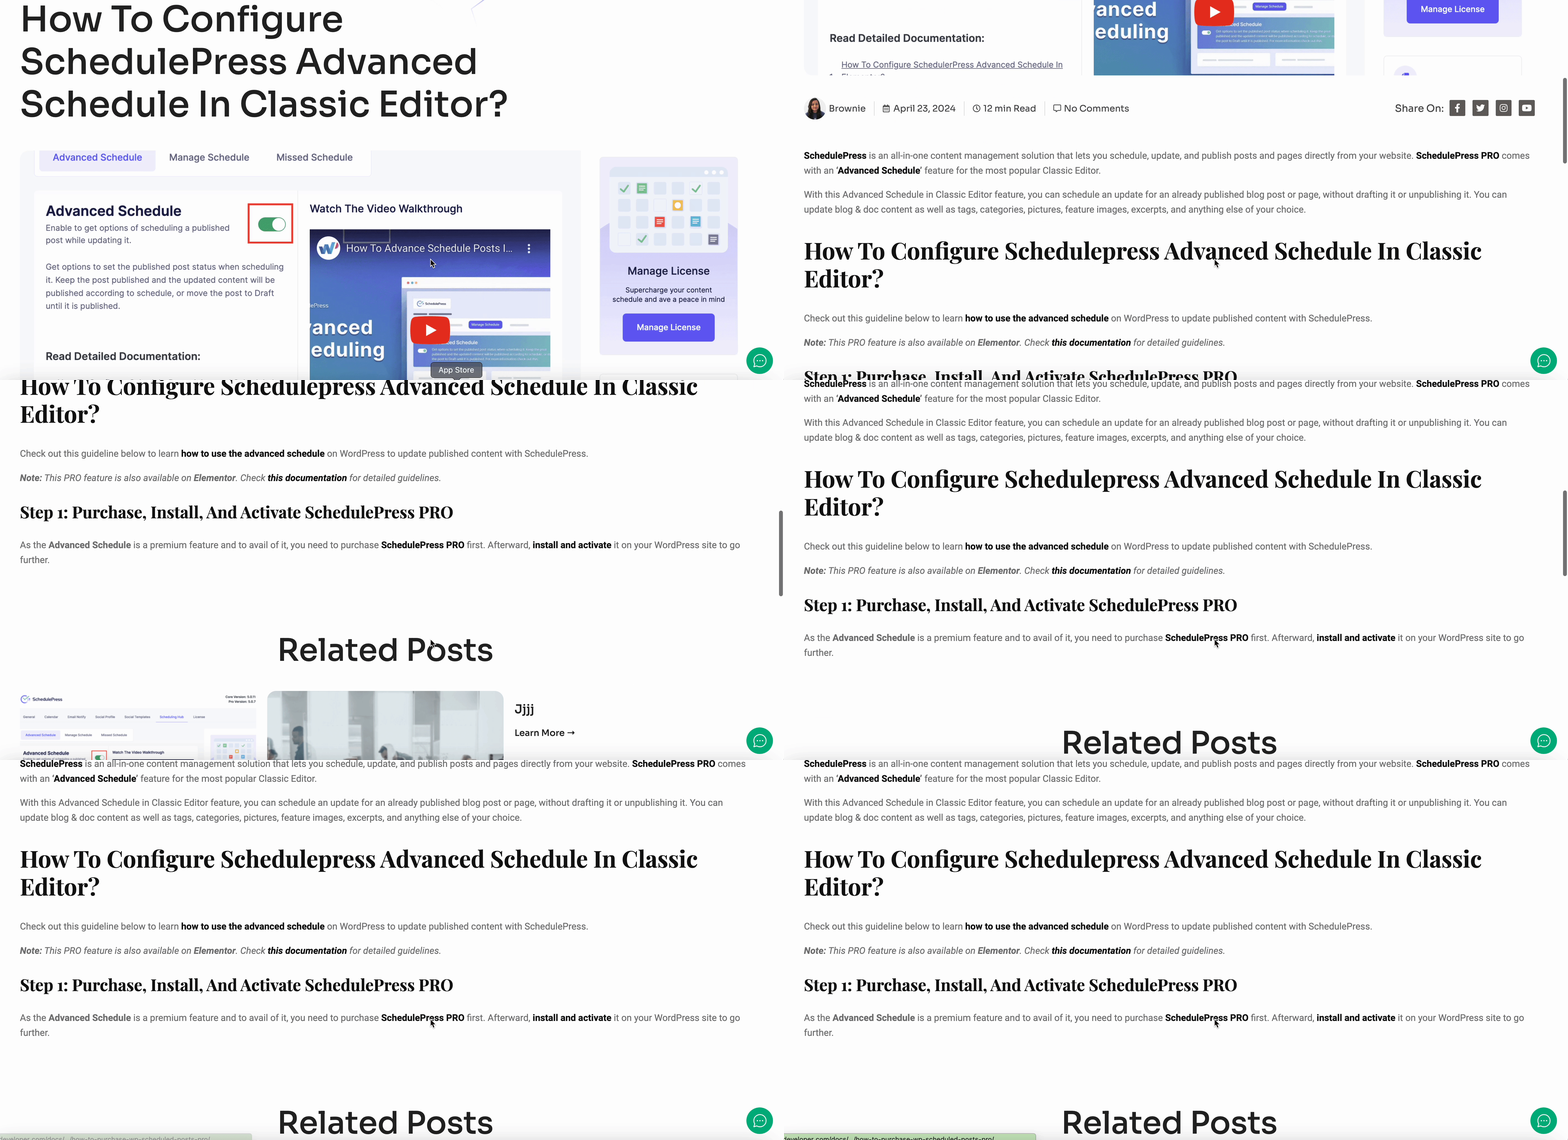
Well, hope you can do it successfully with the upper guideline. Let’s show you how it worked on one of our posts. Initially, the blog had only one paragraph with one image. Have a look at the gif.

After modifying the published content by adding some more text below the image, it automatically updated at the scheduled time. Below the GIF is the updated one. Have a look.

This is how you can schedule an update for a published blog post or page on the WordPress site with the help of SchedulePress Advance Schedule in Classic Editor. It will definitely help you to manage your content planning more efficiently.
If you face any difficulties, feel free to contact our support team or join our Facebook Community.


