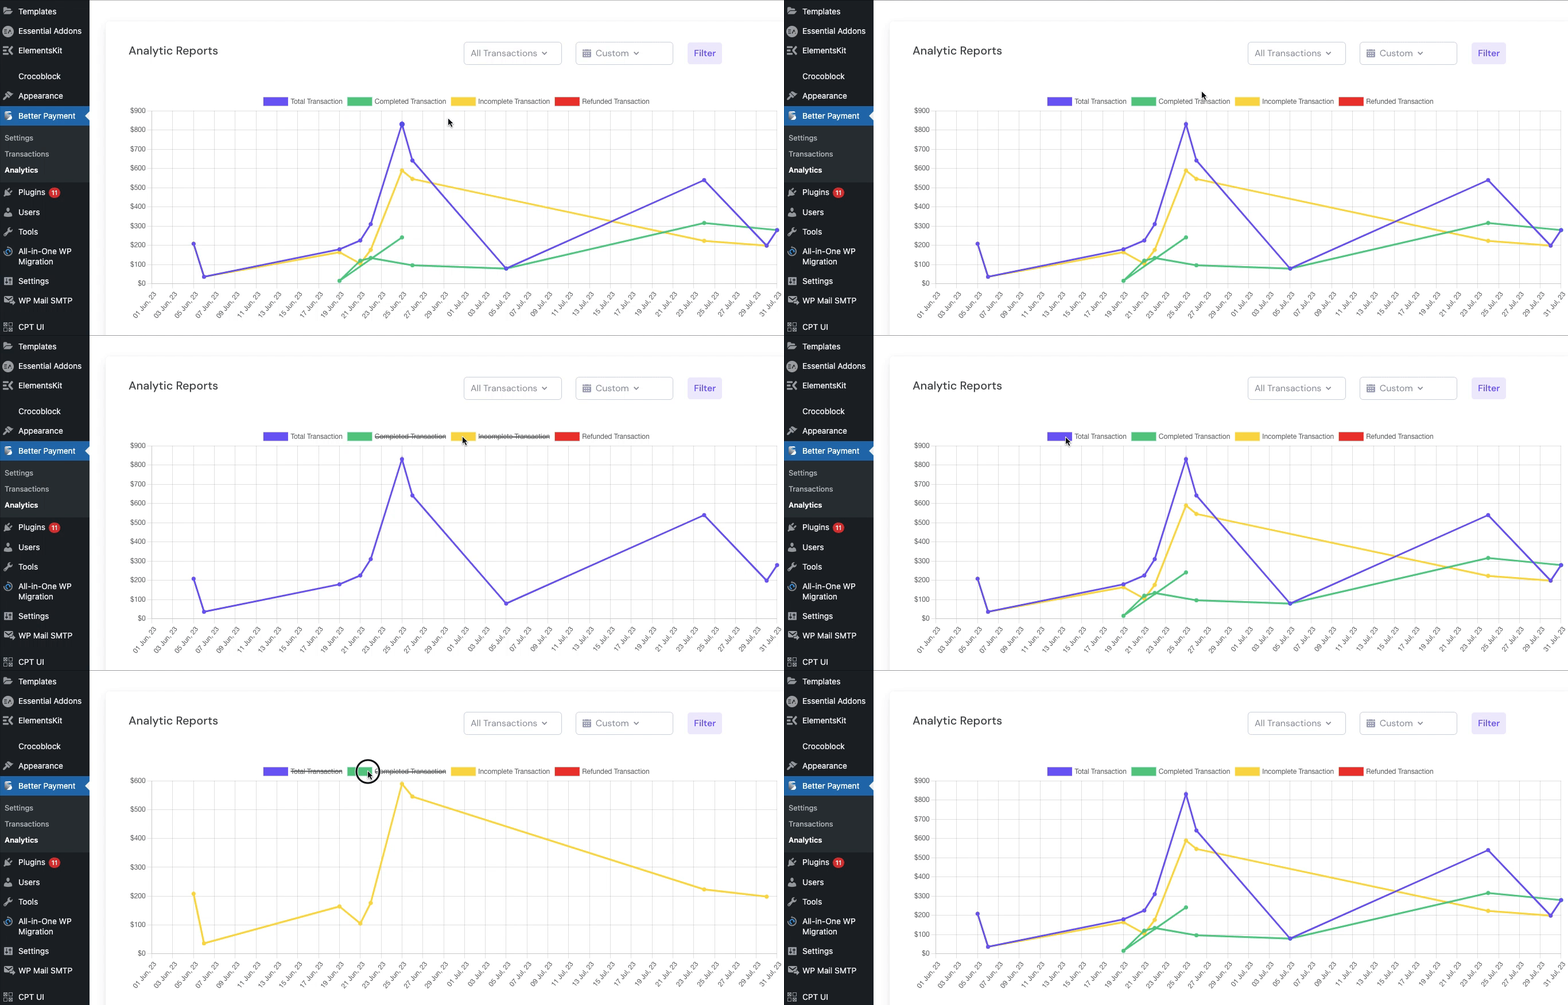
Better Payment allows you to check Analytics that provide comprehensive insights into your financial transactions. You can easily track and analyze your transactions with detailed reports whenever you need them. Follow the step-by-step guide below to learn how to check analytics in Better Payment.
How To Check Analytics In Better Payment? #
Note:* Analytics is a PRO feature of Better Payment. So, before you start make sure that the PRO version of Better Payment is installed and activated on your website.
Step 1: Log in to your WordPress dashboard first. From there navigate to ‘Better Payment’ → ‘Analytics’.

Step 2: From here, you can see ‘Total Transaction’, ‘Completed Transaction’, ‘Incomplete Transaction’ and ‘Refund Transaction’ with ‘Analytics Report’ graph.

Step 3: You can check a few types of transactions at a time by deselecting others. Simply click on the tab of the transaction type that you want to disable from the graph. And keep those which you want to check at once.

Thus, by following the simple steps, you can check analytics in Better Payment. Getting stuck? Feel free to contact our support team for further assistance.


