How to Install and Set Up SchedulePress? #
With SchedulePress, you can boost your content planning strategies and automate your WordPress posts instantly. Follow these simple steps to learn how to install and set up SchedulePress on your website.
How To Install And Activate SchedulePress? #
You can install and activate the SchedulePress free WordPress plugin on your website with the instructions given below.
Step 1: Search For SchedulePress WordPress Plugin #
Head over to your WordPress dashboard. Click on ‘Plugins’ and then hit the ‘Add New’ button. In the search field, type ‘SchedulePress’ as shown below.

Step 2: Install And Activate SchedulePress On Your Website #
Next, simply click on the ‘Install Now’ button. When the installation is complete, click on ‘Activate’ to use SchedulePress on your WordPress website.

How To Set Up SchedulePress? #
After installing SchedulePress, you can configure the settings to your liking by going to SchedulePress→ Settings from your WordPress dashboard as shown below. Here are some basic configurations that you can do to manage your WordPress content more efficiently with SchedulePress.
Step 1: Configure Display Options For SchedulePress #
From the ‘General’ tab on the SchedulePress Settings page, you can choose to make all of your scheduled posts visible in places like the dashboard widget area, in the admin bar, or in the sitewide admin panel. Check our guide on how to configure SchedulePress display options for more information.

Step 2: Send Email Notifications To WordPress Users #
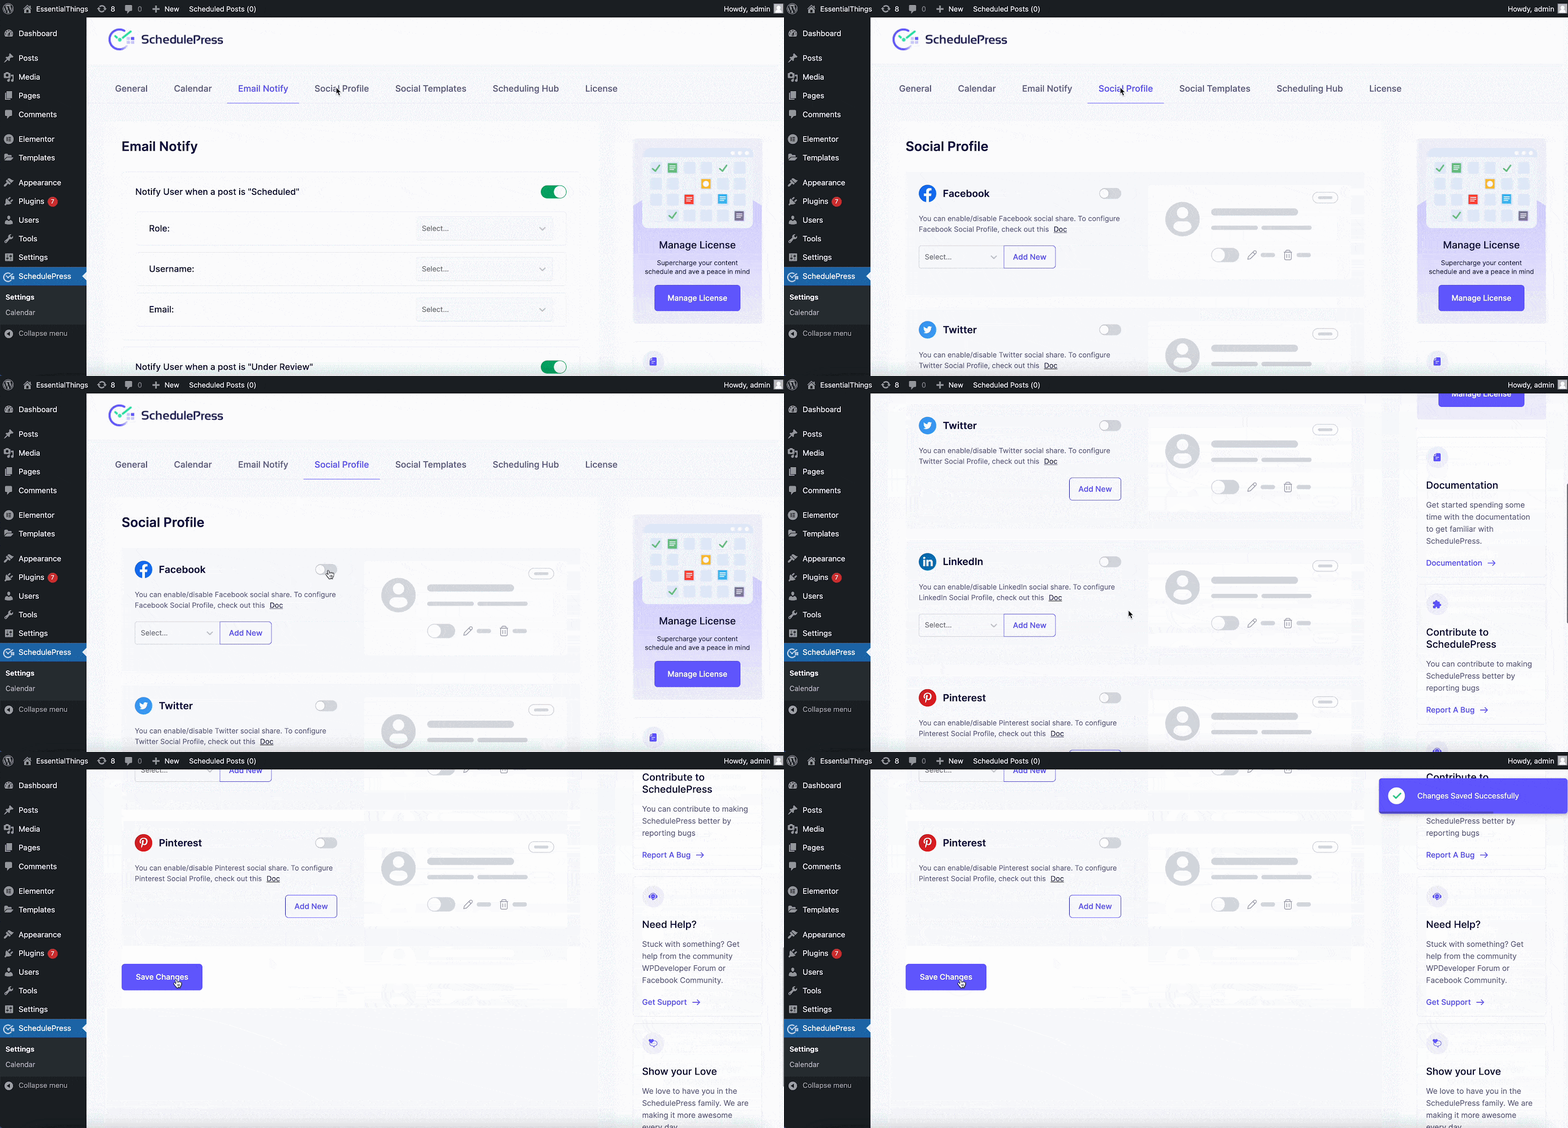
From the ‘Email Notify’ tab on the SchedulePress Settings page, you can enable email notifications whenever a post is scheduled, rejected, or published and send them to your team members. Check our guide on how to send email notifications to WordPress users with SchedulePress for more information.

Step 3: Enable Social Share And Customize Social Share Templates #
From the ‘Social Profile’ tab on the SchedulePress Settings page, you can enable auto social sharing for your website content on platforms like Facebook, Twitter, LinkedIn, and Pinterest. You can also customize the social sharing templates from the ‘Social Templates’ tab.

Step 4: Manage Your Posts With Auto Scheduler Or Manual Scheduler #
From the ‘Scheduling Hub’ tab on the SchedulePress Settings page, you can enable the Auto Scheduler to automate your website content and schedule them automatically for publishing. Or, you can enable the Manual Scheduler if you want more control over how to schedule your content instantly.
Besides this, you can also enable the Missed Schedule Handler to resolve any missed schedule errors in WordPress.
Step 5: Plan Your Content With The Schedule Calendar #
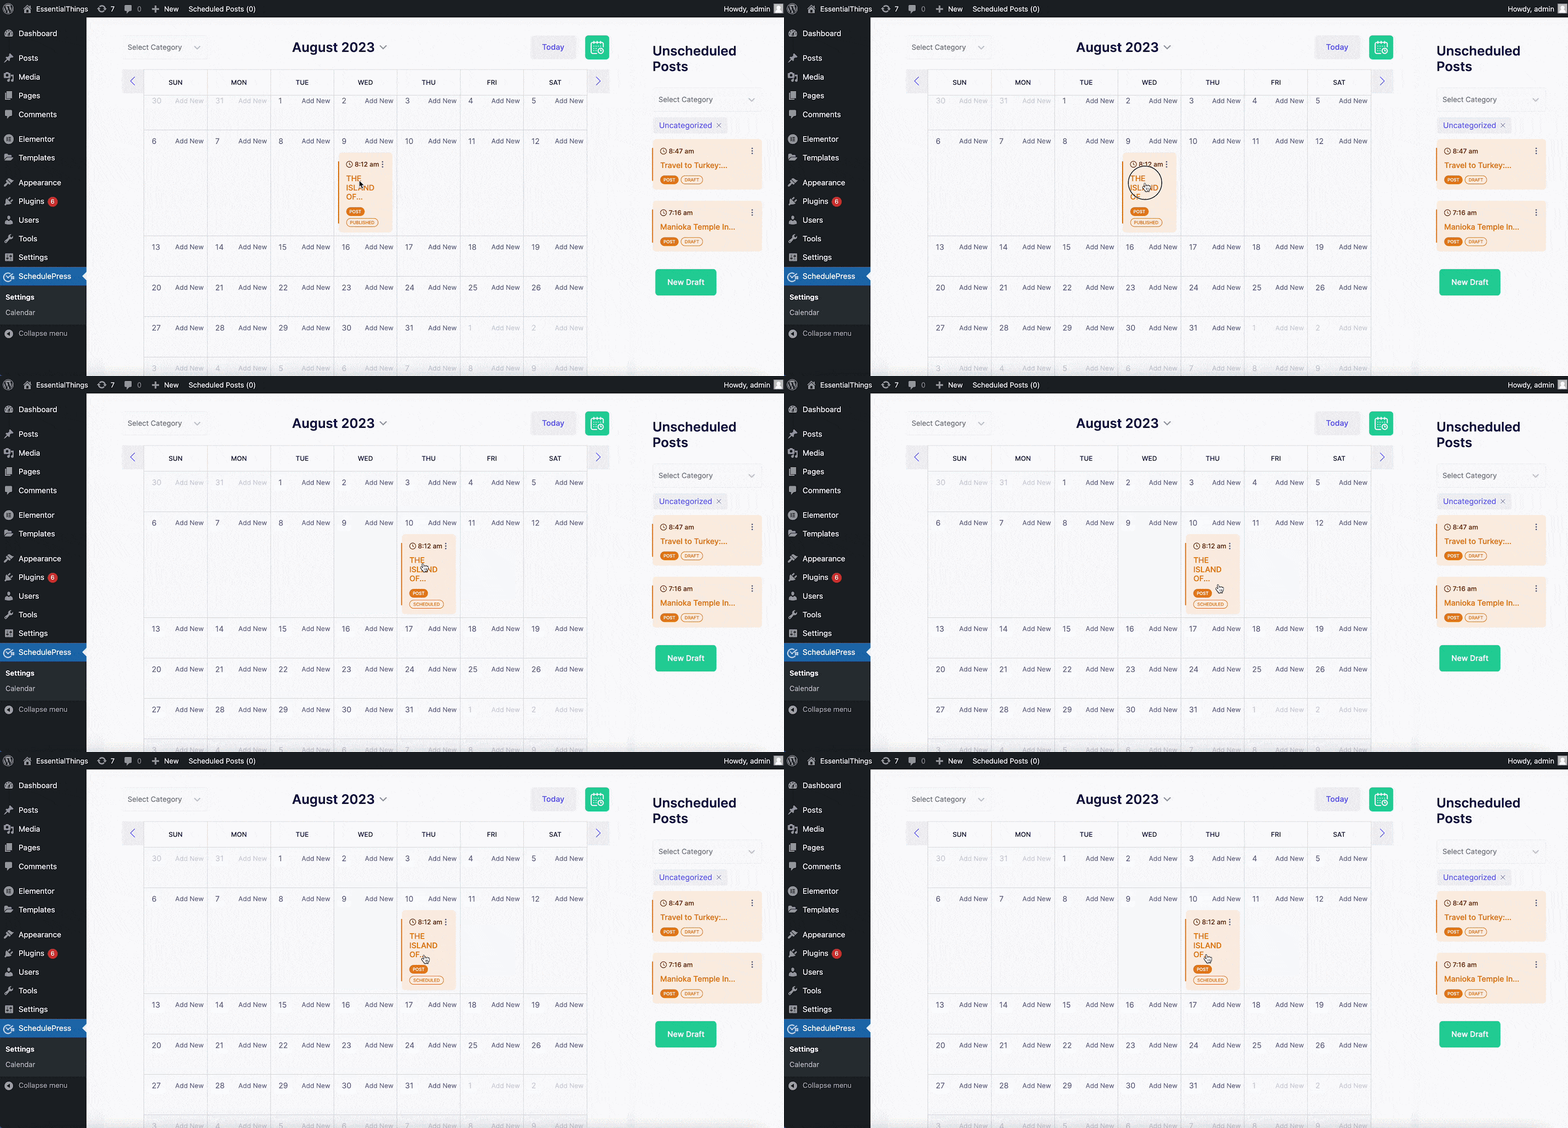
By going to SchedulePress→ Calendar, you can use the Schedule Calendar to instantly schedule your content with its drag-and-drop interface. You can also create new drafts, unschedule a post or edit any post from within the Schedule Calendar.

Thus, you can install and set up SchedulePress for your WordPress website.
Getting Stuck? Feel free to contact our support team or join our Facebook Community.


