Better Payment enables you to integrate payment gateways, named PayPal and Stripe to manage your own payment checkout page on WordPress just with a single click. Follow this simple step-by-step guide to easily integrate payment gateways into your website.
Note: Better Payment is an Elementor payment plugin. So, before you integrate payment gateways make sure that you have Elementor installed in your WordPress Dashboard.
How To Get Public Key & Secret Key From Stripe? #
To integrate Stripe into your WordPress site, first, you will need your ‘Public Key’ and ‘Secret Key’ from the official Stripe Dashboard. Then you need to use them in your Elementor Editorial.
Step 1: Log In To The Stripe Account #
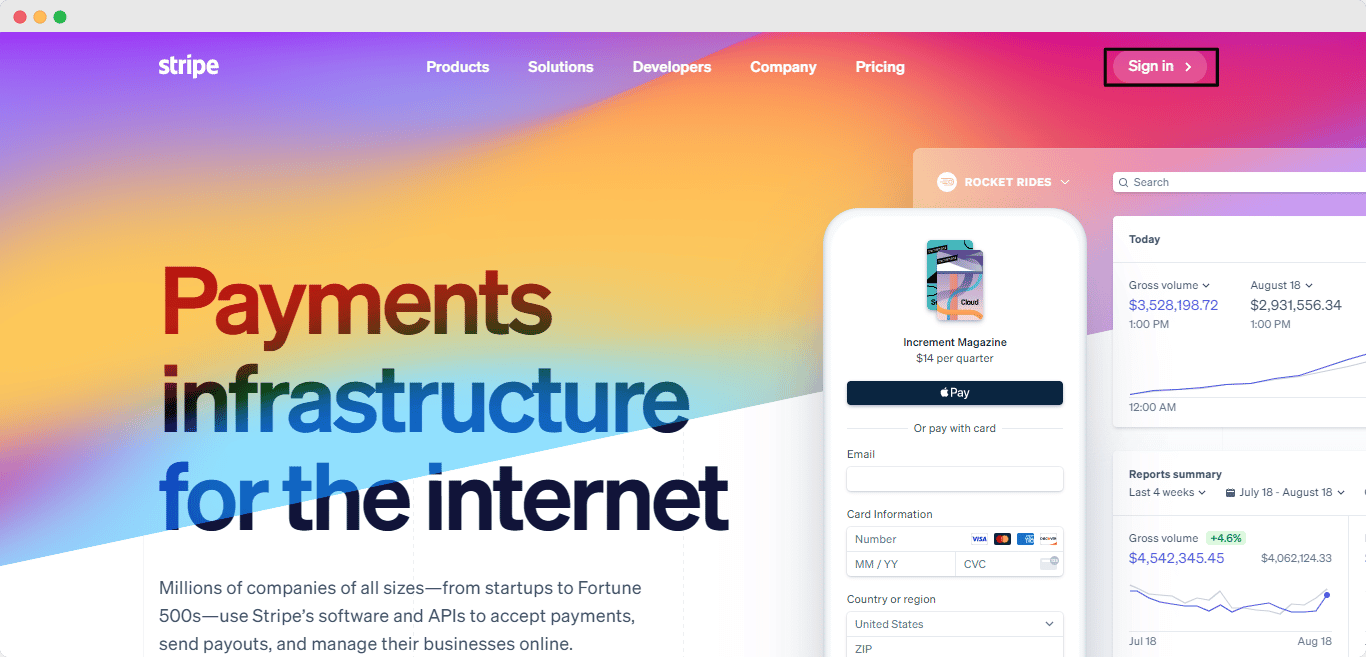
First, go to the official page of Stripe and sign in to your Stripe account from the upper right corner. If you have no Stripe account then you can easily open an account with your Google or Facebook account.
Step 2: Get Public Key & Secret Key #
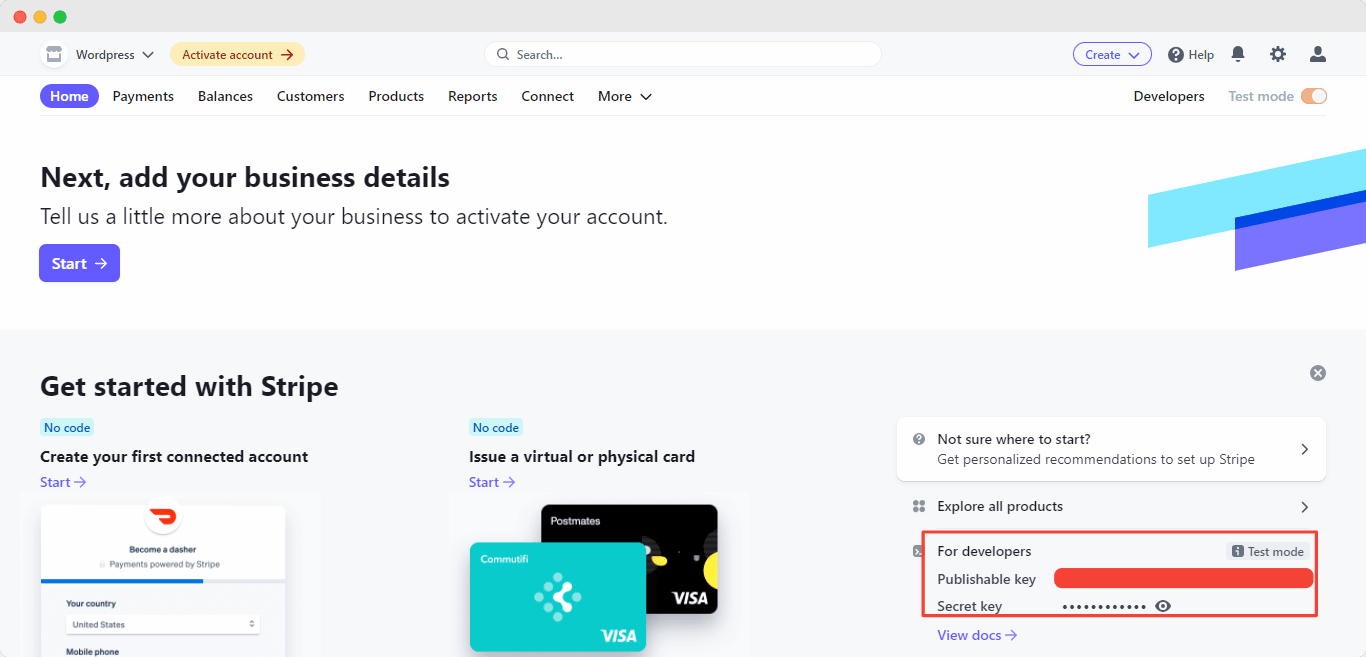
After the previous step, you will be redirected to the dashboard page. From the lower right corner, under the “For Developers” tag you will find both keys. Copy and store it.
How To Activate Stripe From WordPress Dashboard? #
After you get the Public Key and Secret key, it’s time for you to activate Stripe integration from the WordPress dashboard.
Step 1: Go To Better Payment Settings #
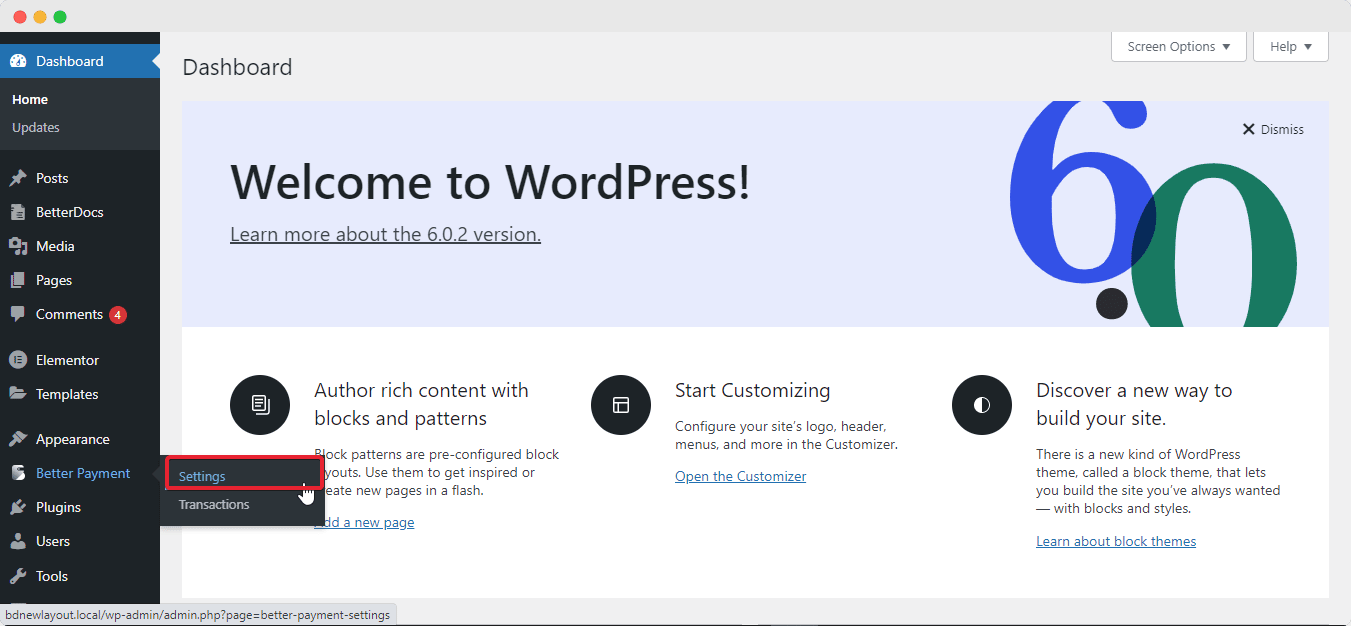
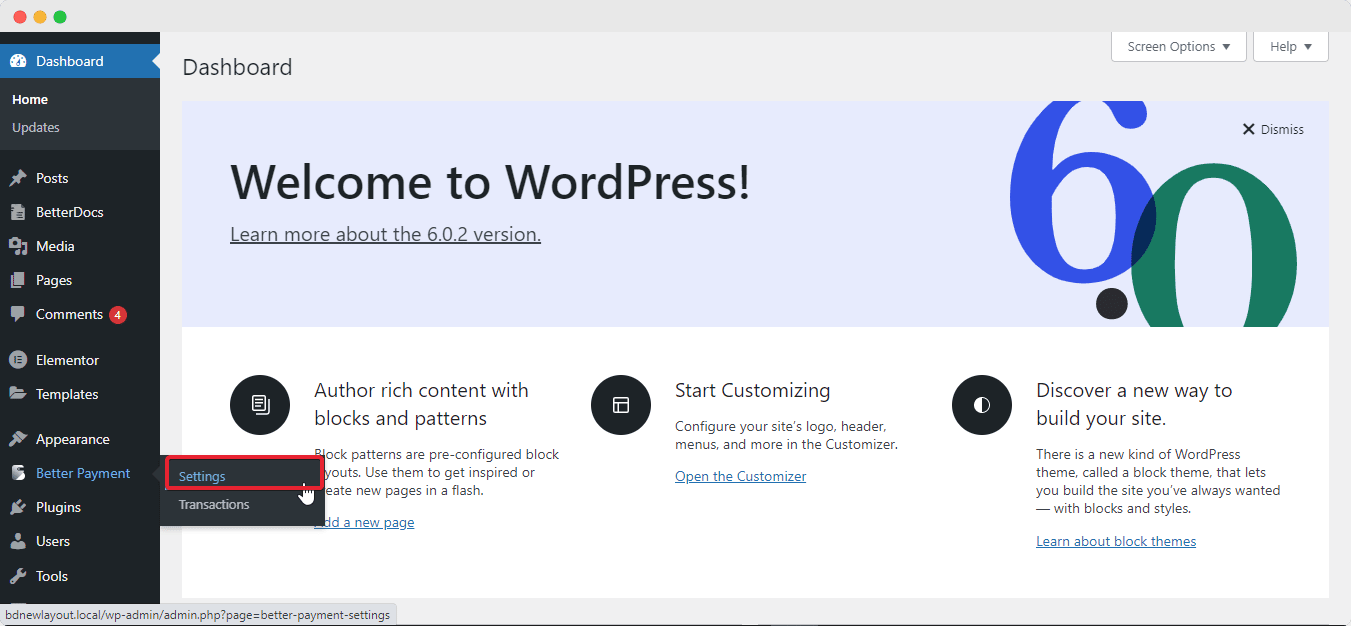
Login to the WordPress dashboard then hover over the Better Payments → Settings option from WordPress left panel.
Step 2: Integrate Stripe Account In Better Payment #
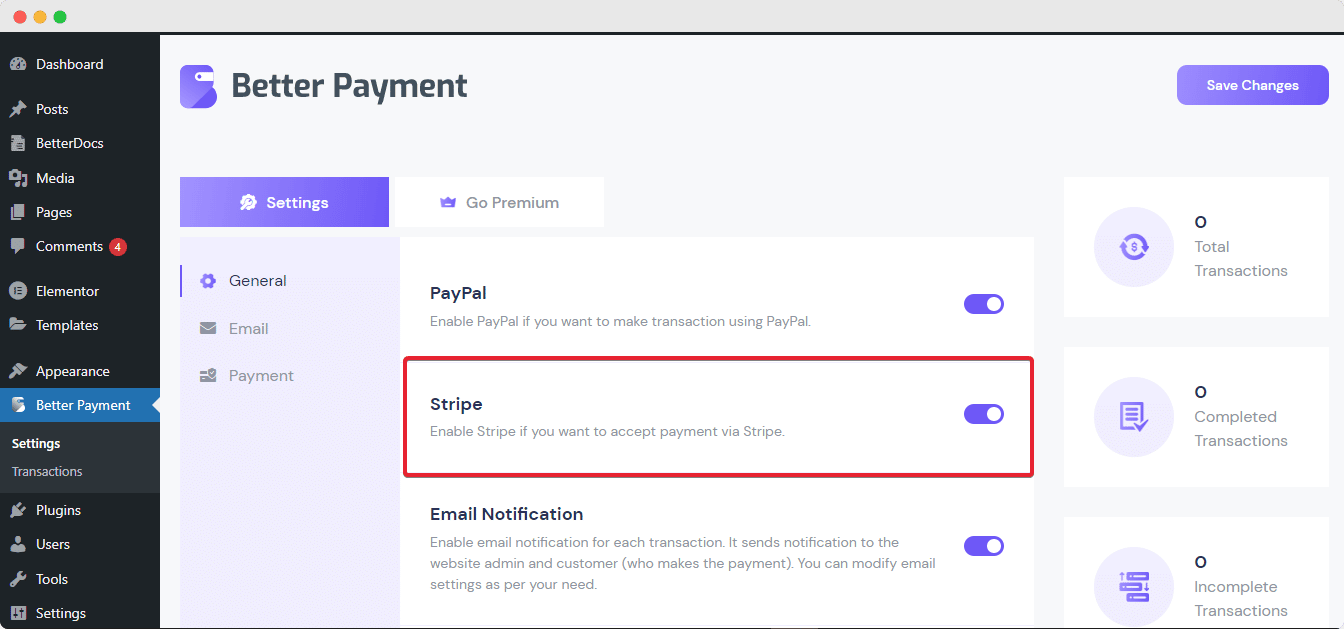
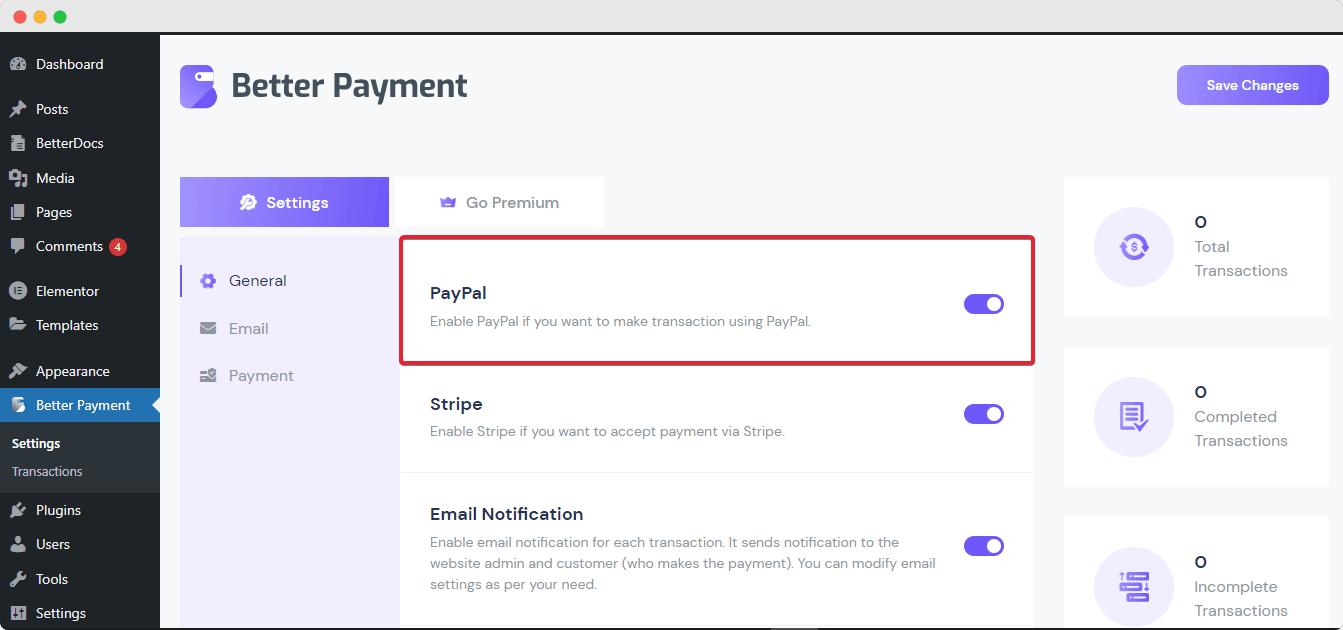
Clicking on the ‘Settings’ option, you will be redirected to the settings of Better Payment. Then from the General tab, you can enable Stripe. After toggling on Stripe, it will be available for customization in your Elementor Editor.
How To Enable Stripe Account With Public & Secret Key In Elementor? #
If you have done the following steps then you are good to go for activating your personal Stripe account in Elementor.
Step 1: Go To Elementor Editing Panel #
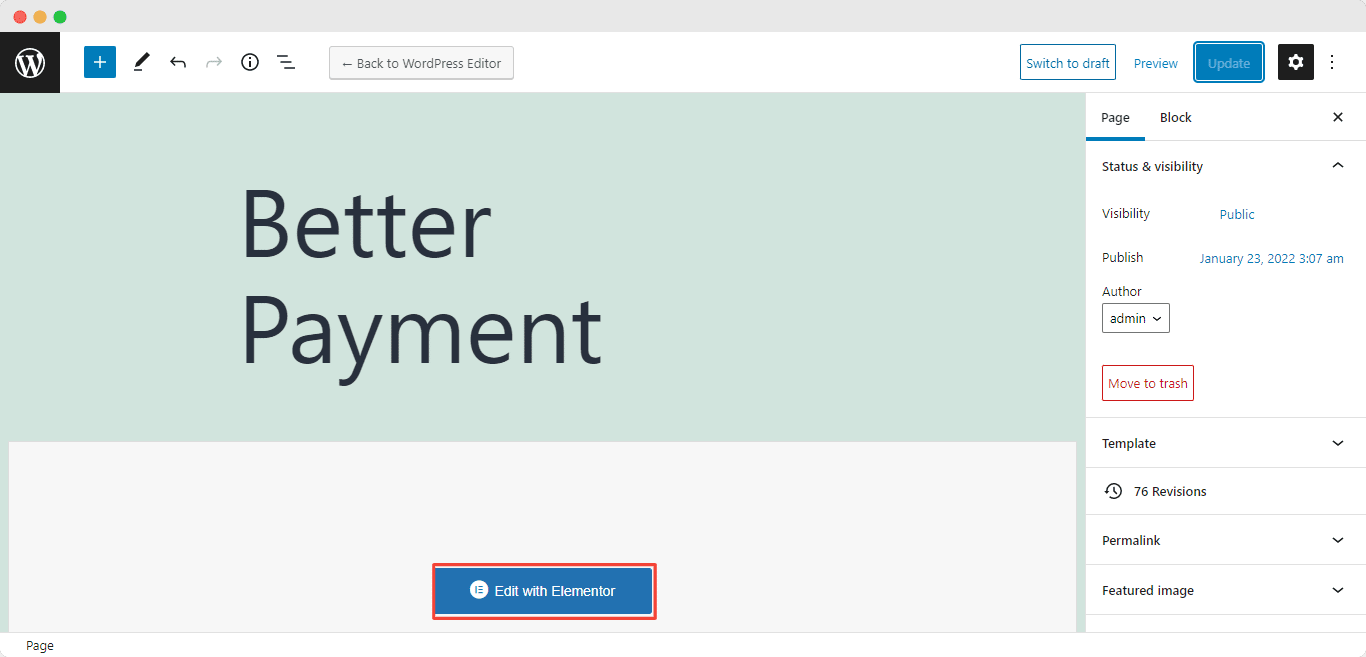
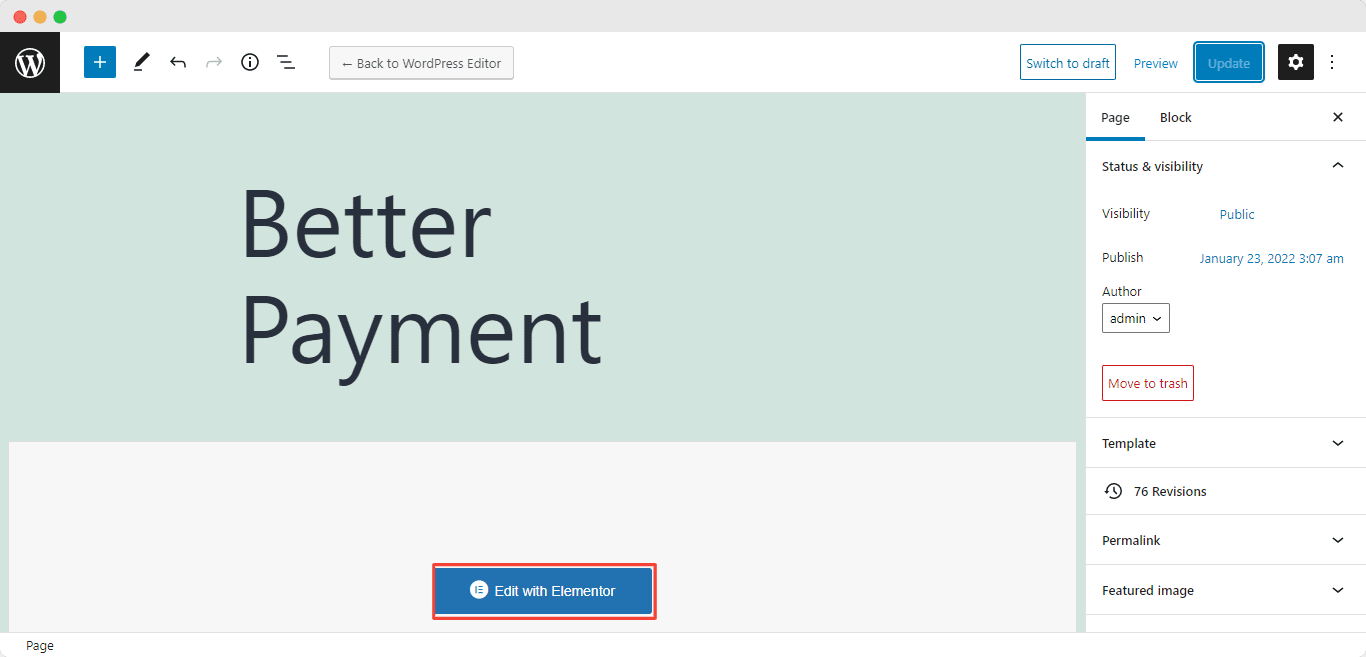
To apply both keys first, you need to open any page/post from the WordPress dashboard. Afterward, you will be redirected to the editor page. Press Edit With Elementor button.
Step 3: Drag & Drop Better Payment Widget #
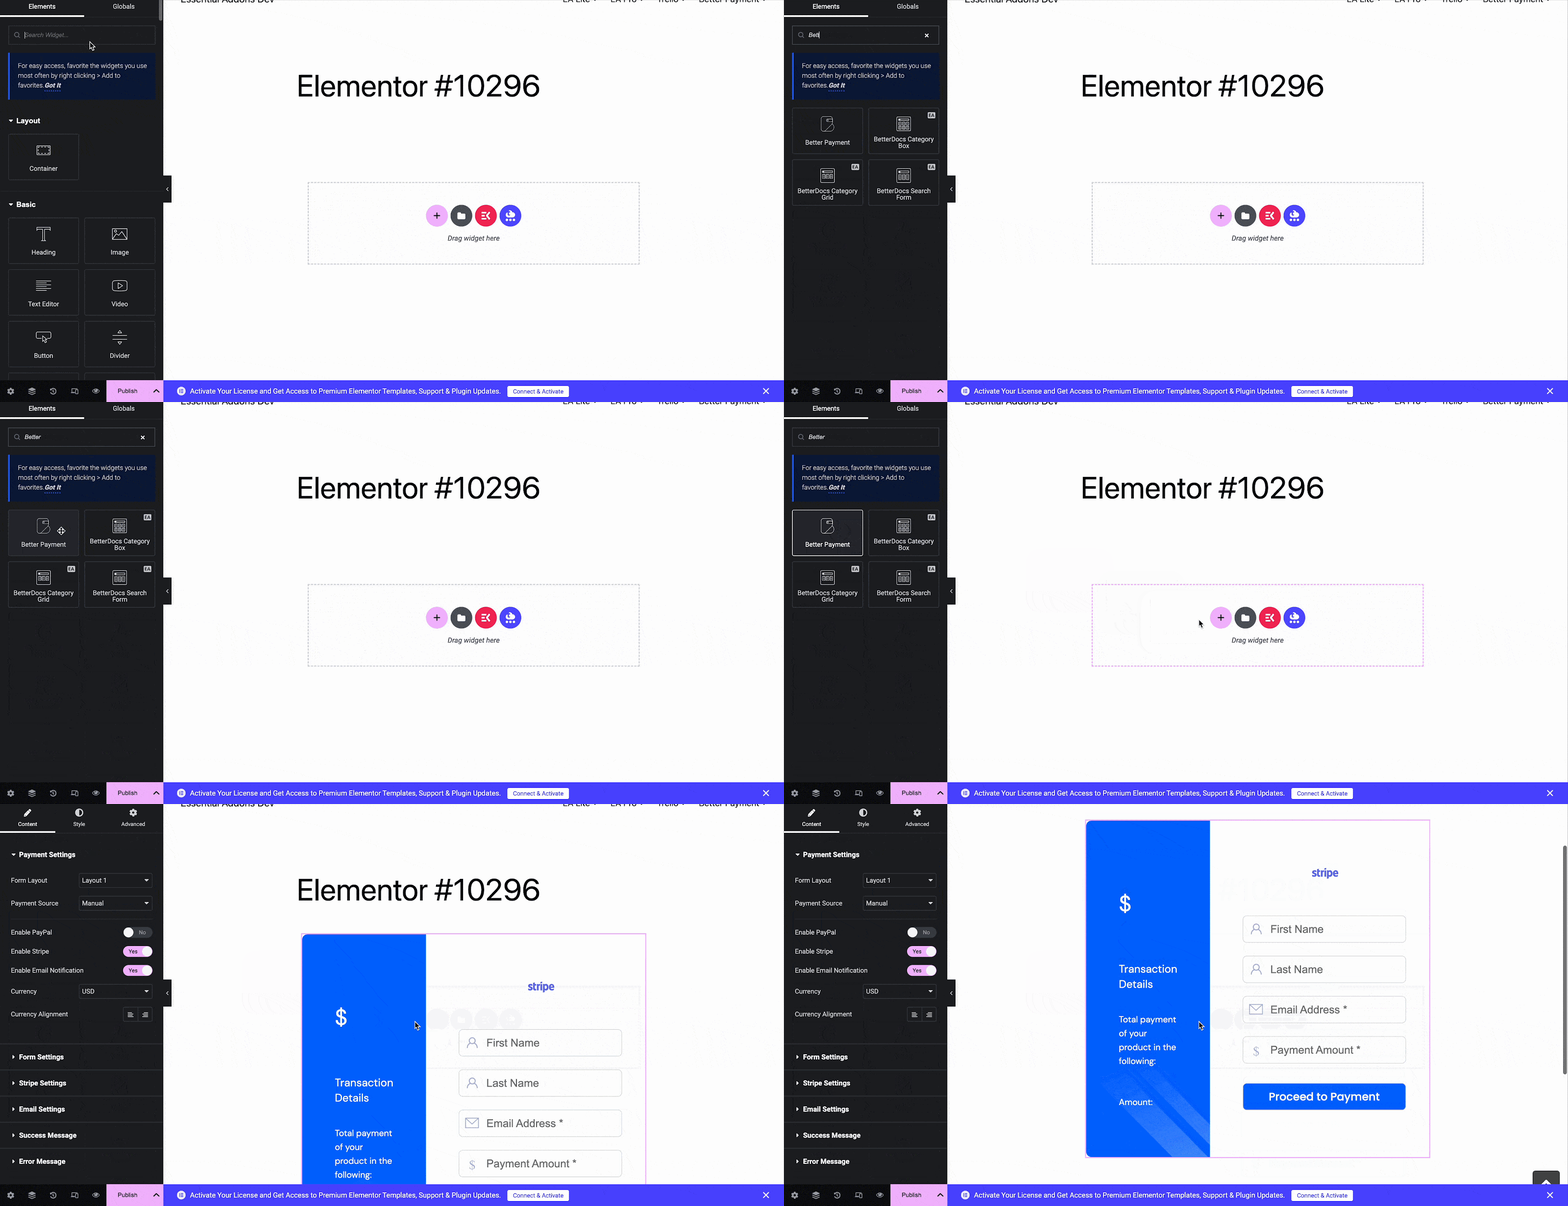
After the previous step, you will be redirected to the Elementor Editor. From there, you can easily drag & drop the Better Payment widget.

Step 4: Insert Both Keys In Settings Option #
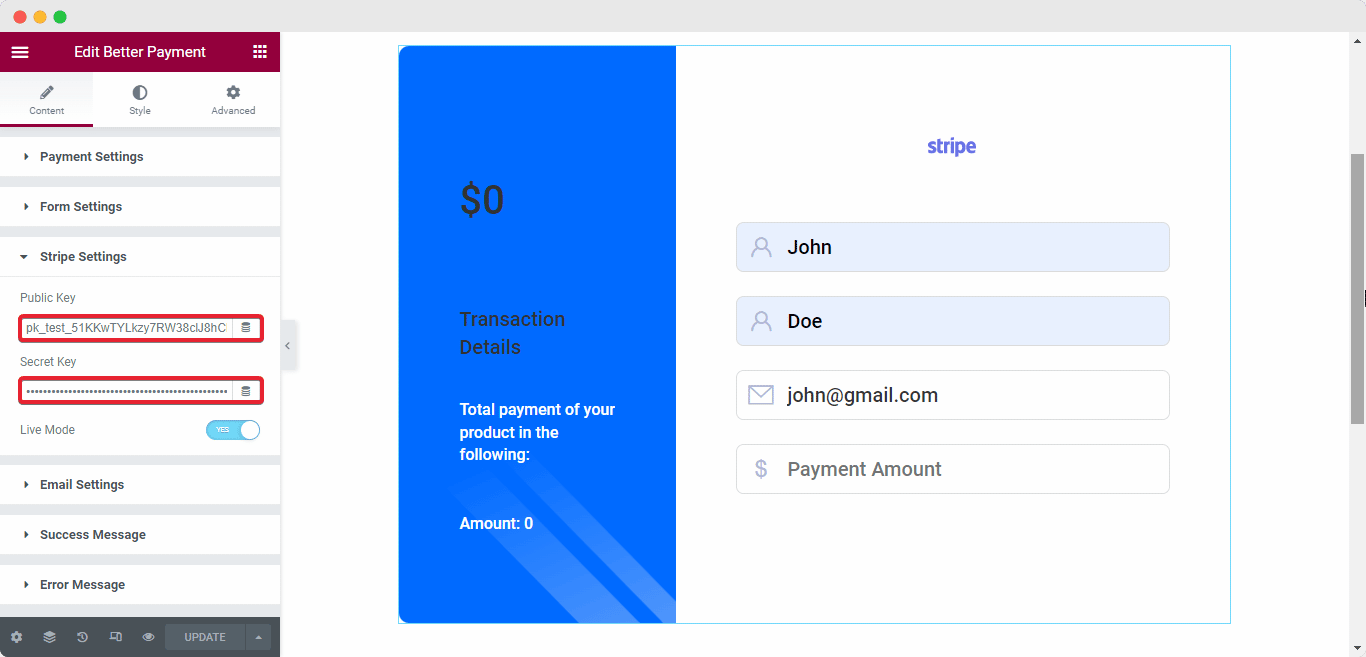
Hover to Content → Stripe Settings. You will have two respective fields for the keys, insert them and press the Update button.
Step 5: Activate Stripe On The Better Payment Widget #
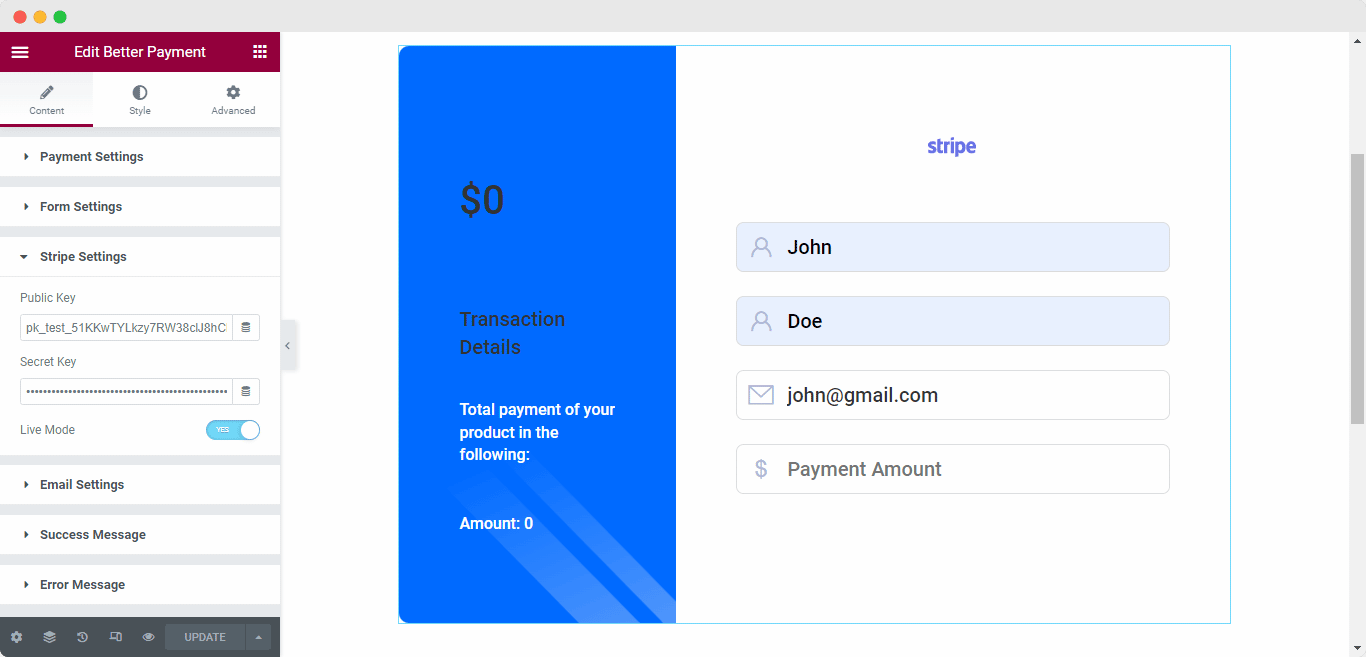
After pressing the Update button you can see your Stripe account will be activated successfully.
Final Outcome #
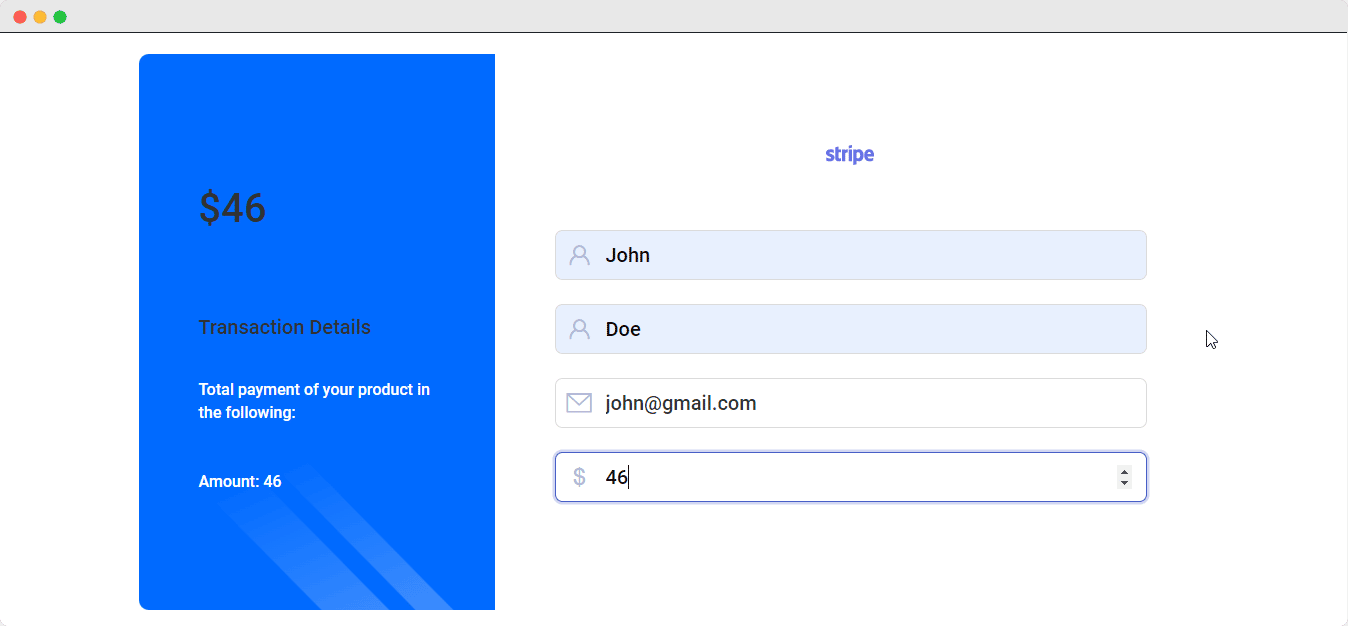
After finishing all the previous steps you can see that your Stripe account will be ready for transactions in the front end.
How To Activate PayPal From WordPress Dashboard #
First, retrieve your PayPal business mail from the official PayPal website.
Step 1: Go To Better Payment Settings #
Hover over the Better Payment → Settings option from the WordPress dashboard.
Step 2: Activate PayPal Payment Gateway
After clicking on the Settings option, you will be redirected to the settings of Better Payment. Then from the General tab, you can enable this PayPal option.
How To Activate PayPal Business Mail-In Elementor? #
Before you use your Paypal account in Better Payment, first you have to acquire your business mail from PayPal’s official website. Afterward, you can activate your personal account through Elementor with the business mail.
Step 1: Open Up Elementor Editor #
To apply for Business mail, first, you need to open any page/post from the WordPress dashboard. After opening any page/post, you will be redirected to the editor page. Press Edit With Elementor button.
Step 2: Drag & Drop Better Payment Widget #
After the previous step, you will be redirected to the Elementor editing panel. From there you can easily drag and drop the Better Payment widget.
Step 3: Insert Business Email In Settings #
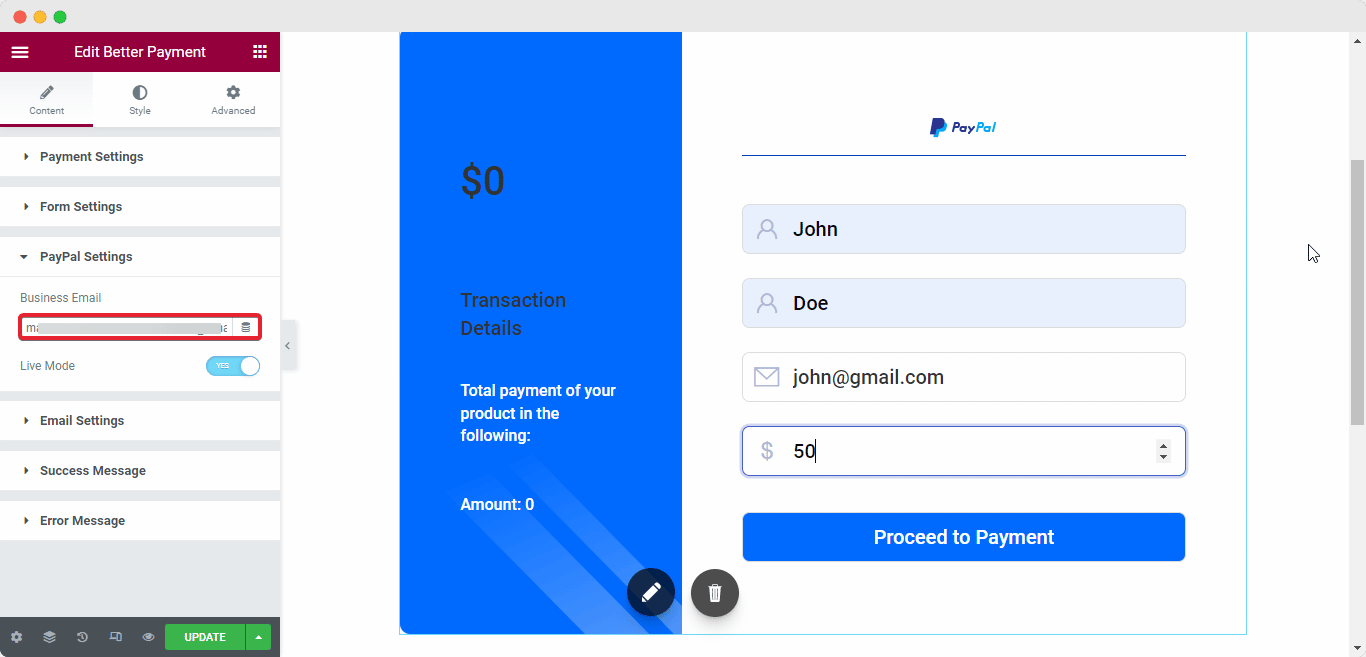
Hover to Content → PayPal Settings. You will have one field for the mail, insert it and press the Update button.
Step 4: Activate PayPal On The Widget #
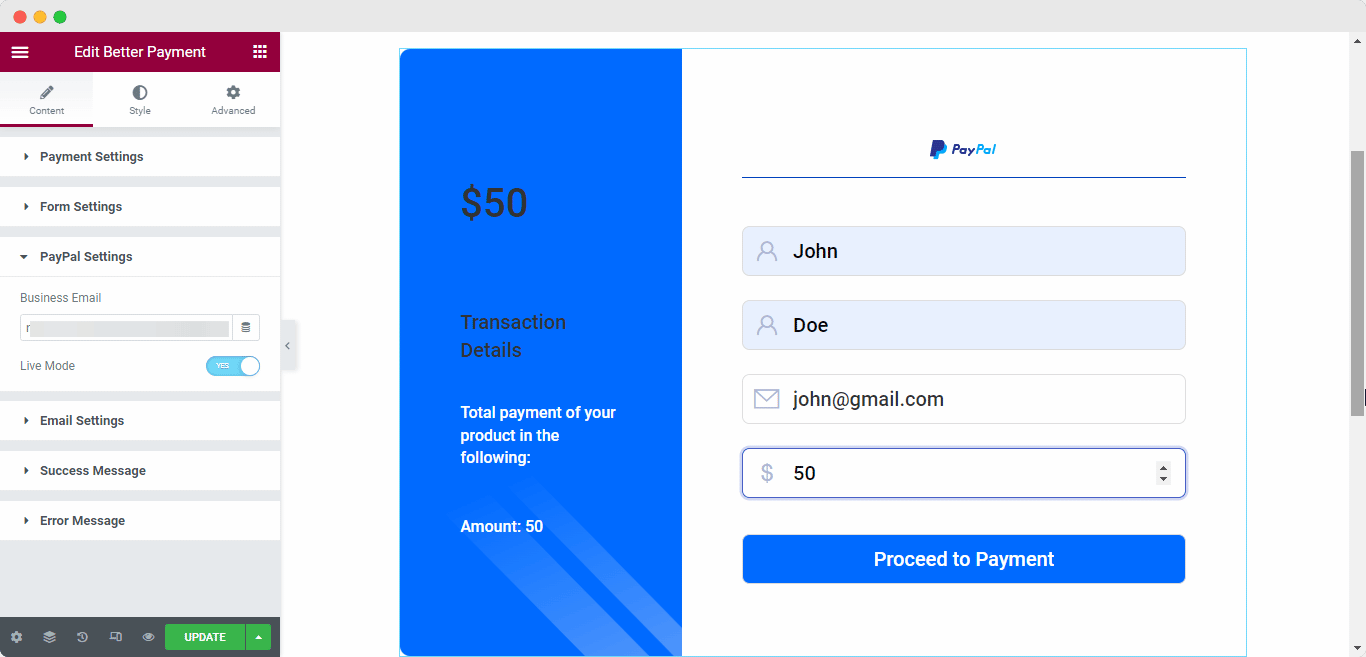
After pressing the Update button you can see your PayPal account will be activated successfully.
Final Outcome #
After finishing all the previous steps, you can see that your PayPal account will be ready for transactions in the front end.
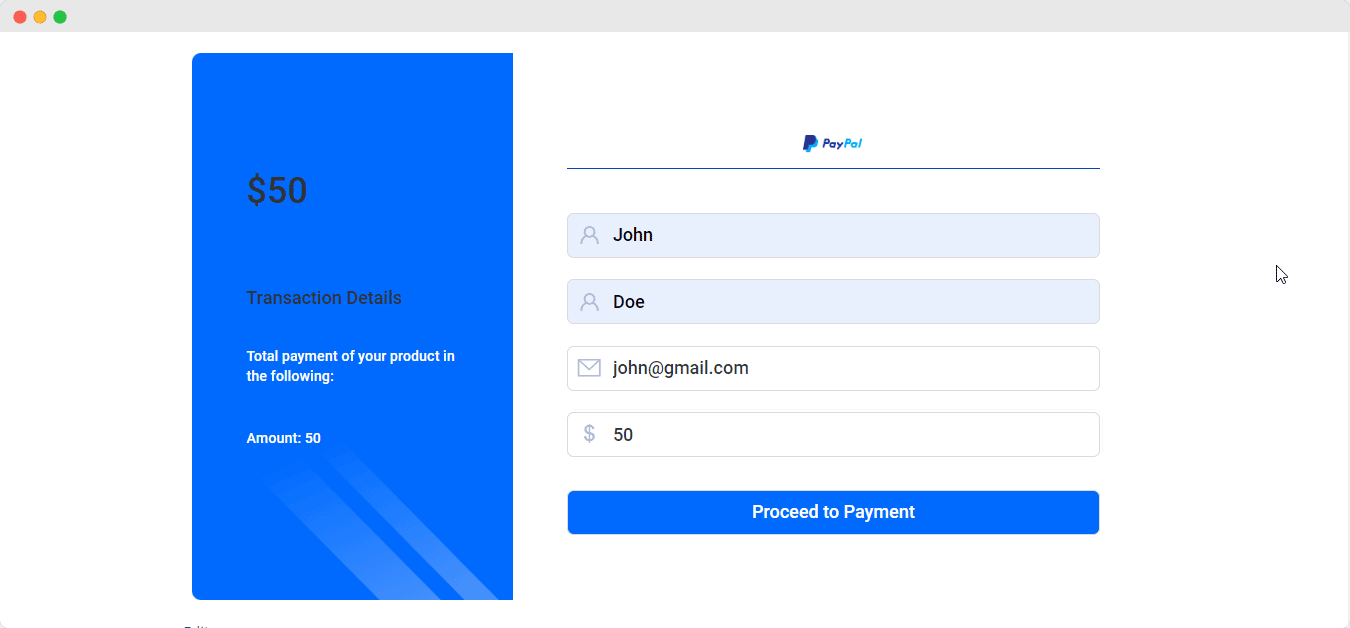
By following these simple steps you can easily Integrate Payment Gateways into Better Payment.
Getting Stuck? Feel free to contact our dedicated support team for any further assistance.


